Diy Driftwood Jewelry Hanger
DIY Driftwood Jewelry Hanger


Creating your own driftwood jewelry hanger is an enjoyable and straightforward project that combines natural beauty with practicality. By using a piece of driftwood, some hooks, and a bit of creativity, you can craft a stunning display for your favorite accessories. This DIY project not only adds a rustic, coastal charm to your space but also helps you keep your jewelry organized and easily accessible. So grab your materials and let your imagination run wild – your new favorite accessory holder awaits! Have you ever found yourself struggling to find the perfect way to organize and display your jewelry? If so, you’re not alone. Many of us have jewelry scattered across our dressers or stowed away in boxes where they can easily tangle and become damaged. But don’t worry, I have a solution for you: a DIY Driftwood Jewelry Hanger.

Why Choose a Driftwood Jewelry Hanger?
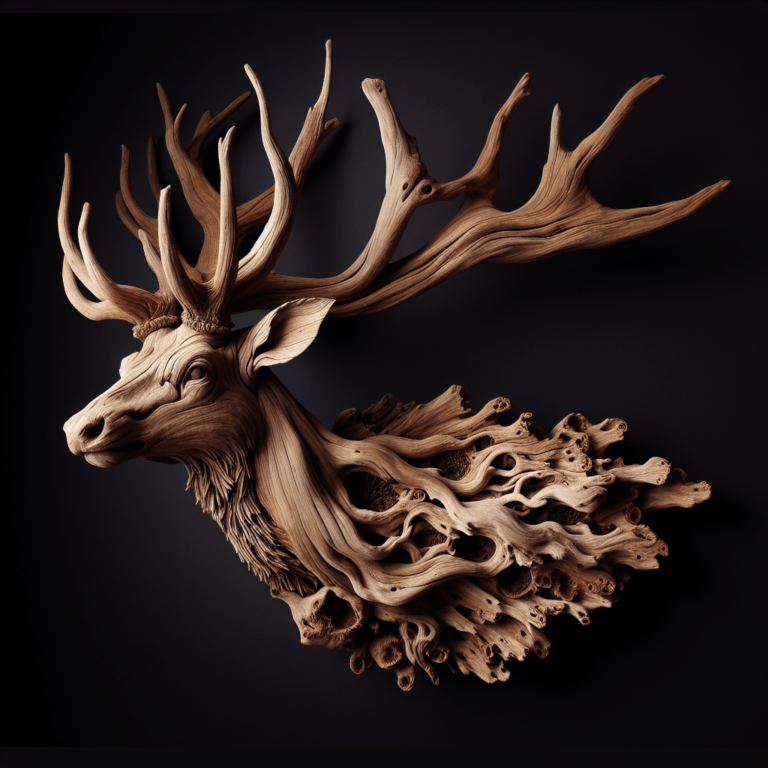
Driftwood can add a unique and rustic touch to your decor, giving your space an organic and natural feel. Plus, creating a jewelry hanger from driftwood is a fun and environmentally friendly way to organize your beautiful pieces. This project is simple and allows you to customize it to your taste and needs.
Unique and Natural Aesthetic
Driftwood brings the beauty of nature into your home. Its natural contours and textures can turn your jewelry hanger into a piece of art. Each piece of driftwood is unique, so you’re guaranteed to have a one-of-a-kind creation that reflects your personality and style.
Environmental Friendliness
Using driftwood is an eco-friendly choice because it repurposes natural materials that have already been washed ashore. By taking on this DIY project, you’re not only creating functional art but also contributing to environmental sustainability.
Easy and Customizable
One of the best parts about this project is how easily you can customize it. Whether you prefer a minimalistic look or something more elaborate, you can adapt this DIY to meet your personal aesthetic and storage needs.
Materials You’ll Need
Before diving into the steps, let’s make sure you have all the materials you need. Here’s a handy table to keep everything organized:
| Material | Purpose |
|---|---|
| Driftwood | The main body of your jewelry hanger |
| Hooks or Pegs | To hang your jewelry |
| Screws and Nails | To secure the hooks/pegs and driftwood |
| Drill and Drill Bits | For making holes |
| Measuring Tape | For accurate measurements |
| Sandpaper | To smooth out the driftwood |
| Sealer or Varnish | Optional, to protect the driftwood |
| Wall Anchors | To mount the hanger securely |
| Pencil and Ruler | For marking measurements |
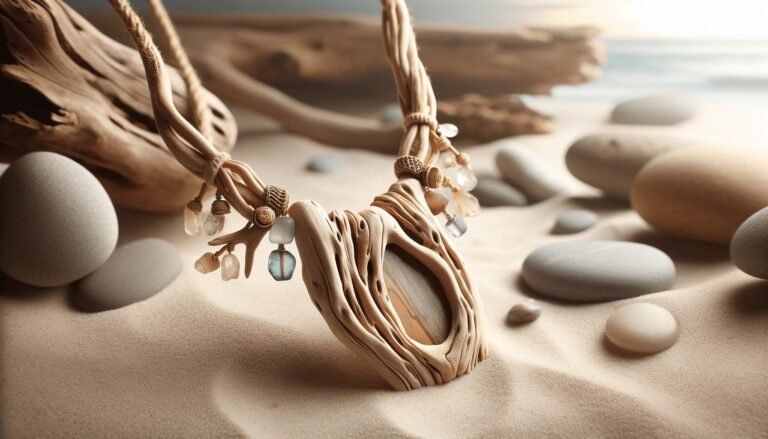
Optional Decorative Materials
- Paints or wood stains
- Ribbons or fabric
- Small decorative elements like shells or beads
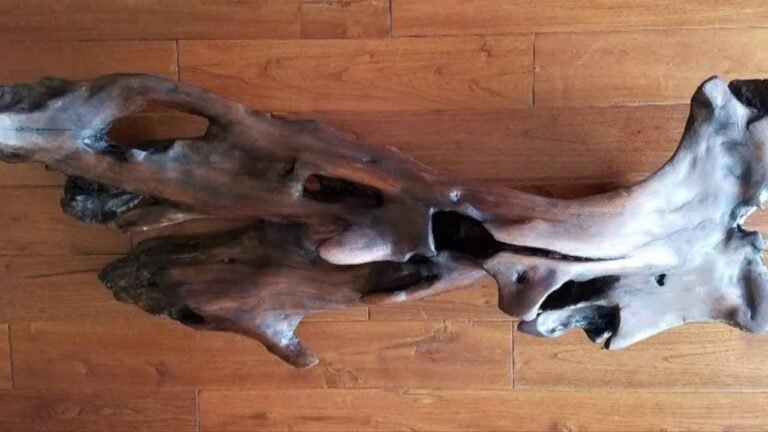
Finding the Perfect Piece of Driftwood
The journey to creating your DIY Driftwood Jewelry Hanger begins with finding the perfect piece of driftwood. Here are some tips to help you in your search:
Location
Beaches, lakeshores, and riverbanks are excellent places to find driftwood. Take a leisurely stroll along these natural sources, and you might stumble upon that perfect piece.
Size and Shape
Consider the space where you’ll hang your jewelry organizer. Measure your wall space to determine the appropriate size of your driftwood. Also, think about how you want your jewelry to be displayed. A longer piece might allow for multiple hooks, while a shorter, more intricate piece can serve as a focal point with a few specialty hooks.
Condition
Select driftwood that is relatively dry, sturdy, and free from rot. It’s also helpful if the wood already has some natural holes or knots, which can serve as natural spots for hooks.
Preparing Your Driftwood
Once you’ve selected your driftwood, some preparation is needed to ensure your jewelry hanger is both attractive and functional.
Cleaning
Clean your driftwood thoroughly to remove any dirt, salt, or organisms. Here’s a simple way to clean your driftwood:
- Soak: Let your driftwood soak in a mixture of water and bleach (roughly 10:1 ratio) for 24 hours. This will kill any bacteria and remove any residual dirt.
- Rinse: Rinse the driftwood thoroughly with fresh water.
- Dry: Let the driftwood dry completely in a well-ventilated area. This may take several days.
Sanding
Use sandpaper to smooth out any rough edges or surfaces. This will prevent any jewelry from getting scratched. Focus particularly on areas where you will be handling the wood or hanging jewelry.
Sealing (Optional)
If you want to give your driftwood a longer lifespan, consider applying a sealer or varnish. Choose a sealer that suits your desired finish, whether it’s matte, glossy, or natural-looking.

Design and Layout
Before you start attaching hooks and assembling your jewelry hanger, it’s essential to plan your design. This step ensures that your final product will be both functional and aesthetically pleasing.
Marking the Measurements
Use a pencil and ruler to mark where each hook or peg will go. Consider the types of jewelry you’ll be hanging (necklaces, bracelets, earrings, etc.) and space them accordingly. Here’s a basic guideline:
| Type of Jewelry | Suggested Spacing |
|---|---|
| Necklaces | 2-3 inches apart |
| Bracelets | 1-2 inches apart |
| Earrings | 1 inch apart |
Symmetry and Balance
Ensure that your hooks are evenly spaced so that the hanger looks balanced. If your piece of driftwood has natural curves and shapes, use them to your advantage to create an organic and flowing design.
Assembling Your Jewelry Hanger
Now that the planning is done, it’s time to start assembling your driftwood jewelry hanger.
Drilling Holes
Using a drill and appropriate drill bits, make small holes where you marked your measurements. These pilot holes will make it easier to screw in the hooks or pegs.
Attaching Hooks or Pegs
Screw in your hooks or pegs into the pre-drilled holes. Ensure they’re secure but not too tight, as this could crack the driftwood. You can use a variety of hooks depending on your needs—a combination of S hooks, cup hooks, or even tiny nails can work well.
Adding Decorative Elements (Optional)
If you want to get creative, now is the time to add any decorative elements you might have. Whether it’s a splash of paint, some attached seashells, or a ribbon, these additions can make your driftwood jewelry hanger truly unique.
Mounting Your Jewelry Hanger
The final step is to mount your driftwood jewelry hanger on the wall.
Choosing the Right Spot
Ensure you choose a spot that is easily accessible and gets good light. This not only makes it easier to choose your jewelry but also highlights the beauty of your hanger.
Using Wall Anchors
To securely mount your jewelry hanger, especially if it’s heavy, use wall anchors. Here’s a quick guide:
- Mark the spots on the wall where the screws will go.
- Drill holes in these spots and insert wall anchors.
- Align your driftwood with the wall anchors and screw it into place.
Maintenance Tips
To keep your driftwood jewelry hanger looking its best, it may need occasional maintenance.
Dusting and Cleaning
Regularly dust your driftwood jewelry hanger to prevent buildup. Use a soft cloth or a feather duster to gently clean it.
Checking the Hooks
Make sure the hooks or pegs remain secure over time. If they become loose, tighten them to ensure they can safely hold your jewelry.
Reapplying Sealer
If you chose to apply a sealer, it might wear off over time, especially in humid conditions. Check every few months and reapply if necessary.
Creative Variations
There are endless ways to customize and vary your driftwood jewelry hanger.
Multi-Layered Hangers
For those with a large jewelry collection, consider creating a multi-layered hanger using multiple pieces of driftwood. Stack them at different heights to create a tiered effect.
Mixed Material Hangers
Combine driftwood with other materials like metal rods or leather strips for a mixed-media approach. This can add different textures and elements to your design.
Seasonal Themes
Change the look of your jewelry hanger seasonally by adding temporary decorations like fall leaves, winter berries, or spring flowers. This keeps your jewelry hanger fresh and festive all year round.
Personal Stories and Testimonials
Still unsure if this project is for you? Here are a few personal stories from individuals who have undertaken this DIY driftwood jewelry hanger project:
Rachel’s Story
“I found a beautiful piece of driftwood on a family beach trip and decided to turn it into a jewelry hanger. It now hangs in my bedroom and reminds me of that special day every time I look at it. Plus, my jewelry is so much more organized!”
Tom’s Story
“As someone who loves working with my hands, creating this jewelry hanger was incredibly rewarding. My wife loved it, and now she has a beautiful way to display her necklaces. The project was straightforward, and we added some shells from our honeymoon to make it extra special.”
Amelia’s Story
“I always had issues finding the right way to store my earrings. This DIY project was a game-changer. I never realized how easy it would be to make something so functional and beautiful. The natural look of driftwood fits perfectly with my room’s decor.”
Final Thoughts
Creating your own DIY Driftwood Jewelry Hanger is a fantastic way to combine functionality with creativity. It’s a project that connects you to nature and contributes to sustainability while solving a common household problem. Plus, it’s rewarding to see your jewelry displayed in such a beautiful and personal way.
So, why not give it a try? Take a stroll on the beach, find your perfect piece of driftwood, and transform it into a stunning jewelry hanger that will bring joy to your daily routine. Happy crafting!