Diy Driftwood Jewelry Holder
Welcome to your next creative adventure! In this guide, you’ll discover how to craft your very own DIY driftwood jewelry holder. Using nature’s own stunning materials, you’ll transform a simple piece of driftwood into a beautiful and functional display for your favorite jewelry. This project not only adds a touch of rustic charm to your decor but also showcases your unique style and ingenuity. Get ready to roll up your sleeves and bring a piece of the beach into your home with this easy and fun DIY project. Have you ever found yourself frustrated with tangled necklaces, missing earrings, or a cluttered jewelry box? If you’re nodding your head, you’re just like so many of us. But what if I told you that you could turn an afternoon project into an elegant solution that not only organizes your jewelry but also brings a touch of nature into your home décor? Let’s delve into creating a DIY Driftwood Jewelry Holder!


What You’ll Need
Before we get started, it’s essential to gather all the necessary materials. Don’t worry – this project is straightforward, and most of these items can be found at home or sourced easily.
Materials List
Here’s a handy table to list down what you’ll need:
| Item | Description |
|---|---|
| Driftwood | A piece of driftwood, ideally about 12-18 inches long and sturdy enough to hold jewelry. |
| Small Hooks | Metal cup hooks available at any hardware store. |
| Sandpaper | Optional, for smoothing out rough edges of your driftwood. |
| Drill (Optional) | To make holes for the hooks if the wood is very hard. |
| Acrylic Paints (Optional) | If you wish to paint or decorate your driftwood. |
| Paintbrushes | For applying the paint. |
| Stencils (Optional) | For adding designs or patterns to your driftwood. |
| Twine or Fishing Line | To hang your driftwood if you prefer wall mounting. |
| Measuring Tape | To help measure spacing for hooks. |
| Pencil | To mark where hooks will go. |
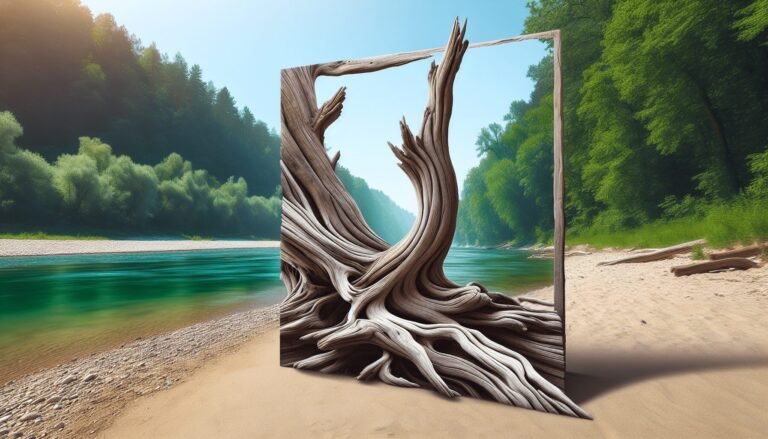
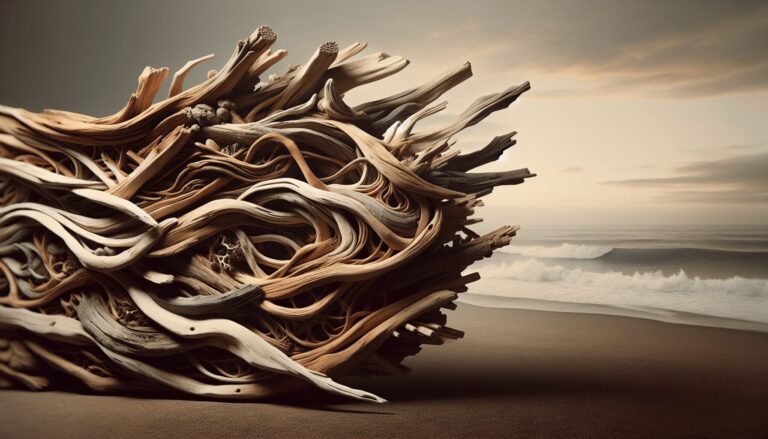
Picking the Perfect Driftwood
The star of the show here is undoubtedly the driftwood. You can find driftwood along riverbanks, beaches, or even in some craft or decor stores. Just make sure to choose a piece that is solid enough to hold the weight of your jewelry but is still light enough to hang on a wall if that’s your plan.
Preparing the Driftwood
Now that you have all your materials, let’s prepare the driftwood. Driftwood can have some rough edges or can be dirty, so here’s how to prep it.
Cleaning
First off, clean your driftwood. Use a scrub brush and some soapy water to get rid of any dirt or debris. If your driftwood comes from the ocean, make sure to remove any salt by soaking it in distilled water for a day.
Sanding
While driftwood usually has a naturally beautiful texture, you might want to sand down any rough spots. This will make handling the driftwood easier and ensure that your jewelry won’t snag on any splinters. Use medium to fine-grit sandpaper for this job.
Optional: Adding Paint or Designs
If plain driftwood is too understated for your liking, feel free to get creative!
Painting
Acrylic paints are a fantastic choice for this. You could give your driftwood a faux-dip effect by painting just the ends or cover the entire piece in a uniform color.
Adding Designs
Use stencils to add patterns like polka dots, geometric shapes, or even floral designs. This step is entirely optional but can add a personal touch to your jewelry holder.

Installing the Hooks
Once your driftwood is prepped and decorated to your liking, it’s time to add the hooks. These hooks will hold your jewelry, so spacing and installation are essential.
Measuring and Marking
Using a measuring tape, mark the spots where you’ll insert the hooks. A good rule of thumb is to space them 1.5 to 2 inches apart. Use a pencil for marking these spots, and ensure they are evenly spaced.
Drilling Holes (If Necessary)
If your driftwood is particularly hard, you might need to drill small pilot holes where your hooks will go. Use a bit slightly smaller than the width of the hook’s screw end.
Screwing in the Hooks
Using your hand or pliers, screw in the hooks at the marked spots. Make sure they are firmly in place.
Hanging Your Jewelry Holder
Once the hooks are installed, you have a choice: hang it on the wall or place it on a tabletop. Both display methods have their own charm.
Wall Mounting
Twine or Fishing Line
Attach the twine or fishing line to each end of your driftwood. You can do this by drilling small holes in each end and tying the twine/fishing line through them, or by wrapping it around the ends securely.
Mounting Hooks
Hammer nails or hooks into the wall where you want to hang your jewelry holder. Ensure they are level and capable of supporting the weight of the driftwood and your jewelry.
Tabletop Display
If you prefer a tabletop display, simply place the driftwood on your vanity, desk, or dresser. You can use clear adhesive pads on the base if needed to prevent it from sliding.

Organizing Your Jewelry
Now comes the fun part – organizing your jewelry! Here are some tips to make the most of your new driftwood holder.
Necklaces
Use the hooks to hang necklaces. This will prevent them from tangling and make it easier to find the one you want to wear.
Earrings
For earrings, especially those with hooks, hang them directly on the metal hooks or, if you have enough space, on the edge of the driftwood itself.
Rings and Bracelets
Bracelets can hang alongside necklaces on the hooks, while rings could be placed on the very ends or just draped over the hooks.
Customizing for Your Needs
If you have a lot of a particular type of jewelry, customize the number of hooks or add additional elements, like wire or extra hooks, to better suit your collection.
Conclusion
Creating a DIY Driftwood Jewelry Holder is not only a practical solution for organizing your jewelry but also a fun, artistic project that adds a rustic charm to your home décor. Whether you prefer a natural look, or a painted, stenciled design, the personalization options are endless.
With just a few materials and an afternoon of crafting, you’ll have a beautiful and functional piece that simplifies your jewelry arrangement and adds a touch of nature-inspired beauty to your space. Happy crafting!