Diy Driftwood Jewelry Stand
You’re about to discover a delightful project that effortlessly combines functionality with natural beauty. In this guide to creating your very own DIY Driftwood Jewelry Stand, you’ll learn how to transform a simple piece of driftwood into a charming and unique jewelry display. Perfect for showcasing your favorite pieces, this stand adds a touch of coastal elegance to your space while keeping your accessories neatly organized. Dive into the steps and enjoy the satisfaction of crafting a stand that is as practical as it is beautiful. Have you ever stumbled upon a beautiful piece of driftwood during a beach stroll and wondered what you could do with it? If so, let me introduce you to the perfect project: a DIY Driftwood Jewelry Stand! This easy and creative endeavor not only puts those lovely pieces of naturally sculpted wood to good use but also adds a unique, rustic charm to your home decor. Plus, it provides a practical solution for organizing your jewelry.


In this guide, you’ll learn everything you need to know to create your very own driftwood jewelry stand. Let’s get started!
Why Choose Driftwood for a Jewelry Stand?
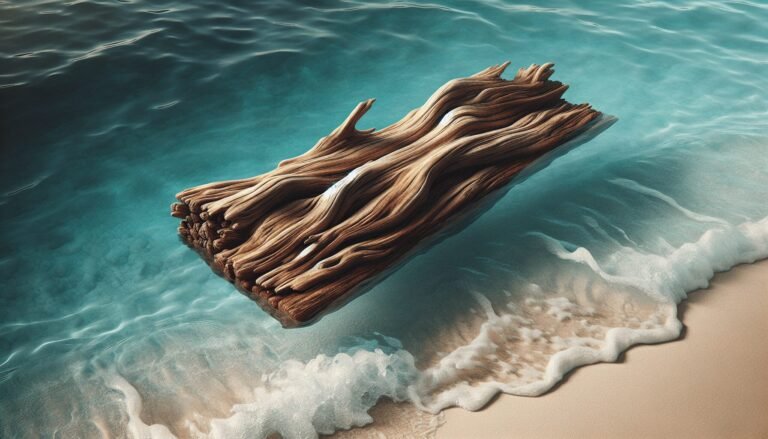
Driftwood is a versatile and aesthetically pleasing material that can add a touch of nature and personality to any space. It’s sturdy enough to support hanging items, yet light and whimsical in appearance. Each piece of driftwood is unique, so your jewelry stand will truly be one-of-a-kind. Moreover, collecting driftwood can be an enjoyable outdoor activity, allowing you to reconnect with nature.
Benefits of Using Driftwood
Using driftwood for your jewelry stand offers several benefits:
- Eco-Friendly: Repurposing driftwood is a form of recycling and reduces waste.
- Cost-Effective: Driftwood can often be collected for free, making it an economical choice.
- Aesthetic Appeal: The natural look of driftwood adds a rustic and organic charm to your decor.
- Customizable: Each piece of driftwood is unique, giving you the opportunity to create a stand that reflects your personal style.
Materials You’ll Need
Once you’ve secured your piece of driftwood, the next step is gathering the necessary materials. Here’s a handy list to get you started:
| Materials | Purpose |
|---|---|
| Driftwood | Main structure of the jewelry stand |
| Sandpaper | For smoothing out rough edges on the driftwood |
| Small hooks or nails | Used to hang jewelry |
| Wooden base (optional) | Provides extra stability for your stand (if necessary) |
| Screws and screwdriver | For attaching the driftwood to its base if using one |
| Paint or wood stain (optional) | For adding color or protecting the wood |
| Small saw or rotary tool (optional) | For modifying the driftwood |
| Measuring tape or ruler | To ensure proper placement of hooks/nails |
| Pencil or marker | For marking placements |
| Sealant (optional) | To protect the wood from further wear and tear |
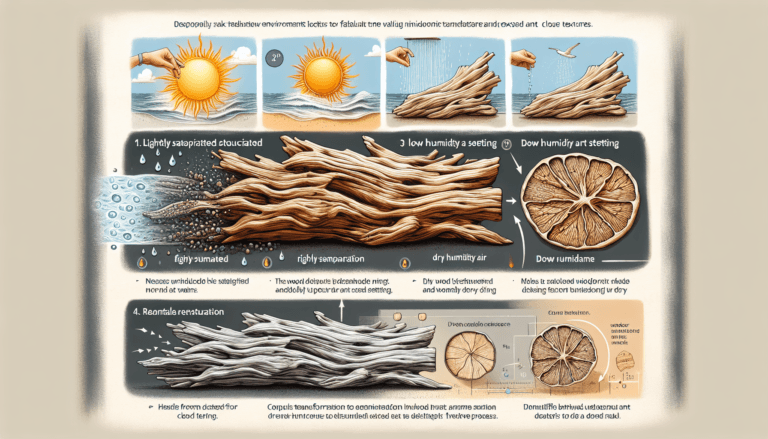
Preparing the Driftwood
Preparation is key to making sure your driftwood is clean, smooth, and ready for use.
- Cleaning: Rinse the driftwood under fresh water to remove any dirt, salt, or debris. If it’s particularly dirty, you can use a soft brush and mild soap.
- Drying: Allow the driftwood to dry completely. This could take a few days, so be patient.
- Sanding: Use sandpaper to smooth out rough or sharp edges. Be careful not to over-sand, as you want to preserve the natural look and feel of the wood.
- Cutting: If necessary, use a small saw or rotary tool to trim the driftwood to your desired shape and size.

Designing Your Stand
Now, for the fun part – designing your stand! Think about the type and amount of jewelry you plan to display. Will you need more hooks for necklaces and bracelets, or a flat area to hold rings and earrings? Visualize your ideal stand and sketch a rough design if that helps.
Placement of Hooks or Nails
Careful planning and placement of hooks or nails will ensure your jewelry stand is both functional and visually appealing.
- Marking: Use a pencil or marker to mark where each hook or nail will go. Even spacing is key to avoid a cluttered look.
- Measuring: Use a measuring tape or ruler to maintain symmetry and balance. This step is especially important if you’re a perfectionist!
- Installing: Screw in the hooks or hammer the nails into the marked spots. Make sure they are secure enough to hold the weight of your jewelry.
Optional Base
If your piece of driftwood is not stable enough to stand on its own, consider adding a base.
- Choosing a Base: Select a flat, sturdy piece of wood that complements the driftwood.
- Attaching the Driftwood: Use screws and a screwdriver to attach the driftwood to the base. Make sure the attachment is strong and stable.
- Finishing Touches: Sand and paint or stain the base to match or complement the driftwood.
Adding Color and Protection
While natural driftwood has its own charm, you might want to add some color or a protective finish.
- Painting: Choose a paint color that matches your decor. Use a brush to apply a thin, even coat. Allow it to dry, and add additional coats if necessary.
- Staining: If you prefer a more natural look, consider using a wood stain. Apply using a cloth or brush, following the direction of the wood grain.
- Sealing: To protect your jewelry stand from wear and tear, consider applying a wood sealant. This will also enhance the natural beauty of the driftwood.
Assembly and Final Adjustments
With all parts prepared, it’s time to assemble your jewelry stand. Double-check all connections and make sure everything is secure. Place it in the desired location and make any final adjustments.
Testing
Test the stability and functionality of your stand by hanging a few pieces of jewelry. Make any necessary tweaks to ensure it meets your needs.
Displaying Jewelry
Arrange your jewelry on the stand in a way that showcases your favorite pieces. This is your chance to get creative and have fun with your new stand!

Maintenance Tips
Although driftwood is relatively low-maintenance, a few simple steps can keep your stand looking its best:
- Dust Regularly: Use a soft cloth to dust the driftwood and jewelry.
- Avoid Moisture: Keep the stand in a dry area to prevent any potential warping or mold growth.
- Re-seal if Needed: If you notice the wood looking dull or worn, consider applying another coat of sealant.
Additional Ideas for Customization
Once you’ve created your driftwood jewelry stand, you might want to explore more ways to customize it. Here are some ideas:
- Add Beads or Shells: Glue shells, beads, or other small decorations to the driftwood for a beachy vibe.
- Include a Mirror: Attach a small mirror to the base or to a branch of the driftwood for added functionality.
- Incorporate Lighting: Wrap a string of fairy lights around the driftwood for a whimsical look that highlights your jewelry.
Troubleshooting Common Issues
Creating something by hand often comes with its own set of challenges. Here are a few common issues you might encounter and how to solve them:
| Issue | Solution |
|---|---|
| Driftwood is unstable | Make sure the base is flat and secure, or use a heavier base |
| Hooks or nails are loose | Ensure they are tightened properly, or use a stronger adhesive |
| Uneven placement of hooks | Measure again and adjust as needed |
| Paint or stain not adhering | Sand the surface lightly and reapply |
Inspiration and Variations
The classic driftwood jewelry stand is just one way to use driftwood creatively. Here are some variations and inspiration:
Driftwood Wall Hanger
Instead of a stand, create a driftwood wall hanger.
- Flat Driftwood Piece: Choose a relatively flat piece of driftwood.
- Wall Mounting: Attach hooks to the driftwood and mount it on the wall.
- Decorative Hooks: Use decorative hooks that match your room’s theme.
Driftwood Earring Holder
This version focuses exclusively on earrings.
- Drill Small Holes: Drill small holes in the driftwood to insert earring posts.
- Hanging Display: String a wire or thin rope through the driftwood to hang it.
Combination Stand
For those with lots of jewelry, combine features of different designs.
- Multiple Branches: Use a piece of driftwood with several branches.
- Mixed Hooks and Holes: Incorporate both hooks and drilled holes.
- Base and Wall Mount: Use both a base for stability and wall mounting for added strength.
Conclusion
Creating a DIY Driftwood Jewelry Stand is an enjoyable and rewarding project that combines creativity, practicality, and a touch of nature. It’s a fantastic way to organize your jewelry while showcasing the unique beauty of driftwood. From choosing the perfect piece of driftwood and preparing it properly to adding custom touches and ensuring its stability, every step offers a chance to infuse your personal style into the project.
Now that you have all the knowledge you need, it’s time to roll up your sleeves and start crafting! Whether it’s for your own use or as a thoughtful, handmade gift, a driftwood jewelry stand is sure to be a cherished piece.
Happy crafting!