Driftwood Branch Art
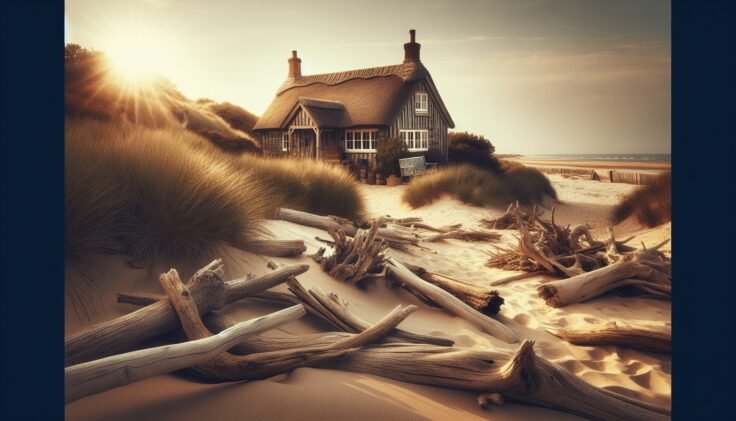
Imagine transforming driftwood branches found on the beach into captivating pieces of art that will add a unique touch to any space. Driftwood Branch Art is a stunning form of creativity that combines the beauty of nature with artistic expression. These intricately designed pieces utilize the natural curves and textures of driftwood to create eye-catching sculptures and wall hangings that are both rustic and elegant. Whether you are looking to add a statement piece to your living room or a whimsical touch to your garden, Driftwood Branch Art provides a timeless and eco-friendly way to adorn your surroundings with nature’s own artwork.


Introduction
Welcome to the wonderful world of driftwood branch art! If you’re looking to add a touch of nature and creativity to your home, this is the perfect craft for you. Driftwood branch art allows you to take pieces of nature and transform them into beautiful sculptures, wall hangings, mobiles, decorative vases, and table centerpieces. In this comprehensive article, we will explore the various types of driftwood branch art and the materials you will need to get started. We will also guide you through the process of finding and preparing driftwood, as well as the step-by-step instructions for creating each type of art. So grab a saw and some wood glue, and let’s dive into the world of driftwood branch art!
Types of Driftwood Branch Art
Sculptures
Driftwood sculptures are a fantastic way to bring the beauty of nature into your home. From abstract designs to intricate animal figures, the possibilities are endless when it comes to sculpting with driftwood branches. With the right tools and a bit of creativity, you can create stunning three-dimensional pieces of art that will become the focal point of any room.
Wall Hangings
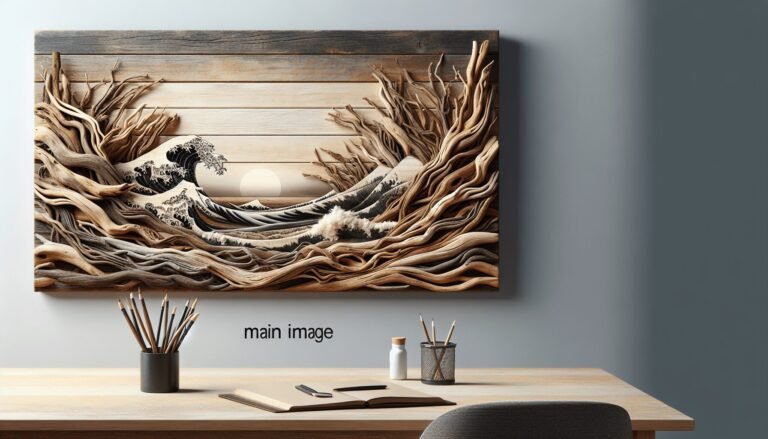
Driftwood wall hangings are a popular choice for those who want to add a touch of rustic charm to their walls. By carefully selecting and arranging driftwood branches, you can create unique and visually appealing pieces of art that will give your home a warm and cozy atmosphere. Whether you prefer a simple and elegant design or a more complex and eye-catching arrangement, driftwood wall hangings are sure to add a natural and artistic element to your living space.
Mobiles
If you’re looking for a whimsical and captivating piece of art, driftwood mobiles are the way to go. These hanging sculptures allow the driftwood branches to gracefully sway and dance with the breeze, creating a sense of movement and tranquility. By choosing branches of various lengths and sizes and carefully balancing them, you can create a mobile that is both visually stunning and soothing to the soul.
Decorative Vases
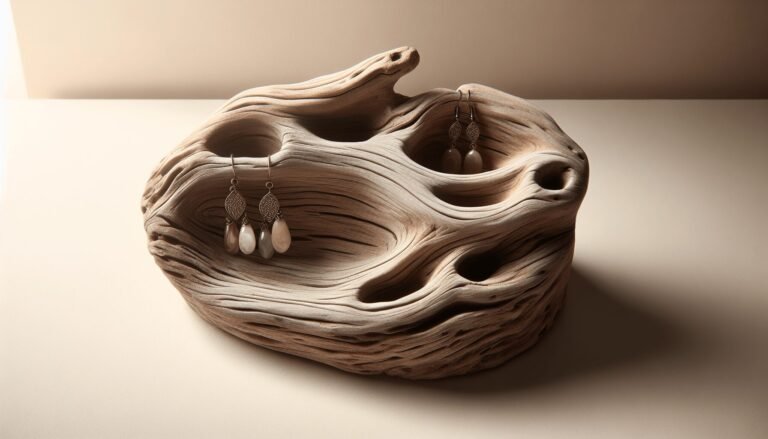
Driftwood decorative vases are a unique and creative way to display your favorite flowers and greenery. By attaching driftwood branches to a glass vase, you can create a one-of-a-kind centerpiece that will add a touch of natural beauty to any room. Whether you prefer a minimalist design or something more elaborate, driftwood vases are sure to add a touch of elegance and charm to your home decor.
Table Centerpieces
If you’re preparing for a special dinner or event, a driftwood table centerpiece can be a stunning addition to your tablescape. By selecting driftwood branches that complement your theme or color scheme, you can create a centerpiece that is both visually striking and conversation-starting. Whether you choose to incorporate candles, flowers, or other natural elements, a driftwood table centerpiece is sure to impress your guests and create a memorable dining experience.

This image is property of images.pexels.com.
Materials Required
Before embarking on your driftwood branch art journey, it’s important to gather the necessary materials. Here’s a list of the items you’ll need to get started:
Driftwood branches
The most essential part of any driftwood branch art project is, of course, the driftwood branches themselves. You can find these beautiful pieces of wood along beaches, riverbanks, or even in lakes. Look for branches that have interesting shapes and textures, as they will add character to your art.
Saw or pruners
To cut and shape your driftwood branches, you’ll need a saw or pruners. Choose a saw or pruners that are appropriate for the size and thickness of the branches you’ll be working with.
Sandpaper
Sandpaper will be necessary to smooth out any rough edges or surfaces on your driftwood branches. Depending on the condition of the branches you find, you may need both coarse and fine-grit sandpaper.
Wood glue
Wood glue will be used to secure your driftwood branches together. Choose a strong adhesive that is suitable for outdoor use, as it will help ensure the longevity of your artwork.
Wire or fishing line
Wire or fishing line will come in handy when assembling your driftwood branches for sculptures, wall hangings, and mobiles. These will be used to secure the branches together and create the desired form or pattern.
Paint or varnish
If you wish to add color or protect your driftwood art, you may choose to use paint or varnish. This step is optional and will depend on your personal preference and the overall look you’re aiming to achieve.
Now that you have the necessary materials, let’s move on to the process of finding and preparing your driftwood.
Finding and Preparing Driftwood
Beachcombing for Driftwood
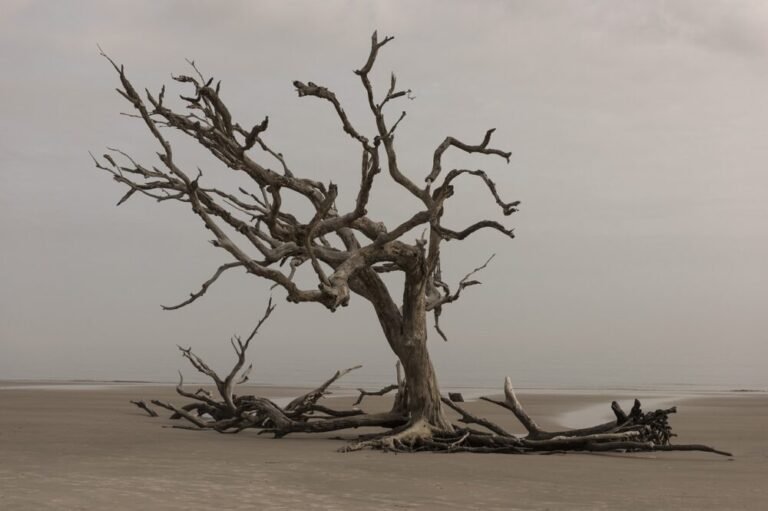
One of the most exciting parts of working with driftwood is the thrill of the hunt. To find suitable driftwood branches, head to a beach near you. Keep an eye out for branches that have been washed up by the waves or are lodged in the sand. Look for pieces that have interesting shapes, textures, and colors. Remember to respect the environment and only collect driftwood that is allowed to be removed from the beach.
Cleaning and Sanitizing
Before using your collected driftwood, it’s important to clean and sanitize it to remove any dirt, debris, or potential odors. Start by rinsing the branches with clean water to remove loose dirt and sand. Then, soak them in a mixture of water and mild detergent for a few hours. Scrub the branches gently with a soft brush to remove any stubborn grime. Rinse thoroughly and pat dry with a clean towel.
Drying and Curing
After cleaning, allow your driftwood branches to air dry completely in a well-ventilated area. This process may take several days or even weeks, depending on the thickness and moisture content of the wood. Avoid using heat sources to speed up the drying process, as this can cause the wood to crack or warp. Once your driftwood is dry, it’s time to unleash your creativity and start creating your masterpiece.

This image is property of images.pexels.com.
Creating Driftwood Sculptures
Designing a Concept
Before you begin assembling your driftwood branches, it’s helpful to have a clear concept or design in mind. Sketch out your ideas or create a mood board to explore different possibilities. This will serve as a guide and help you create a sculpture that is cohesive and aesthetically pleasing.
Assembling the Branches
Start by selecting the main branch or branches that will form the foundation of your sculpture. Arrange the rest of the branches around it, experimenting with different angles and positions until you achieve the desired look. Once you’re satisfied with the arrangement, mark the positions of the branches with a pencil or tape to help you remember their placement.
Securing Branches with Glue or Wire
To ensure that your driftwood sculpture remains intact, it’s important to secure the branches together. Depending on the size and weight of the branches, you can use wood glue or wire to hold them in place. Apply a small amount of wood glue to the joints where the branches meet, then press them together firmly. Alternatively, you can use wire to wrap around the joints and twist it tight to keep the branches securely attached.
Finishing and Sealing
Once your driftwood sculpture is assembled, you may choose to leave it in its natural state or apply a protective finish. If you decide to add a finish, use a paintbrush to apply a clear varnish or sealer to the entire piece. This will help protect the wood from environmental damage and add a beautiful sheen to the sculpture.
Making Driftwood Wall Hangings
Selecting the Branches
When creating a driftwood wall hanging, it’s important to select branches that have interesting shapes and sizes. Look for pieces that will complement each other when arranged vertically or horizontally on the wall.
Arranging the Branches
Before attaching the branches, lay them out on a flat surface to experiment with different arrangements. Play around with the spacing, angles, and heights to create a visually appealing composition. Once you’re satisfied with the design, take a photo or make a sketch to help guide you during the attachment process.
Attaching the Branches
To attach the branches, apply wood glue to the back of each piece and press it firmly against the wall. Start with the larger, more stable branches and work your way towards the smaller, more delicate ones. Be sure to leave enough space between the branches to maintain your desired design. If additional support is needed, you can also secure the branches with wire or fishing line.
Adding Decorative Elements
To enhance the visual appeal of your driftwood wall hanging, consider adding decorative elements such as seashells, beads, or feathers. Attach these additional elements using hot glue or wire, being mindful of their weight and balance. The goal is to create a piece that is visually stunning and uniquely yours.

This image is property of images.pexels.com.
Constructing Driftwood Mobiles
Choosing the Branches
When it comes to driftwood mobiles, you’ll want to select branches that vary in length, thickness, and shape. This will create a visually interesting and balanced composition. Look for branches with natural bends or curves that will add movement to the mobile.
Stringing the Branches
To create the mobile, choose a sturdy piece of wire or fishing line and cut it to the desired length. Tie a loop at one end to hang the mobile from a hook or ceiling. Attach the branches to the wire or fishing line at various intervals, using knots or small pieces of wire to secure them. As you attach the branches, step back and assess the balance and movement of the mobile, making adjustments as needed.
Balancing the Mobile
Achieving balance is crucial when creating a driftwood mobile. Test the mobile by gently blowing on it or giving it a light tap to see if it sways evenly. Adjust the position of the branches or add additional weights as necessary to achieve a fluid and balanced movement.
Adding Decorative Elements
To add an extra touch of charm to your driftwood mobile, consider incorporating decorative elements such as feathers, beads, or hanging crystals. Attach the decorative elements to the bottom tips of the branches using small pieces of wire or fishing line. Ensure that the weight of the decorations does not disrupt the overall balance of the mobile.
Designing Driftwood Decorative Vases
Selecting a Glass Vase
When choosing a glass vase for your driftwood decoration, consider the size, shape, and color that will best complement your driftwood branches. Opt for a clear or lightly tinted vase to allow the natural beauty of the driftwood to shine through.
Attaching Driftwood Branches
To attach the driftwood branches to the vase, apply wood glue to the areas where the branches will come into contact with the glass. Press the branches onto the glass, holding them in place for a few moments to ensure proper adhesion. Arrange the branches in a visually pleasing manner, either horizontally or vertically, depending on the design you envision.
Customizing with Additional Elements
To enhance the decorative appeal of your driftwood vase, consider adding additional elements such as twine, sea glass, or shells. Wrap twine around the neck of the vase in a spiral pattern or glue sea glass and shells directly onto the driftwood branches. These extras will add a charming and personalized touch to your home decor.

Creating Driftwood Table Centerpieces
Choosing the Base
The base of your driftwood table centerpiece can be a simple wooden tray, a beautiful ceramic dish, or anything else that fits your desired theme or aesthetic. Take into consideration the size and shape of the base to ensure it can hold the weight and accommodate the placement of the driftwood branches.
Arranging the Branches
Start by arranging your driftwood branches on the base in a way that is visually pleasing. Experiment with different heights, angles, and groupings to create an interesting and balanced composition. Take a step back and evaluate the arrangement from different angles to ensure it looks appealing from all sides.
Adding Other Natural Elements
To enhance the natural appeal of your driftwood centerpiece, consider adding other elements such as rocks, moss, or fresh flowers. These additional natural elements will create a harmonious and cohesive look that will captivate your guests.
Final Touches
Once you’re satisfied with the arrangement of the driftwood branches and other natural elements, take a moment to make any final adjustments. Ensure that the centerpiece is stable and secure on the base, and that all elements are properly attached. Step back and admire your creation before placing it in the center of your table, ready to impress your guests.
Conclusion
Congratulations on completing your journey into the world of driftwood branch art! From sculptures to wall hangings, mobiles to decorative vases, and table centerpieces, you have learned the techniques and steps needed to create beautiful and unique pieces of art using driftwood branches. Remember to let your creativity flow, experiment with different designs, and embrace the natural beauty of the driftwood. Whether you’re a seasoned artist or a beginner, driftwood branch art is a fantastic way to express your creativity and bring a touch of nature into your home. So gather your materials, head to the beach, and let the artistry begin. Happy crafting!