Driftwood Branch Wall Art
Imagine transforming a plain wall into a captivating natural masterpiece with driftwood branch wall art. In the article, “Driftwood Branch Wall Art,” you’ll discover the enchanting beauty and rustic charm that driftwood brings to your living spaces. You’ll learn how each uniquely weathered piece tells a story of its journey through water and time, making your decor as unique as your personal style. Get ready to dive into the world of driftwood and find inspiration for creating one-of-a-kind art that will make your home feel cozy, serene, and naturally beautiful. Have you ever wandered along a beach, picked up a piece of driftwood, and wondered what you could create with it? Driftwood branch wall art might be just the DIY project you need to bring a touch of nature into your home décor. This rustic yet elegant art form transforms simple weathered wood into stunning pieces of wall art. Whether you’re an avid DIY enthusiast or just looking for a new creative outlet, driftwood branch wall art offers endless possibilities to express your artistic flair.
[affiai]
What is Driftwood Branch Wall Art?
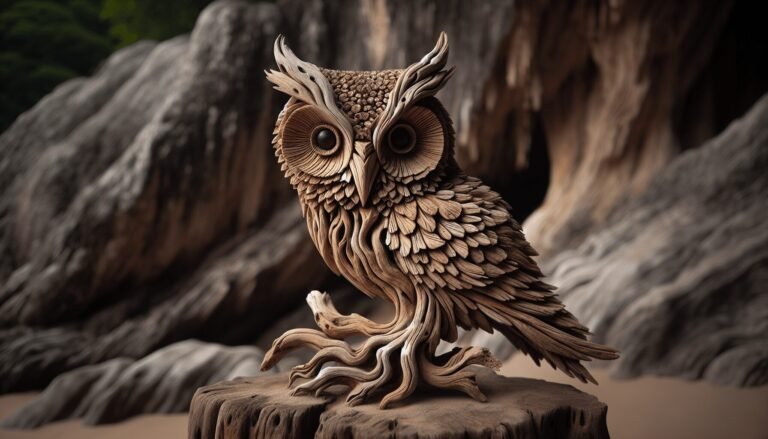
Driftwood branch wall art is an art form that uses driftwood, often found along beaches or riverbanks, to create decorative wall pieces. The natural, weathered look of driftwood gives each piece a unique character that can’t be replicated by machine-made products. Driftwood’s soft, worn texture often carries a sense of history and mystery, evoking the journey it took to get to you.
Driftwood branch wall art can range from simple, minimalist designs to complex, intricate patterns. Whether you hang a single, beautifully weathered branch on your wall or create an elaborate driftwood sculpture, each piece has its own story and distinct charm.
Why Driftwood?
Connection to Nature
Creating driftwood branch wall art allows you to bring a touch of nature into your home. Driftwood is not only beautiful but also sustainable, as using it for art repurposes a material that would otherwise be considered waste.
Unique Aesthetic
No two pieces of driftwood are alike. The variations in color, texture, and shape make each piece of driftwood branch wall art a one-of-a-kind creation. This uniqueness adds a personal touch to your home décor that mass-produced items simply can’t provide.
Therapeutic and Fun
Working with driftwood can be a relaxing and meditative process. The act of collecting driftwood can be an enjoyable outdoor activity that connects you with nature, while the crafting process allows you to express your creativity.

Where to Find Driftwood
Local Beaches and Riverbanks
One of the most common places to find driftwood is along beaches and riverbanks. Driftwood is often washed ashore by tides and currents, collecting in nooks and crannies along the waterfront. Walking along these areas can yield a variety of shapes and sizes perfect for your art projects.
Online Marketplaces
If you’re not near a natural source of driftwood, you can find it on online marketplaces like Etsy, eBay, or specialized websites that sell driftwood for crafts. These pieces are often cleaned and ready to use, which can save you some preparation time.
Craft Stores
Some craft stores carry driftwood in their natural décor section. While these pieces might be more uniform in shape and size, they can still serve as excellent materials for your wall art.
Preparing Driftwood for Art
Once you’ve collected your driftwood, it’s essential to prepare it before turning it into a piece of art.
Cleaning the Driftwood
The driftwood might have dirt, algae, or other marine life attached to it. Cleaning is an essential step to ensure your art piece is hygienic and long-lasting.
- Rinse the Driftwood: Use freshwater to rinse off any dirt or debris.
- Soak in Bleach Solution: Soak the driftwood in a solution of nine parts water to one part bleach for 24 hours to kill any remaining bacteria or organisms.
- Rinse Again: Rinse thoroughly to remove any bleach.
- Dry: Allow the driftwood to dry completely, preferably in the sun, to ensure it’s ready for crafting.
Inspecting for Stability
Before starting your project, check each piece of driftwood for stability. Make sure there are no weak sections or cracks that could break during the crafting process. Stable pieces will ensure the longevity and integrity of your finished wall art.
Final Sanding
A light sanding can help to smooth out any rough or sharp edges. Use fine-grit sandpaper to preserve the natural texture while making the wood safer to handle.

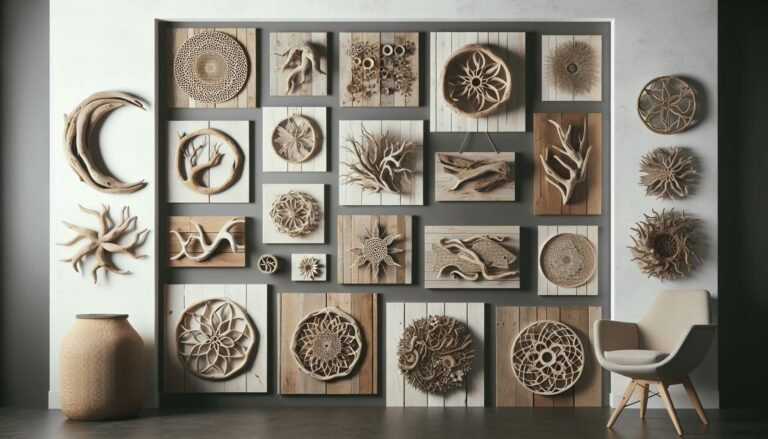
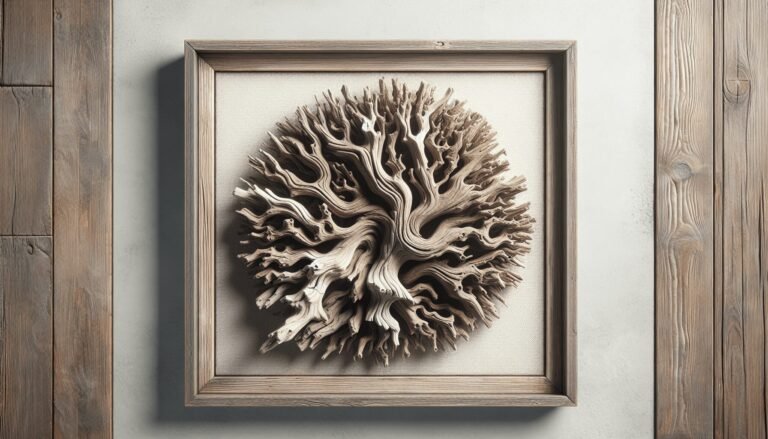
Design Ideas for Driftwood Branch Wall Art
Minimalist Designs
If you prefer a simple yet elegant approach, consider creating minimalist designs. A single piece of driftwood, carefully chosen for its unique shape, can make a striking statement when mounted against a plain wall.
Driftwood Collage
For a more intricate piece, gather several branches and arrange them in a collage. You can place them horizontally, vertically, or in a more random, natural pattern. This type of wall art can serve as an eye-catching centerpiece in any room.
Combined with Other Natural Elements
Driftwood pairs beautifully with other natural elements like shells, stones, or feathers. Creating a mixed-media piece can add depth and complexity to your art.
Themed Designs
Consider creating themed designs based on your interests or décor style. For instance, you could craft a nautical-themed piece with driftwood, rope, and seashells, or a forest-inspired design with pieces that resemble branches and leaves.
Functional Art
Driftwood is not only for decoration. You can create functional pieces like coat racks, key holders, or shelving using driftwood branches. These items combine utility with rustic beauty, adding both style and functionality to your home.
Step-by-Step Guide to Creating Driftwood Branch Wall Art
Materials Needed
| Material | Description |
|---|---|
| Driftwood | Collected or purchased, clean and dry |
| Sandpaper | Fine-grit for smoothing rough edges |
| Saw | If you need to trim the driftwood to fit your design |
| Screws/Nails | For mounting pieces together |
| Wire | For hanging the finished piece |
| Drill | For making holes if necessary |
| Glue | Strong adhesive for securing smaller pieces |
| Varnish | Optional, to finish and seal the wood |
| Protective Gear | Gloves, eye protection, mask (for sanding) |
Planning Your Design
- Visualize the Layout: Before you start attaching pieces together, lay out your driftwood on the floor or a large table to visualize the final design.
- Sketch It Out: Draw a rough sketch of your intended design to guide you through the construction process. This helps in determining which pieces fit best and where.
Constructing the Art
- Attach Base Pieces: If your design has a base, start by attaching the largest or main driftwood pieces. Use screws or nails for secure attachment.
- Add Smaller Pieces: Gradually add smaller pieces according to your design, attaching them securely with glue or screws.
- Allow Time for Drying: If using glue, ensure each piece is fully dry before moving on to prevent shifting or misalignment.
Finishing Touches
- Sand Rough Edges: After constructing the piece, sand any remaining rough edges to ensure a smooth finish.
- Apply Varnish: If you prefer a polished look, apply a coat of varnish to seal and protect the wood. This can also enhance the wood’s natural grain and color.
- Attach Hanging Hardware: Securely attach wire or other hanging hardware to the back of the piece, ensuring it can support the weight of your art.
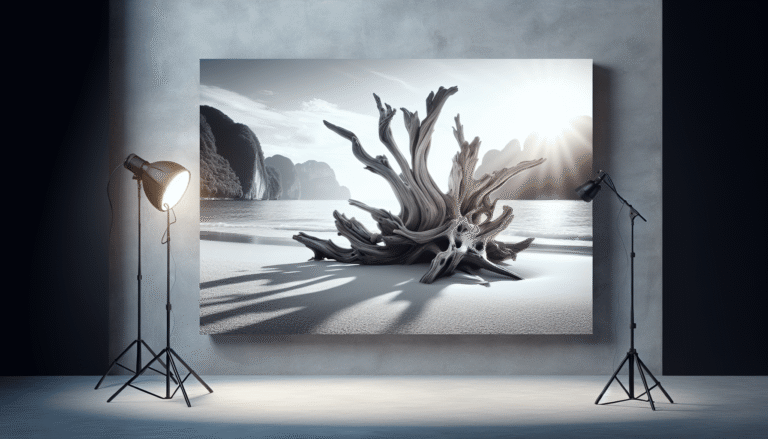
Tips for Displaying Driftwood Branch Wall Art
Choosing the Right Wall
Select a wall that complements the natural aesthetic of driftwood. Neutral colors often work best, allowing the wood’s unique features to stand out. A well-lit area will highlight the textures and nuances of your art.
Height and Placement
Consider the height at which you hang your art. Eye level is typically the most effective for large pieces, while smaller pieces can be grouped together in a gallery-style arrangement. Ensure the placement allows for easy viewing and appreciation.
Lighting Effects
Proper lighting can enhance the beauty of your driftwood branch wall art. Use soft, diffused lighting to cast gentle shadows and highlight the textures. Avoid harsh direct light that can create glare and reduce the natural appeal.
Caring for Your Driftwood Art
Regular Dusting
Dust your driftwood art regularly using a soft cloth or brush. This prevents buildup that can dull the wood’s natural beauty.
Avoid Humidity
Excessive humidity can affect the wood’s stability. Ensure your driftwood art is displayed in a well-ventilated area to maintain its condition over time.
Occasional Inspection
Periodically inspect your art for any signs of wear or damage. Tighten screws or reapply glue if necessary to keep your piece in good shape.
Selling Your Driftwood Art
If you find yourself creating multiple pieces of driftwood branch wall art, you might consider selling them. Here are some tips to get started:
Online Platforms
Platforms like Etsy, eBay, and Amazon Handmade are great places to sell your driftwood art. These websites have a large audience of customers looking for unique, handcrafted items.
Art and Craft Fairs
Local art and craft fairs can be excellent venues to showcase your work. These events allow you to interact directly with customers and receive feedback on your art.
Social Media
Social media platforms like Instagram and Pinterest are perfect for visual art. Regularly post high-quality photos of your driftwood art to attract followers and potential buyers.
Pricing Your Art
When pricing your driftwood art, consider the cost of materials, time spent, and the uniqueness of each piece. Research similar items to ensure your pricing is competitive yet fair.
Conclusion
Driftwood branch wall art is a unique and versatile way to bring a piece of nature into your home. Each piece of driftwood carries its own story and history, adding a touch of rustic charm and elegance to your décor. Whether you create minimalist designs or intricate collages, driftwood offers endless possibilities for creative expression. Not only is this art form visually stunning, but it also provides a therapeutic and sustainable outlet for your creativity.
So next time you find yourself by the water, take a closer look at the driftwood lying at your feet. With a bit of imagination and effort, you could transform that simple piece of wood into a beautiful work of wall art, turning the forgotten into the unforgettable. Happy crafting!