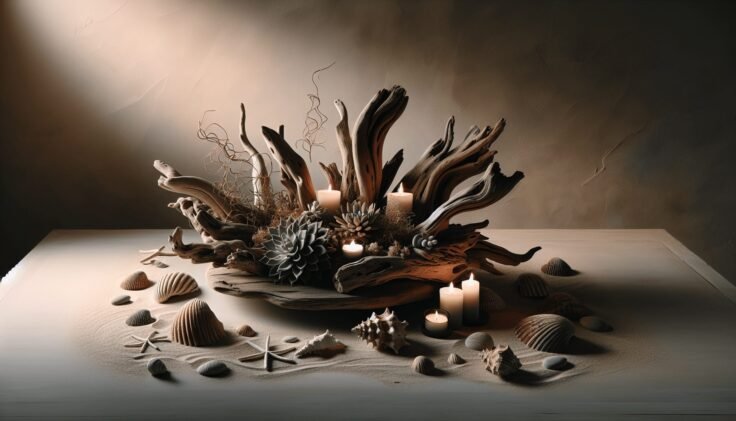
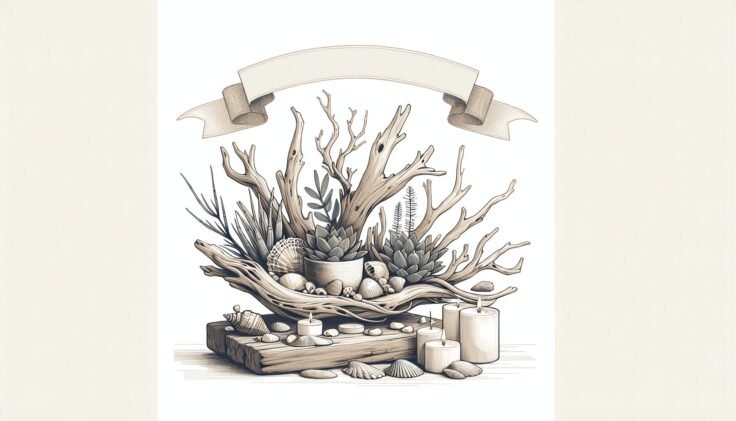
Have you ever found yourself staring at a beautifully crafted driftwood centerpiece in a home decor magazine and wondered, “How can I create something like this on my own?” Your home deserves a touch of nature’s artistry, and driftwood presents the perfect opportunity to bring the outdoors inside in an elegant and unique way. With a few simple materials and steps, you can transform ordinary driftwood into a stunning centerpiece for your dining table, coffee table, or any other spot that could use a bit of rustic charm.

Why Choose Driftwood for Your Home Decor?
Driftwood is not only aesthetically pleasing, but it also tells a story. Each piece has been shaped by time, weather, and water, giving it a unique look and character. Incorporating driftwood into your home decor can add a touch of nature and nostalgia, making your space feel more inviting and serene. Moreover, using driftwood is an eco-friendly way to decorate since it recycles a material that would otherwise just be left to nature’s devices.
The Versatility of Driftwood
Driftwood can be used in a multitude of artistic ways. Whether you’re aiming for rustic farmhouse charm or a minimalist coastal vibe, driftwood can complement a variety of design styles. Its neutral color palette and organic texture allow it to blend seamlessly into almost any decor style. From centerpieces to wall hangings, lamp bases, and even furniture, driftwood offers endless possibilities for creativity.
Environmental Benefits
Opting for driftwood as a material means you’re essentially cleaning up beach areas, which can sometimes be overrun with debris. It’s a sustainable resource since it requires no manufacturing process and has a negligible carbon footprint compared to processed woods or synthetic decorative materials.
Gathering Your Materials
Before you can embark on your driftwood centerpiece journey, you’ll need to gather a few materials. The good news is that many of these can be collected or repurposed, making this project as budget-friendly as it is beautiful.
Find Your Driftwood
The key element, of course, is the driftwood itself. You can find it along beaches, riverbanks, or lakeshores. Be sure to gather a collection of pieces in varying shapes and sizes to give your centerpiece dimension and interest. If access to a natural source is limited, driftwood can also be purchased at craft stores or online.
Other Essential Supplies
To create your driftwood centerpiece, you will also need the following materials:
- Adhesive: A strong glue or epoxy will help you secure your driftwood pieces together.
- Base or Tray: This could be a wooden or metal tray, a glass dish, or even a reclaimed piece of wood. It serves as the foundation for your arrangement.
- Decorative Elements: Consider adding candles, succulents, moss, shells, or stones to enhance your centerpiece’s look.
- Protective Gear: Gloves and goggles, especially when using adhesives or if you need to sand rough edges.
- Tools: A small hammer, drill, or saw, depending on your needs for shaping and securing your driftwood.
Preparing Your Driftwood
Once you’ve collected your driftwood, preparation is key to ensure it remains durable and looks its best. Driftwood can sometimes carry bacteria, insects, or other natural impurities, so cleaning and treating it is a crucial step.
Cleaning Your Driftwood
Start by thoroughly rinsing each piece with fresh water. Use a brush to scrub away any remnants of dirt, sand, or algae. Allow the wood to dry completely in the sun, which also helps to naturally disinfect it.
Sanitizing and Sealing
For further cleaning, consider a mild bleach solution soak. Prepare a mixture of one part bleach to ten parts water, and let the wood soak for a couple of hours. Rinse thoroughly after soaking, and again, let it dry completely. Sealing the dried wood with a clear matte varnish can help preserve its appearance and protect it from becoming brittle over time.
Designing Your Driftwood Centerpiece
Now that your driftwood is clean and ready, it’s time to start designing your arrangement. This is where your creativity can shine as you envision how each piece will fit together.
Choosing a Focal Point
Every great centerpiece has a focal point. Decide what aspect of your arrangement will draw the eye first. This could be a particularly interesting piece of driftwood or an added decorative feature such as a tall candle or a cluster of succulents.
Arranging Your Driftwood
Start by laying out your base and arranging your driftwood pieces on top of it without securing them. Experiment with different placements and configurations until you find a design that appeals to you. Consider balance, symmetry (or asymmetry if you prefer), and how the different shapes and sizes of your driftwood complement each other.
Adding Decorative Elements
Once you’re satisfied with the placement of your driftwood, incorporate additional elements to enhance your centerpiece. Natural accents such as moss, shells, or stones can highlight the rustic vibe, while candles or flowers can add a touch of elegance and color. Consider the season or theme you’re designing for, as this can guide your choice of decorations.

Assembling Your Centerpiece
With your design in mind, it’s time to bring your centerpiece together.
Securing the Driftwood
Begin by adhesive bonding your driftwood pieces together according to your layout. Be sure to press them firmly against your base to ensure stability. If necessary, employ tools to drill holes for pegs or use clamps to hold pieces secure while the glue dries.
Final Touches
Once the basic structure is secure and dry, add your decorative elements. Position candles with holders to prevent wax drips, tuck succulents into natural crevices, or scatter your chosen accents across the base. Make sure everything is securely placed and balanced.
Maintaining Your Driftwood Centerpiece
Now that your driftwood centerpiece is complete, some routine maintenance can help keep it looking pristine.
Protecting from Damage
Avoid exposure to direct sunlight or excessive moisture, as these can cause the wood to warp or lose color over time. Dust your centerpiece regularly to prevent dirt build-up, and consider reapplying varnish if any sections begin to look worn.
Seasonal Updates
One of the joys of having a driftwood centerpiece is its versatility. Feel free to update your decorative elements to match seasons or occasions. Add pinecones and acorns in autumn, evergreen sprigs in winter, wildflowers in spring, and seashells in summer.
Troubleshooting Common Issues
As with any DIY project, you may encounter a few hiccups along the way. Here’s a quick guide to overcoming some common issues:
Uneven Balancing
If your centerpiece feels off-balance, try redistributing the weight by adjusting your pieces or adding counter-weighted elements. Experiment with different bases for added stability if needed.
Loose Elements
Should any pieces come loose, reapply your adhesive generously and ensure adequate drying time. For fragile arrangements, consider using craft wire discreetly to secure elements in place.
Cracking or Fading
If you notice cracking or fading, assess your environment for potential causes like too much sun or dryness. Reapply a sealant to protect the driftwood, and consider changing the location if necessary.
Conclusion
By embracing the uniqueness of driftwood, you’re not only creating a centerpiece that is both a conversation starter and a piece of art; you’re also adding a personal touch to your home. Through washing, treating, assembling, and eventually maintaining your centerpiece, you ensure its lasting beauty and charm. With each piece of driftwood requiring a custom approach due to its one-of-a-kind nature, your creativity will continue to grow and be showcased in your future DIY projects. So, pick up that piece of wood that once floated aimlessly, and give it a purpose in your sanctuary.
As you enjoy your handcrafted piece, you’ll likely find that the process itself was just as rewarding as the end result. Whether for personal satisfaction or to impress guests, your driftwood centerpiece is a testament to the creative spirit and the potential found in the natural world.