Driftwood Crafts Diy Driftwood Projects
Imagine turning your seaside treasures into beautiful, rustic home decor. In “Driftwood Crafts: DIY Driftwood Projects,” you’ll explore a variety of creative ideas to transform weathered wood into stunning, one-of-a-kind pieces. Whether you’re a seasoned crafter or just getting started, this guide is packed with step-by-step instructions, inspiring visuals, and practical tips to help you create everything from driftwood frames to elegant centerpieces. Dive in and discover how to bring the calming essence of the beach right into your home.
Driftwood Crafts: DIY Driftwood Projects
Have you ever stumbled upon a piece of driftwood and wondered, “What can I create with this?” Driftwood, with its smooth texture and unique shapes, offers a versatile medium for crafting. Let me guide you through some delightful DIY driftwood projects that will not only beautify your space but will also provide a fulfilling creative experience.

What is Driftwood?
Driftwood is wood that has been washed ashore by tides, waves, or the wind. Its journey through water gives it a distinct, weathered look that is both rustic and charming. Driftwood can be found on beaches, riverbanks, and lakesides, each piece uniquely shaped by nature.
Benefits of Using Driftwood for Crafts
Sustainable and Eco-Friendly
Using driftwood in your projects promotes environmental sustainability. It’s a great way to repurpose natural materials that have washed ashore rather than adding to the waste stream.
Unique and Natural Aesthetic
Every piece of driftwood is unique, which brings a natural and organic feel to your creations. Whether you’re making home decor or furniture, driftwood adds a touch of nature’s artistry to your space.
Cost-Effective
Driftwood is often free if you collect it yourself. Even if purchased, it typically costs much less than other crafting materials. This makes it an affordable option for those looking to spruce up their homes without breaking the bank.
Getting Started with Driftwood Crafts
Collecting Driftwood
Before diving into your projects, the first step is gathering your materials. Spend some time at your local beach, riverside, or lakeshore. Look for pieces that are dry, free of mold, and reasonably sturdy.
Checklist for Collecting Driftwood:
| Criteria | Description |
|---|---|
| Dryness | Ensure the wood is dry to avoid mold and mildew. |
| Size and Shape | Consider the project’s requirements regarding size and shape. |
| Durability | Avoid pieces that crumble or break easily. |
| Weight | Choose pieces that are lightweight but strong. |
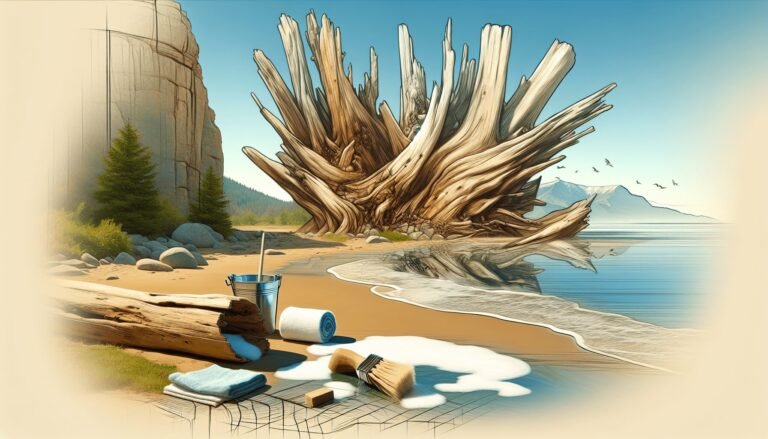
Cleaning Driftwood
Once you have collected your driftwood, clean it thoroughly to remove any debris, bacteria, or salt. Here’s a simple cleaning process:
- Rinse: Wash the driftwood with fresh water to remove loose dirt and sand.
- Soak: Soak the wood in a mixture of water and bleach (1 part bleach to 9 parts water) for a few hours to disinfect it.
- Scrub: Use a brush to scrub away any remaining dirt.
- Dry: Leave the driftwood to dry completely in the sun for a few days.
Tools and Materials
Before starting, ensure you have the basic tools and materials needed for driftwood crafting:
- Hot glue gun and glue sticks
- Sandpaper
- Nails and screws
- Wood glue
- Paint and brushes (if you plan to paint)
- Saw (if you need to cut the driftwood)
DIY Driftwood Projects
Now that you have your driftwood ready, it’s time to get crafting! Here are some inspiring DIY driftwood projects to get you started.
Driftwood Candle Holders
Driftwood candle holders can add a cozy, rustic touch to your home. They are simple to make and perfect for beginners.
Materials Needed:
- A piece of driftwood
- Drill with a hole saw bit that matches your candle size
- Sandpaper
- Tea lights or small candles
Steps:
- Select Driftwood: Choose a piece that’s flat and stable.
- Mark Position: Mark where you want the candles to sit.
- Drill Holes: Use the drill to create holes for the candles.
- Sand Edges: Smooth the edges with sandpaper.
- Insert Candles: Place the candles into the holes and enjoy your new candle holder!
Driftwood Wall Art
Create a stunning piece of wall art to be the focal point of any room. The organic shapes and textures of driftwood can create a visually appealing design.
Materials Needed:
- Various pieces of driftwood
- Wood backing panel
- Wood glue or a hot glue gun
- Nails (optional)
Steps:
- Arrange Driftwood: Lay out your driftwood pieces on the wood panel until you achieve your desired design.
- Attach Wood: Glue each piece to the panel. For added security, you can nail larger pieces.
- Dry and Mount: Allow the glue to dry thoroughly before hanging your new driftwood wall art.
Driftwood Mirror Frame
Transform an ordinary mirror with a driftwood frame for a beachy, rustic look.
Materials Needed:
- Mirror
- Driftwood pieces of various sizes
- Wood glue
- Sandpaper
- Hanging hardware
Steps:
- Prepare the Mirror: Clean the mirror’s edges and ensure it’s dust-free.
- Arrange Driftwood: Lay out the driftwood around the mirror’s edges.
- Attach: Use wood glue to attach the driftwood pieces to the mirror’s frame.
- Dry and Hang: Allow the glue to dry completely, attach hanging hardware, and display your new mirror.
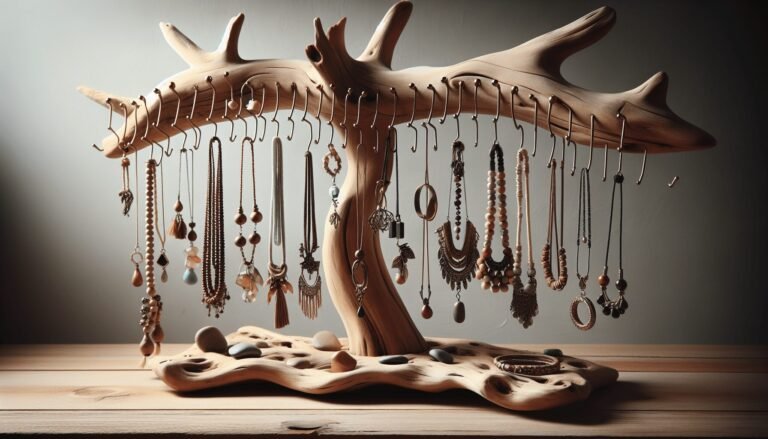
Driftwood Coat Rack
A driftwood coat rack is both a functional and decorative piece for any entryway.
Materials Needed:
- Long piece of driftwood
- Hooks
- Screws and screwdriver
- Wall anchors (if necessary)
Steps:
- Choose Driftwood: Select a piece long enough to hold several hooks.
- Attach Hooks: Screw the hooks into the driftwood at even intervals.
- Mount on Wall: Use screws and wall anchors to mount your new coat rack securely.
Driftwood Shelves
Driftwood shelves can bring a natural element to any room and are great for storing or displaying items.
Materials Needed:
- Driftwood pieces
- Brackets
- Screws and screwdriver
- Level
Steps:
- Select Driftwood: Choose sturdy, flat pieces of driftwood.
- Attach Brackets: Screw the brackets into each end of the driftwood.
- Mount: Securely attach the shelves to the wall, ensuring they are level before fully securing.
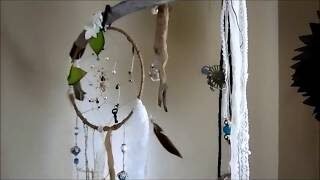
Driftwood Mobiles
A driftwood mobile can be a delightful addition to any space, particularly for a child’s room or outdoor patio.
Materials Needed:
- Several pieces of driftwood
- String or fishing line
- Scissors
- Hook for hanging
Steps:
- Drill Holes: Drill small holes in each piece of driftwood.
- Assemble: Thread a string through each hole, tying knots to secure the driftwood at intervals.
- Hang: Attach the top of the mobile to a hook and hang it where it can catch a gentle breeze.

Tips for Working with Driftwood
Selecting the Right Pieces
Choosing the right pieces of driftwood is essential for the success of your projects. Look for wood that is:
- Structurally sound and not too brittle.
- Attractive in texture and shape.
- Of appropriate size and weight for your project.
Safety First
Always prioritize safety while crafting. Use gloves to protect your hands from splinters, and wear goggles when drilling or sawing. Ensure good ventilation if you’re using strong adhesives or paints.
Finishing Touches
For a polished look, consider sanding your driftwood smooth. If you prefer a more natural appearance, leave it as is. Adding a wood finish or sealant can help preserve your creation and give it a slight sheen.
Personalization
Feel free to personalize your driftwood projects by adding paint, stencils, or other decorative elements. This can help make your creation uniquely yours and better suited to your home’s aesthetic.
Advanced Driftwood Projects
If you’re ready to take your driftwood crafting to the next level, here are some more intricate projects that require a bit more skill and patience.
Driftwood Furniture
Creating furniture from driftwood can result in stunning, functional art pieces. Chairs, tables, and headboards can all be fashioned from carefully selected and prepared driftwood.
Materials Needed:
- Larger pieces of driftwood
- Saw and chisel
- Screws, nails, and wood glue
- Sandpaper
- Finish or sealant
Steps:
- Design: Sketch your design and plan the dimensions.
- Cut and Shape: Use a saw and chisel to shape your driftwood pieces.
- Assemble: Use screws, nails, and wood glue to assemble the furniture. Ensure stability and strength.
- Finish: Sand the surfaces and apply a finish or sealant to protect your furniture.
Driftwood Lighting
Crafting a driftwood lamp or chandelier can be a fantastic statement piece for your home.
Materials Needed:
- Various pieces of driftwood
- Lamp kit or light sockets and bulbs
- Drilling tools
- Electrical wiring (if needed)
- Wood glue or screws for assembly
Steps:
- Plan Your Design: Decide whether you want a table lamp, floor lamp, or chandelier. Sketch a design.
- Drill and Assemble: Drill holes as necessary to thread the wiring through the driftwood. Secure the driftwood pieces together using wood glue or screws.
- Install Electrical Components: Follow the lamp kit instructions or carefully wire the light sockets. Ensure all electrical components are safely and securely installed.
- Finish and Test: Secure the light bulb and test the lamp. Make any necessary adjustments to ensure stability and functionality.
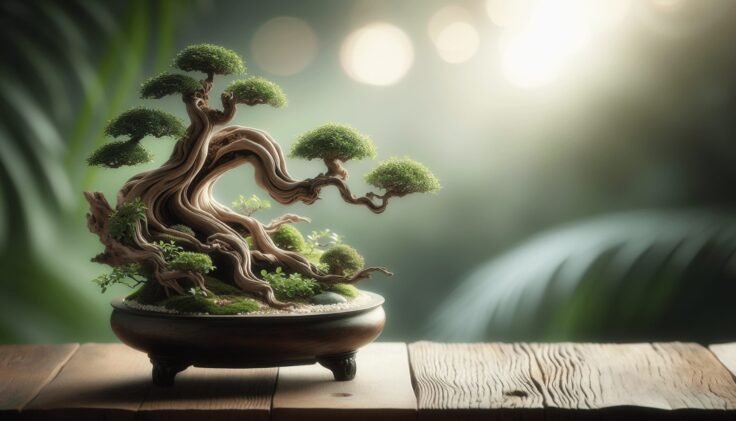
Driftwood Garden Decor
Enhance your garden’s charm with driftwood planters, sculptures, and garden signs.
Materials Needed:
- Driftwood pieces
- Potting soil and plants (for planters)
- Paint and markers (for signs)
- Screws, nails, or wood glue for assembly
Steps:
Driftwood Planters:
- Select larger, hollow pieces of driftwood.
- Fill with potting soil and plant succulents or other small plants.
- Ensure proper drainage by drilling a few small holes in the bottom.
Driftwood Sculptures:
- Arrange and assemble driftwood pieces into artistic sculptures.
- Use nails, screws, or glue to secure the pieces.
- Place the sculpture in a prominent spot in your garden.
Garden Signs:
- Choose flat pieces of driftwood.
- Paint or write your desired messages.
- Attach the signs to stakes and place them in your garden beds or along pathways.
Selling Your Driftwood Creations
If you find yourself particularly skilled or passionate about driftwood crafts, consider selling your creations. Here are a few tips to get you started:
Setting Up an Online Store
Create an online storefront on platforms like Etsy, eBay, or your own website. Showcase high-quality photos and detailed descriptions of your items.
Pricing Your Crafts
Consider the cost of materials, the time invested, and the uniqueness of each piece when setting your prices. Research similar items to ensure your prices are competitive.
Marketing Your Products
Utilize social media platforms, craft fairs, and local markets to promote your products. Engaging with your customers and sharing your crafting process can help build a loyal customer base.
Final Thoughts
Driftwood crafts not only allow you to create beautiful, unique pieces, but they also offer a way to connect with nature and promote sustainability. Whether you’re making a simple candle holder or complex furniture, each piece can be a personal expression of your creativity.
Remember, the most important part of any DIY project is to have fun and enjoy the process. So, gather your driftwood, grab your tools, and let your imagination guide you in creating your next masterpiece!
Happy crafting!