Driftwood Crafts Jewelry Holder
Creating a unique and beautiful jewelry holder from driftwood is a delightful way to merge practicality with artistry, offering a rustic charm to any space. In the article “Driftwood Crafts Jewelry Holder,” you’ll discover how to transform a simple piece of driftwood into an eye-catching display for your treasured accessories. By following these easy steps, you’ll not only craft a functional piece to organize your jewelry but also capture a bit of coastal magic, bringing a touch of nature’s elegance into your home. Have you ever found yourself searching for that one piece of jewelry, only to find it’s tangled up with all the others? If you’re nodding yes, it might be time to consider a new way to organize your jewelry collection. And what better way to do it than with a beautiful, handmade driftwood crafts jewelry holder?
[affiai]
A driftwood jewelry holder is not just functional; it’s a piece of art that brings a touch of nature into your home. Driftwood crafts have a rustic yet chic appeal that fits well with any décor. In this article, we’ll guide you through everything you need to know about creating your own driftwood crafts jewelry holder, from choosing the perfect piece of wood to step-by-step instructions on how to put it all together.

What is Driftwood?
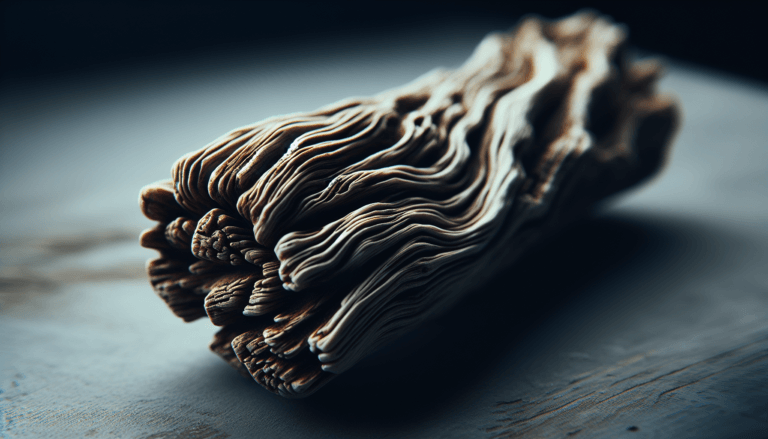
Driftwood is wood that has been washed onto shore by wind, tides, or waves. It’s often smooth and weathered, with a unique pattern that reflects its journey through nature. This makes each piece of driftwood unique in shape, size, and texture, which in turn makes each driftwood craft one-of-a-kind.
Why Use Driftwood?
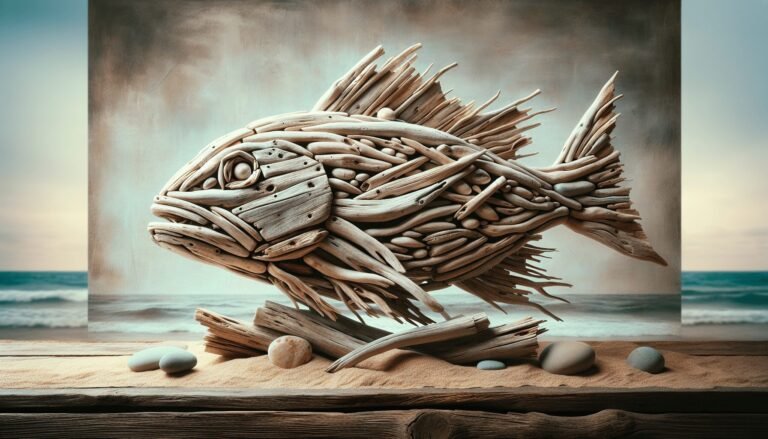
Using driftwood for crafts not only recycles a natural resource but also adds a unique and personal touch to your home. Driftwood’s organic shapes and textures can bring a rustic charm to any space. Plus, it’s incredibly versatile! Whether you want a minimalist look or something more intricate, driftwood can be adapted to suit your taste.
Benefits of Driftwood Jewelry Holders
Driftwood jewelry holders are both functional and decorative. They help you keep your jewelry organized while also serving as a piece of décor that adds character to your room. Here are some benefits:
- Organization: Keeps your necklaces, bracelets, and earrings untangled and easy to find.
- Aesthetic Appeal: Adds a natural, rustic look to your room.
- Eco-Friendly: Reuses natural materials and reduces waste.
- Customizable: Easily personalized to fit your style and needs.
Finding the Perfect Driftwood
Before you can start crafting, you’ll need to find the right piece of driftwood. This part of the process can be a fun adventure all on its own! Whether you decide to go beachcombing or purchase driftwood from a craft store, keep a few things in mind.
Beachcombing for Driftwood
Collecting driftwood from the beach gives you the opportunity to pick a piece that perfectly suits your project. Make sure the driftwood is dry and free from bugs or fungus. The best time to collect is during low tide when more of the shoreline is exposed.
Buying Driftwood
If you don’t live near a beach or don’t have the time to go hunting for driftwood, you can always purchase it from craft stores or online retailers. This option can save time, and you can find pieces that are already cleaned and ready to use.
Considerations When Choosing Driftwood
- Size: Ensure the piece is large enough to hold your jewelry.
- Shape: Look for interesting shapes that will make your holder unique.
- Condition: Avoid pieces with too many cracks or that are too brittle.
Preparing Your Driftwood
Once you’ve found the perfect piece of driftwood, it’s time to prepare it for crafting. Proper preparation ensures that your finished product will be durable and safe to use.
Cleaning the Driftwood
Start by cleaning your driftwood to remove any dirt, salt, or other residues. Here’s a simple method:
- Soak: Submerge the driftwood in a large container filled with fresh water. Let it soak for 24-48 hours.
- Scrub: Use a brush to scrub away any remaining dirt or debris.
- Rinse: Rinse thoroughly with fresh water.
- Dry: Allow the driftwood to dry completely, ideally in a sunny location.
Treating the Driftwood
Treating your driftwood can help prevent any unwanted pests or mold. You can use a bleach solution (1 part bleach to 9 parts water) to soak the wood for an hour. Afterward, rinse it well and let it dry completely.
Optional: Finishing the Driftwood
You might want to apply a wood finish to give your driftwood a polished look and added protection. Options include:
- Natural Finish: Keeps the wood looking natural while adding a bit of shine.
- Paint: Add a splash of color to your driftwood.
- Sealant: Provides added protection from moisture.
Materials You’ll Need
Now that your driftwood is clean and ready, gather the materials you’ll need for your jewelry holder. Here’s a list of common materials:
- Hooks or Small Nails: For hanging jewelry.
- Screws and Wall Anchors: For mounting the driftwood to the wall.
- Drill and Drill Bits: Essential for making holes.
- Measuring Tape and Pencil: For marking where you will place your hooks or nails.
- Decorative Elements: Optional, for personalizing your holder.

Step-by-Step Guide to Making Your Driftwood Jewelry Holder
Creating your driftwood jewelry holder is a simple and enjoyable process. Follow these steps to ensure a successful project:
Step 1: Plan Your Design
Before you start drilling or hammering, lay out your driftwood and consider where you want to place your hooks and nails. This planning step helps ensure everything will fit and function as you want it to.
Step 2: Mark Placement of Hooks
Using a measuring tape and pencil, mark the spots where you’ll place your hooks or small nails. Even spacing helps in making your holder look neat and organized.
| Item | Quantity | Placement Notes |
|---|---|---|
| Hooks/Nails | Varies | Even spacing, along the length of the driftwood |
| Screws | 2-4 | Depending on driftwood size, for mounting |
Step 3: Drill Holes
With a drill and appropriate drill bit, make small pilot holes where you marked the placements for your hooks or nails. This step is crucial to prevent the wood from splitting when you insert the hooks.
Step 4: Attach Hooks or Nails
Insert your hooks or nails into the pilot holes you just drilled. Make sure they are secure and straight.
Step 5: Mounting Your Jewelry Holder
Finally, decide where you want to mount your driftwood jewelry holder. Using screws and wall anchors, attach the driftwood securely to your wall. Ensure it’s level before fully tightening the screws.
Step 6: Decorate and Customize (Optional)
Personalize your jewelry holder with additional decorations or paint! You can wrap twine, add small seashells, or even paint designs to make it truly your own.
Tips and Tricks
Creating a driftwood jewelry holder can be a fun and rewarding project, but here are some extra tips to help you along the way:
Use Different Sizes of Hooks
Mixing up the size of hooks can make your jewelry holder more versatile, allowing you to hang necklaces, rings, and bracelets of various sizes.
Add Small Shelves
If your piece of driftwood is wide enough, consider attaching small shelves to hold rings or earrings.
Safety First
Always wear protective gear like gloves and goggles when drilling or hammering. Additionally, make sure your driftwood is securely mounted to avoid any accidents.
Combine with Other Materials
Mixing driftwood with other materials like metals or fabrics can add a unique twist to your design.
Caring for Your Driftwood Jewelry Holder
To keep your driftwood jewelry holder looking its best, occasional maintenance is needed. Here’s how you can ensure its longevity:
Dust Regularly
Driftwood can collect dust, so it’s a good idea to wipe it down with a damp cloth every now and then.
Re-tighten Hooks and Screws
Over time, hooks and screws can become loose. Periodically check them and tighten as needed to keep your jewelry holder functional.
Avoid Moisture
While driftwood has been naturally weathered, long-term exposure to moisture can still cause damage. Make sure to keep your jewelry holder in a dry location.
Conclusion
By now, you should have all the information you need to create your very own driftwood crafts jewelry holder. It’s a project that not only helps you organize your jewelry but also adds a personal touch to your home décor. Whether you use a found piece of driftwood or purchase one ready-made, your finished product will be a unique and beautiful addition to any room.
Happy crafting! And remember, the beauty of driftwood lies in its natural imperfections and unique shape—no two pieces are the same, making every holder a one-of-a-kind masterpiece. Enjoy the process, and cherish the final result, knowing it’s something you crafted with your own hands.