Driftwood Crafts Wall Hangings Art
You’ve stumbled upon a treasure trove of creativity with “Driftwood Crafts Wall Hangings Art.” In this article, you’ll explore the captivating world of turning humble driftwood into stunning wall art. Each piece of driftwood, weathered and shaped by the sea, holds its own unique charm, ready to be transformed into a beautiful hanging for your home. Discover DIY tips, design ideas, and the joy of bringing a bit of nature indoors with these handmade creations. Dive into this artistic adventure and let your imagination set sail! Have you ever come across a piece of driftwood and thought about its journey through the elements to arrive in its current state? This natural treasure, shaped by water and time, presents an ideal medium for creating beautiful, rustic wall hangings. Driftwood crafts wall hangings art allows you to bring a piece of nature’s artistry into your home, merging the organic with your creative expression. Let’s dive into the world of driftwood wall hangings and explore how you can turn simple pieces of wood into striking art.
[affiai]The Beauty of Driftwood

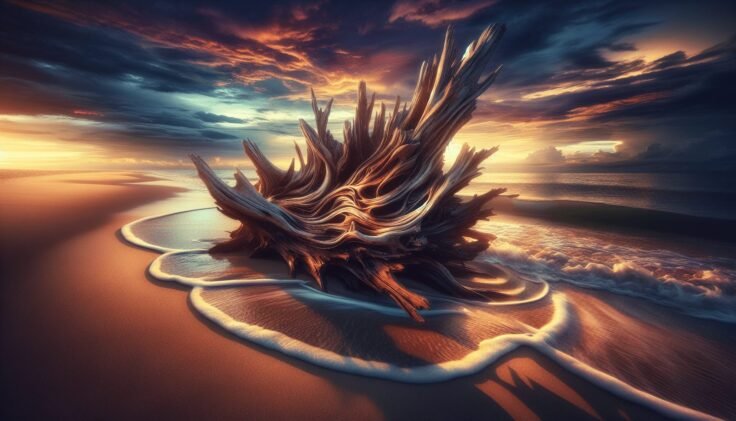
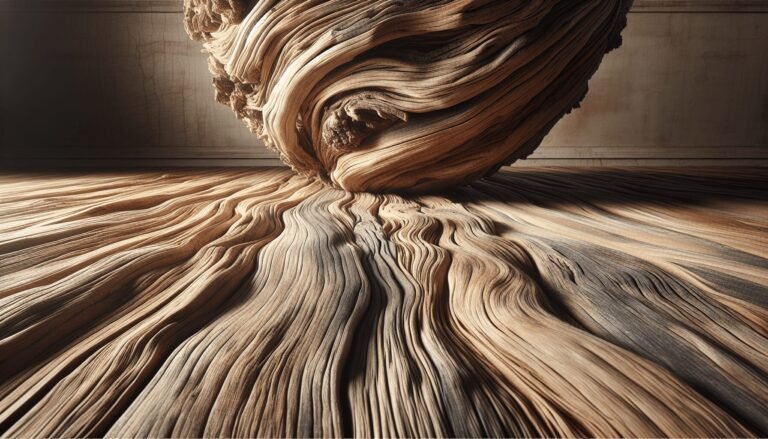
When you look at a piece of driftwood, you’re seeing the result of a long, transformative journey. Its unique texture and shape come from the relentless work of water, wind, and sun. Driftwood boasts an array of earthy tones and intricate patterns – each piece distinct from the next. This individuality makes driftwood an excellent material for crafting one-of-a-kind wall hangings.
Why Driftwood?
Driftwood has many appealing qualities:
- Natural Aesthetic: Its organic look blends seamlessly into various decorating styles.
- Sustainability: Using driftwood for crafts is an environmentally-friendly practice, as it repurposes natural elements.
- Texture and Shape: Every piece has a unique story, offering a natural element that mass-produced items can’t match.
Table of Driftwood Properties and Benefits
| Property | Benefit |
|---|---|
| Unique Shape | One-of-a-kind art pieces |
| Natural Tones | Complement various interior designs |
| Eco-Friendly | Sustainable and repurposed material |
| Textured Surface | Adds depth and interest to art |
Gathering Driftwood
Finding the perfect piece of driftwood is an adventure in itself. Whether you’re strolling along a beach, riverbank, or lake, keep an eye out for pieces with interesting shapes and textures.
Where to Find Driftwood
Driftwood can be found in various natural settings, especially:
- Beaches: Coastal areas are hotspots for driftwood, with plenty of variety.
- Rivers and Lakes: Inland bodies of water can also have driftwood, often with a different character compared to coastal wood.
- Local Stores: Some crafting stores or online marketplaces sell driftwood if you’re not near a natural source.

Preparing Your Driftwood
Before you start your craft, it’s crucial to clean and prepare your driftwood. This process ensures that your art will be both beautiful and durable.
Cleaning Driftwood
You can follow these steps to clean your driftwood:
- Rinse Thoroughly: Wash the driftwood with fresh water to remove any debris or salt.
- Soak: Submerge the driftwood in a mixture of water and a mild bleach solution (1 part bleach to 9 parts water) for 1-2 days to kill any organisms or bacteria.
- Scrub: Use a brush to scrub off any remaining dirt.
- Dry: Let the driftwood dry completely in the sun to ensure it is free of moisture.
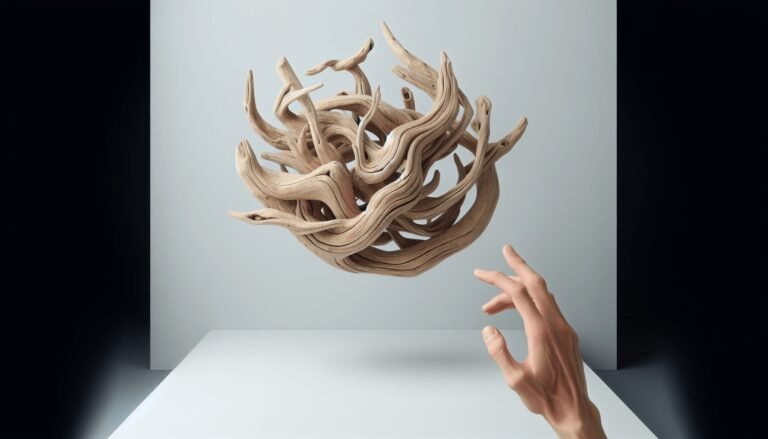
Designing Your Wall Hanging
The design phase is where your creativity truly shines. Consider the overall theme and style you want to achieve with your wall hanging.
Concept and Inspiration
Where do you find inspiration for your driftwood art? Nature itself is often the best muse:
- Floral Motifs: Use driftwood to create the forms of flowers or trees.
- Geometric Designs: Combine several pieces of driftwood to form geometric shapes.
- Abstract Art: Embrace the natural irregularity and texture of the wood for a more abstract design.
Tools and Materials
Here are the basic tools and materials needed for most driftwood wall hanging projects:
- Glue or Epoxy: For attaching pieces of wood together.
- String or Wire: For hanging or embellishing pieces.
- Drill or Dremel Tool: To create holes for hanging or stringing pieces.
- Screws or Nails: For secure attachments.
- Sealer: To protect the wood and enhance its natural hues.
Table of Tools and Materials
| Tool/Material | Purpose |
|---|---|
| Glue/Epoxy | Attaching wood pieces securely |
| String/Wire | Hanging and embellishing |
| Drill/Dremel Tool | Creating precise holes for hanging |
| Screws/Nails | Secure attachments |
| Sealer | Protecting and enhancing the wood |

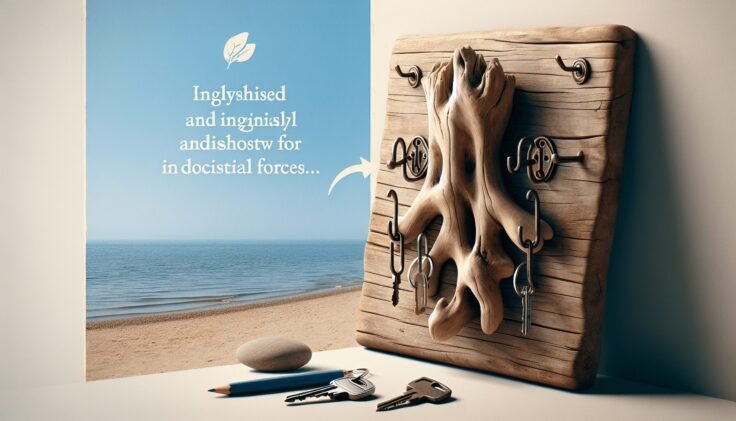
Creating Your Driftwood Wall Hanging
Now that you have your materials and design in mind, it’s time to bring your vision to life.
Step-by-Step Process
Here’s a step-by-step guide to creating a simple driftwood wall hanging:
- Plan Your Layout: Arrange your driftwood pieces on a flat surface. Play around with the arrangement until you find a composition you like.
- Cut and Shape: If needed, cut the driftwood into desired shapes. Sand any rough edges to ensure they’re smooth.
- Drill Holes: Drill small holes where you plan to thread the string or wire.
- Attach Pieces: Use glue or epoxy to attach pieces together. Be sure to let it cure fully.
- Seal the Wood: Apply a coat of sealer to protect the driftwood and bring out its natural color.
- Hang: Thread string or wire through the drilled holes and securely tie off the ends. Attach a hook or loop for wall hanging.
Personalize Your Wall Hanging
Adding personal touches to your driftwood wall hanging makes it even more special. Consider these ideas for customization:
Adding Color
Incorporating color can make your wall hanging pop. Options include:
- Paint: Use acrylic paint to add accents or fully color some of the wood pieces.
- Stains: Apply wood stains to enhance the natural grain and provide a more uniform appearance.
Embellishments
Consider adding different elements to your artwork, such as:
- Shells and Stones: Glue small shells or polished stones to the driftwood.
- Textiles: Weave in fabric or thread to add texture and color.
- Personal Mementos: Attach small keepsakes for a more personal touch.
Maintaining Your Driftwood Art
Proper maintenance ensures that your driftwood wall hanging remains beautiful for years to come. Here are some tips for keeping your art in great shape:
Indoor Care
- Dust Regularly: Use a soft brush or cloth to gently remove dust.
- Avoid Direct Sunlight: Prolonged exposure to direct sunlight can cause the wood to fade or crack.
Outdoor Care
If you plan to display your driftwood art outdoors:
- Use Outdoor Sealer: Apply a sealant designed for outdoor use to protect against the elements.
- Shield from Extreme Weather: Try to place your artwork in a sheltered area to avoid direct rain or snow exposure.
Driftwood Art: Beyond Wall Hangings
While wall hangings are a wonderful way to display driftwood, this versatile material can be used for numerous other types of art and crafts. Consider expanding your driftwood creations with these ideas:
Furniture
Driftwood can create unique, rustic furniture pieces such as:
- Tables: Use larger driftwood pieces for table legs combined with a glass or wooden top.
- Shelves: Mount driftwood on the wall as natural shelving.
Home Decor
Add driftwood elements throughout your home:
- Centerpieces: Combine driftwood with candles or flowers as a stunning table centerpiece.
- Mirrors and Frames: Frame mirrors or photos with driftwood for a coastal, chic look.
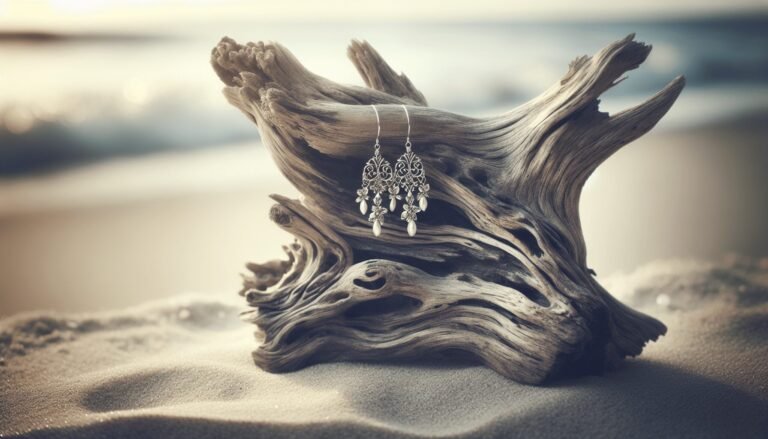
Jewelry
Smaller pieces of driftwood can be crafted into:
- Necklaces: Carve or attach charms to driftwood pieces.
- Bracelets: Shape driftwood into smooth, wearable pieces.
Sharing Your Art
Creating driftwood art is not only about personal enjoyment but can also be a fulfilling way to connect with others. Here’s how you can share your driftwood creations:
Gifting
Handmade driftwood wall hangings make thoughtful, personalized gifts for:
- Housewarmings: A unique piece of driftwood art can be a charming addition to a new home.
- Birthdays: Customized art that reflects the recipient’s personality is always appreciated.
- Weddings: Driftwood art can serve as a meaningful, handcrafted wedding gift.
Selling Your Art
If you find yourself with a surplus of driftwood art, consider selling your pieces. Platforms like Etsy provide a marketplace for handmade crafts. Be sure to:
- Take Quality Photos: Good lighting and clear images make a big difference in online sales.
- Write Detailed Descriptions: Include the size, materials, and any special care instructions for your art.
Hosting Workshops
Share your skills and passion for driftwood art by hosting workshops. This can be a fun way to teach others and build a community of craft enthusiasts:
- Local Craft Stores: Partner with craft stores or community centers to host in-person workshops.
- Online Tutorials: Create video tutorials or live online classes to reach a wider audience.
Conclusion
Driftwood crafts wall hangings art bring the beauty of nature into your home, allowing you to create personal and unique pieces that tell a story. Whether you’re a seasoned crafter or just starting, the possibilities are endless. From sourcing and preparing your driftwood to designing and creating a stunning wall hanging, each step is an opportunity to unleash your creativity and connect with the natural world. So next time you come across a piece of driftwood, don’t just walk past it – pick it up, take it home, and let your imagination turn this simple yet extraordinary material into a beautiful work of art. Happy crafting!