Imagine walking into a rustic cabin nestled deep in the woods. As you step inside, your eyes are immediately drawn to a magnificent centerpiece on the wall – a stunning Driftwood Deer Mount. Crafted entirely from weathered driftwood, this unique artistry combines the raw beauty of nature with the majestic presence of a deer. The gnarled branches intertwine elegantly, capturing the essence of the wilderness in a way that can only be described as breathtaking. With its intricate details and organic charm, the Driftwood Deer Mount is not just a decorative piece, but a captivating work of art that brings nature’s splendor right into your home.
Driftwood Deer Mount
Overview of Driftwood Deer Mount
If you’re looking for a unique and natural way to display your prized deer skull, then a driftwood deer mount might be just what you need. This one-of-a-kind mounting technique combines the beauty of driftwood with the elegance of a deer skull to create a stunning piece of art that is sure to catch the attention of anyone who enters your home or cabin.

Why Choose Driftwood for Mounting
Using driftwood as the main material for your deer mount offers several advantages. First and foremost, driftwood is a sustainable and environmentally friendly option. Instead of using traditional mounting materials like synthetic bases or wooden plaques, which may require cutting down trees, you can instead repurpose natural driftwood pieces that have been washed ashore by the tides. This not only gives your mount a unique and rustic look but also helps reduce your impact on the environment.
Additionally, using driftwood adds a touch of natural beauty to your mount. The unique shapes, textures, and colors of driftwood can complement the organic beauty of the deer skull, creating a visually captivating display. Each piece of driftwood has its own story and history, adding an extra layer of interest and charm to your mount.
Preparing for Driftwood Deer Mount
Before you embark on your driftwood deer mount project, there are a few things you’ll need to gather and prepare. The key materials include a deer skull, driftwood pieces, cleaning and sterilizing agents, a mounting base, and tools such as saws, drills, and screws.
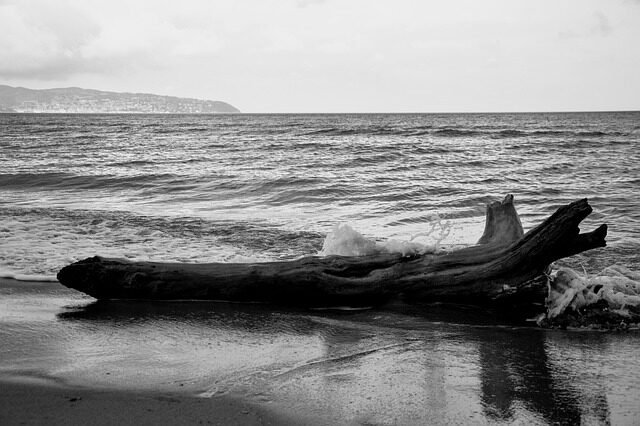
Gathering Driftwood
The first step in creating your driftwood deer mount is to gather the necessary driftwood pieces. Head out to your local beach or riverbank and keep an eye out for interesting and unique pieces of driftwood.

Cleaning and Sterilizing the Driftwood
Once you’ve collected your driftwood, it’s crucial to clean and sterilize it before using it in your mount. Start by removing any loose dirt, sand, or debris from the surface of the wood. You can use a brush or a cloth to gently scrub away any dirt or grime. Next, prepare a cleaning solution by mixing water and mild detergent or vinegar.
To further ensure that the driftwood is free from pests or bacteria, you can also consider sterilizing it. One method is to soak the driftwood in a mixture of water and bleach for a few hours, then rinse it thoroughly and let it dry completely. Alternatively, you can bake the driftwood in the oven at a low temperature (around 200°F or 93°C) for a couple of hours. Both methods will help eliminate any potential pests or harmful bacteria that may be present.
Building the Mounting Base
The mounting base is the foundation of your driftwood deer mount. It provides stability and support for the driftwood pieces and the skull. You can create a simple yet sturdy base using a wooden board or a piece of plywood. Measure the size of your driftwood pieces and cut the board to match the desired dimensions. Sand down the edges of the board to create a smooth surface. If you prefer a more natural look, you can leave the edges rough or even enhance the texture with wood carving tools.
To attach the driftwood pieces to the mounting base, drill holes in the board and insert screws or nails through the driftwood. Depending on the size and weight of the driftwood, you may need to use multiple screws or nails for each piece to ensure a secure attachment. Experiment with different arrangements and heights to find the most visually pleasing arrangement.
Creating a Natural Habitat
To enhance the overall aesthetic of your driftwood deer mount, consider creating a natural habitat around the base. This can be done by adding elements such as moss, rocks, or dried leaves to mimic the environment where deer typically inhabit. Arrange these materials around the base, taking care not to overcrowd or overshadow the main focal point, which is the deer skull. The idea is to create a harmonious and visually appealing display that complements the natural theme of the mount.
Positioning the Deer Skull
Now that you have your driftwood base and natural habitat prepared, it’s time to position the deer skull onto the mount. Carefully place the skull on top of the driftwood pieces, ensuring that it is centered and balanced. Take a step back and observe the overall composition to make any necessary adjustments. Tilting the skull slightly to one side or angling it can add dynamic and interest to the mount. Feel free to experiment with different orientations until you find the most pleasing arrangement.
Securing the Skull onto the Mount
To ensure the skull stays securely in place, you’ll need to attach it to the driftwood base. One method is to use wire or fishing line to tie the skull to the driftwood pieces. Create loops around the antler bases or through the eye sockets and twist the wire or fishing line tightly to secure the skull in place. Make sure the attachments are hidden and the lines are not visible to maintain a clean and seamless appearance.
Another option is to use adhesive compounds specifically designed for securing skulls to mounts. These compounds provide a strong and durable bond without the need for visible attachments. Follow the instructions provided with the adhesive to apply it properly and allow sufficient drying time.
Finishing Touches and Display Options
Once the deer skull is securely attached, it’s time to add the finishing touches to your driftwood deer mount. Dust off any remaining debris or particles that may have accumulated during the mounting process. Use a soft brush or cloth to gently clean the skull, taking care not to damage any antlers or delicate bone structures. You can also apply a clear coat of varnish or sealant to protect the skull and enhance its natural colors and patterns.
As for displaying your driftwood deer mount, there are various options to consider. You can hang it on a wall using hooks or brackets, allowing the mount to become a captivating centerpiece in any room. Alternatively, you can place it on a mantelpiece, shelf, or side table, letting it stand out amidst other decorative items. Make sure to choose a spot that is easily visible and complements the overall aesthetics of the room.
In conclusion, creating a driftwood deer mount is a rewarding and creative project that allows you to showcase your love for nature and artistry. From gathering the driftwood to positioning the deer skull, each step contributes to the uniqueness and beauty of the final piece. By following the steps outlined in this article, you’ll be able to create a stunning and conversation-starting driftwood deer mount that you can proudly display for years to come.