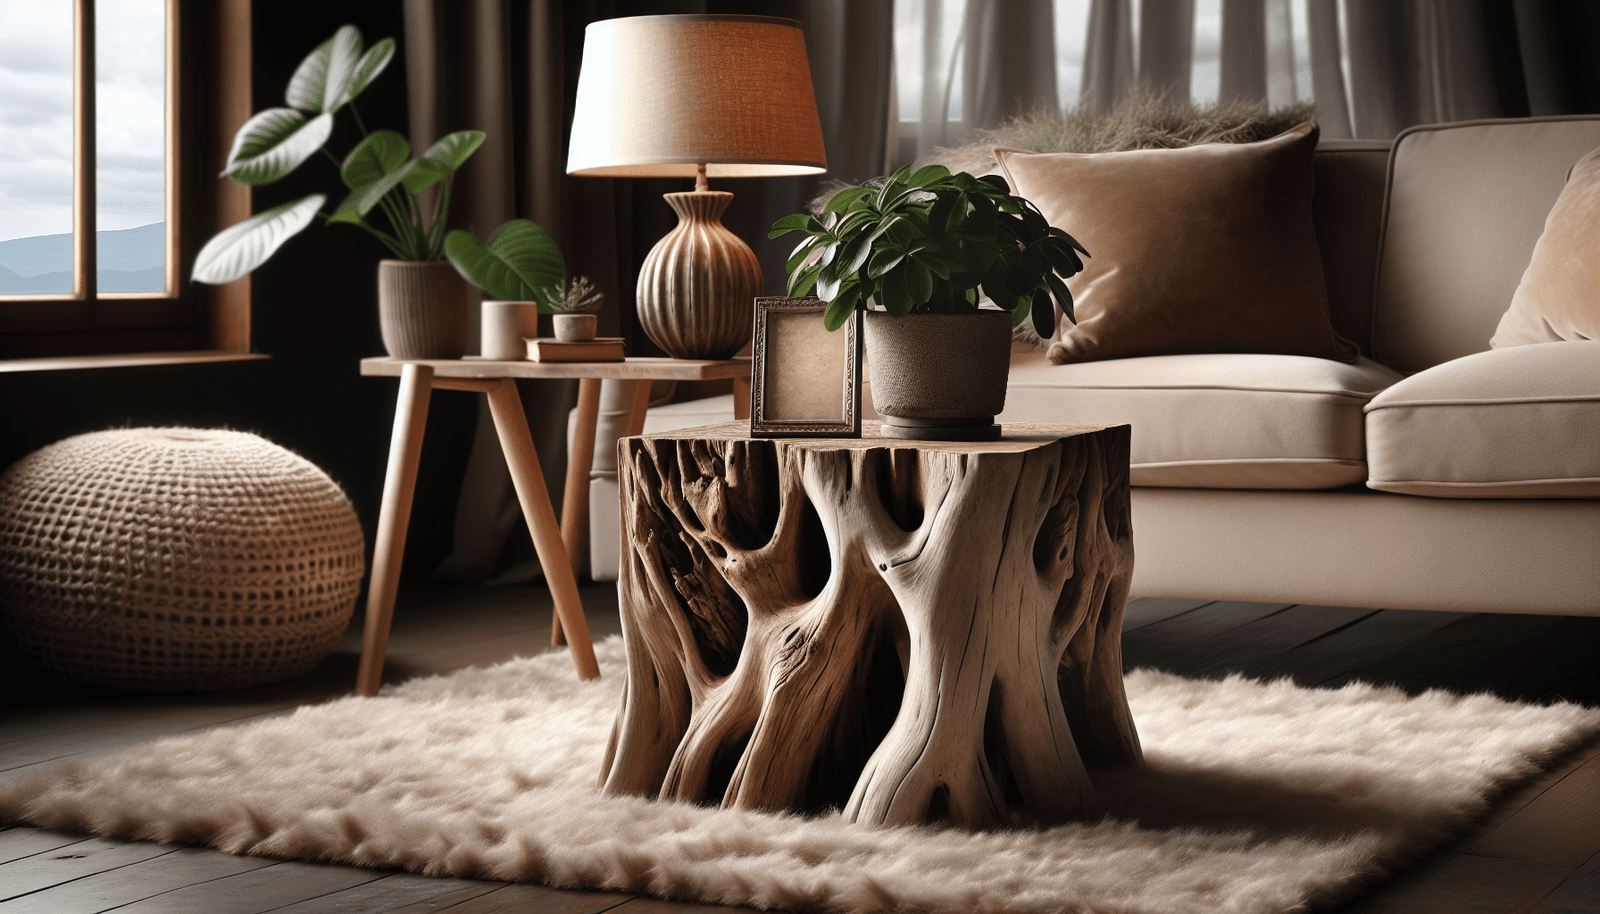
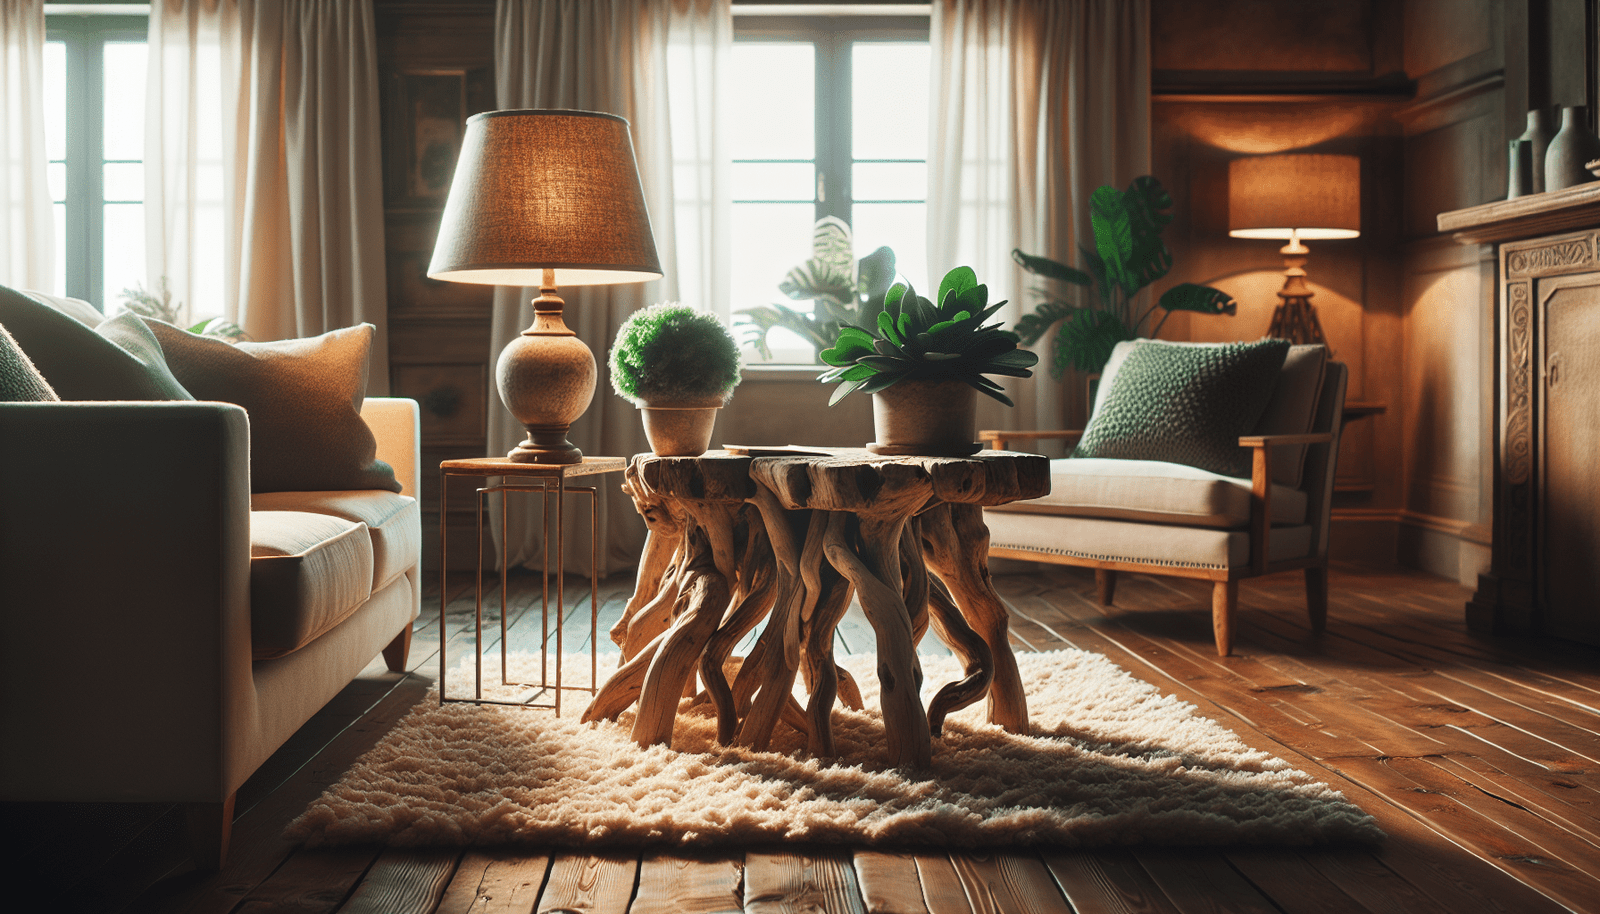
Have you ever gazed at a weather-beaten piece of driftwood and imagined transforming it into something beautiful and functional for your home? Driftwood, with its unique textures and natural charm, offers a wonderful opportunity to create a stunning end table that speaks to your creativity and love for nature. This guide will walk you through the process of crafting your very own driftwood end table, a piece that not only serves as a functional piece of furniture but also as a testament to your DIY skills and artistic vision.

Understanding Driftwood: Nature’s Art
Before diving into the crafting process, it’s important to understand what makes driftwood so special. Driftwood is essentially pieces of wood that have been washed ashore by the sea, rivers, or lakes. Over time, water and elements smooth out their edges and give them a unique, weathered appearance. Each piece is distinct, boasting its own shape, texture, and size, contributing to the charm and character of the finished product.
Why Use Driftwood?
The allure of driftwood lies in its natural beauty and sustainability. By using driftwood, you’re repurposing what nature has provided, thus making environmentally conscious choices in your home décor. Each piece tells a story, having traveled from unknown places and weathered various conditions, which adds a narrative to your furniture.
Collecting Driftwood
The first step in your driftwood project is to gather pieces. Visit a local beach or riverbank where you can find driftwood. Remember to consider sustainable practices: only collect pieces that are no longer part of their natural ecosystem and do so responsibly without damaging local habitats.
Tools and Materials: Getting Ready
For a successful DIY project, assembling the right tools and materials is crucial. Here’s what you’ll need:
- Driftwood pieces
- Glass tabletop (preferably circular or square, based on your preference)
- Sandpaper (coarse and fine grit)
- Wood glue or epoxy resin
- A saw (jigsaw or handsaw)
- Drill with bits
- Protective gloves and goggles
- Clear wood finish or varnish
- Tape measure
- Level
Choosing Your Driftwood
While collecting, aim for driftwood pieces that are sturdy and have enough surface area to support a tabletop. The size of the driftwood should be proportional to the size of your desired end table, ensuring stability and aesthetic balance.

Designing Your End Table: Creating a Vision
Design is an essential part of the DIY process, where your creativity truly shines. Start by sketching your vision on paper. Consider how you want the table to look and function in your space. Your design can be simple, focusing on a minimalist look, or intricate, showcasing the natural beauty of complex driftwood structures.
Planning the Structure
The structure of your table will be determined by the pieces of driftwood you have. If you have a single large piece, it could form the base. Multiple smaller pieces can be combined to create legs or a base structure. Your design should consider both aesthetics and stability.
Balancing Art and Function
While it’s tempting to focus solely on the artistic aspect, it’s important to ensure your table will be functional. The table needs to be stable, so balance and alignment are vital. Using a level tool will help ensure that your table stands evenly.
Preparation: Ready the Wood
Before assembling your table, it’s necessary to prepare your driftwood to ensure it’s clean, safe, and ready to use.
Cleaning Driftwood
Start by thoroughly cleaning the wood to remove salt, sand, and debris. Soak the driftwood in a solution of bleach and water (1 part bleach to 9 parts water) for a few days to eliminate mold and bacteria. Rinse and allow it to dry completely, preferably in the sun, which also helps with sanitization.
Sanding Process
Once dry, sand each piece thoroughly. Begin with a coarse grit to remove rough edges and any remaining residues, then shift to a finer grit for smoothing. The goal is to maintain the rustic look while ensuring the surface is safe to touch and handle.
Sealing Driftwood
Applying a clear wood finish or varnish will protect your driftwood and bring out its natural grain and color. Choose a finish that complements the wood’s tone and matches your interior aesthetic. Apply at least two coats, allowing ample drying time between applications.
Assembly: Bringing Your Table to Life
With cleaned and finished driftwood ready, it’s time to start assembling your end table.
Constructing the Base
Decide on the configuration of your base. If using multiple pieces, arrange them in a pattern that’s both appealing and sturdy. Use wood glue or epoxy resin to bond the pieces together securely. Clamps may be needed to hold pieces in place as they dry.
Attaching the Tabletop
Once your base is sturdy and fully dried, it’s time to attach the tabletop. A glass top is ideal as it allows the beauty of the driftwood to shine through. Carefully center the glass on the base. Depending on the design, you may wish to secure the tabletop with additional adhesive or brackets, though this needs to be done carefully to avoid damaging the glass.
Ensuring Stability
Check the stability of the table by gently testing it with slight pressure on various points. If there’s any wobble, make necessary adjustments. This might involve rearranging the base structure or adding extra support.
Finishing Touches: Personalization and Care
With assembly complete, consider adding personal touches to make the driftwood end table uniquely yours.
Adding Personal Touches
You might choose to add small decorations or incorporate lighting within the driftwood for a stunning effect. Consider adding non-slip pads beneath the driftwood for added stability and to protect your flooring.
Maintenance Tips
To keep your driftwood table in pristine condition, regularly dust and occasionally clean with a damp cloth. Avoid excessive moisture which can affect the driftwood’s finish. Should you notice any chips or scratches, lightly sand the area and apply a touch of varnish to restore its luster.
Conclusion
Creating a driftwood end table is a rewarding experience that combines craftsmanship with artistic expression. As you see your unique driftwood end table slowly come to life, you gain a sense of satisfaction knowing it’s a creation of your hands and imagination. Not only does it serve a functional purpose, but it also brings the story of nature into your living space. Enjoy your beautiful new addition, knowing that it is both a testament to sustainable practices and a manifestation of your creativity.