Have you ever found yourself walking along the shoreline, spotting pieces of driftwood, and wondering about their potential in art and decoration? Driftwood, with its naturally weathered appearance and unique shapes, offers an excellent medium for creating stunning art pieces, especially when combined with epoxy resin. If you’ve ever been curious about how to transform oceanic treasures into captivating works of art, you’re in the right place. Let’s delve deeper into the world of driftwood epoxy art, exploring what makes it special, the tools and materials you need, and how to craft your very own masterpiece.

What is Driftwood Epoxy Art?
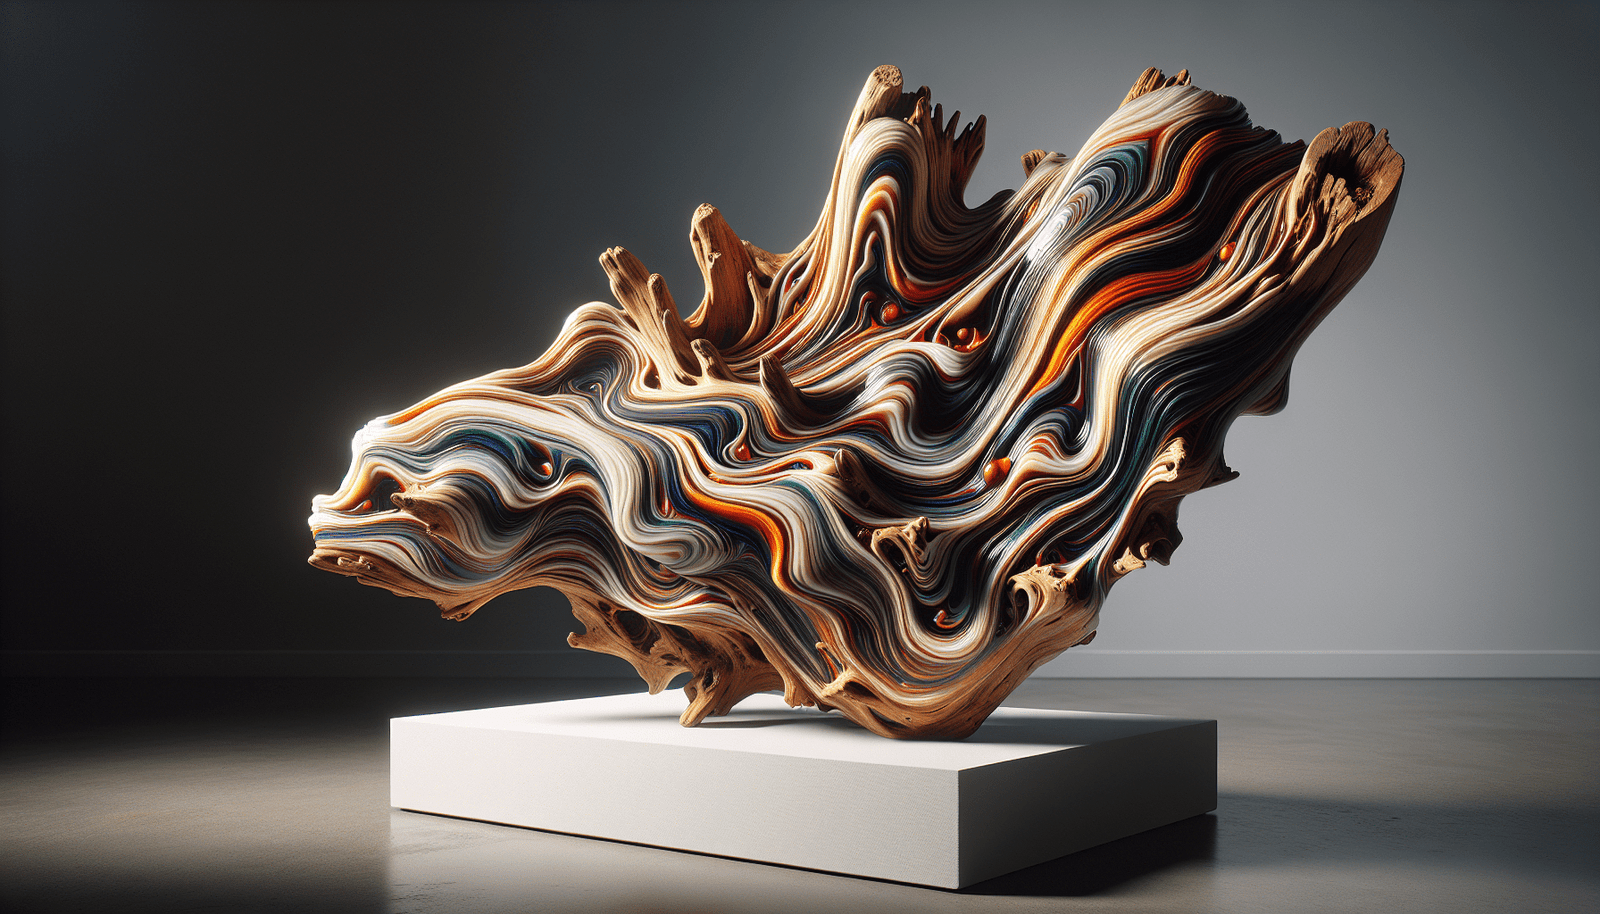
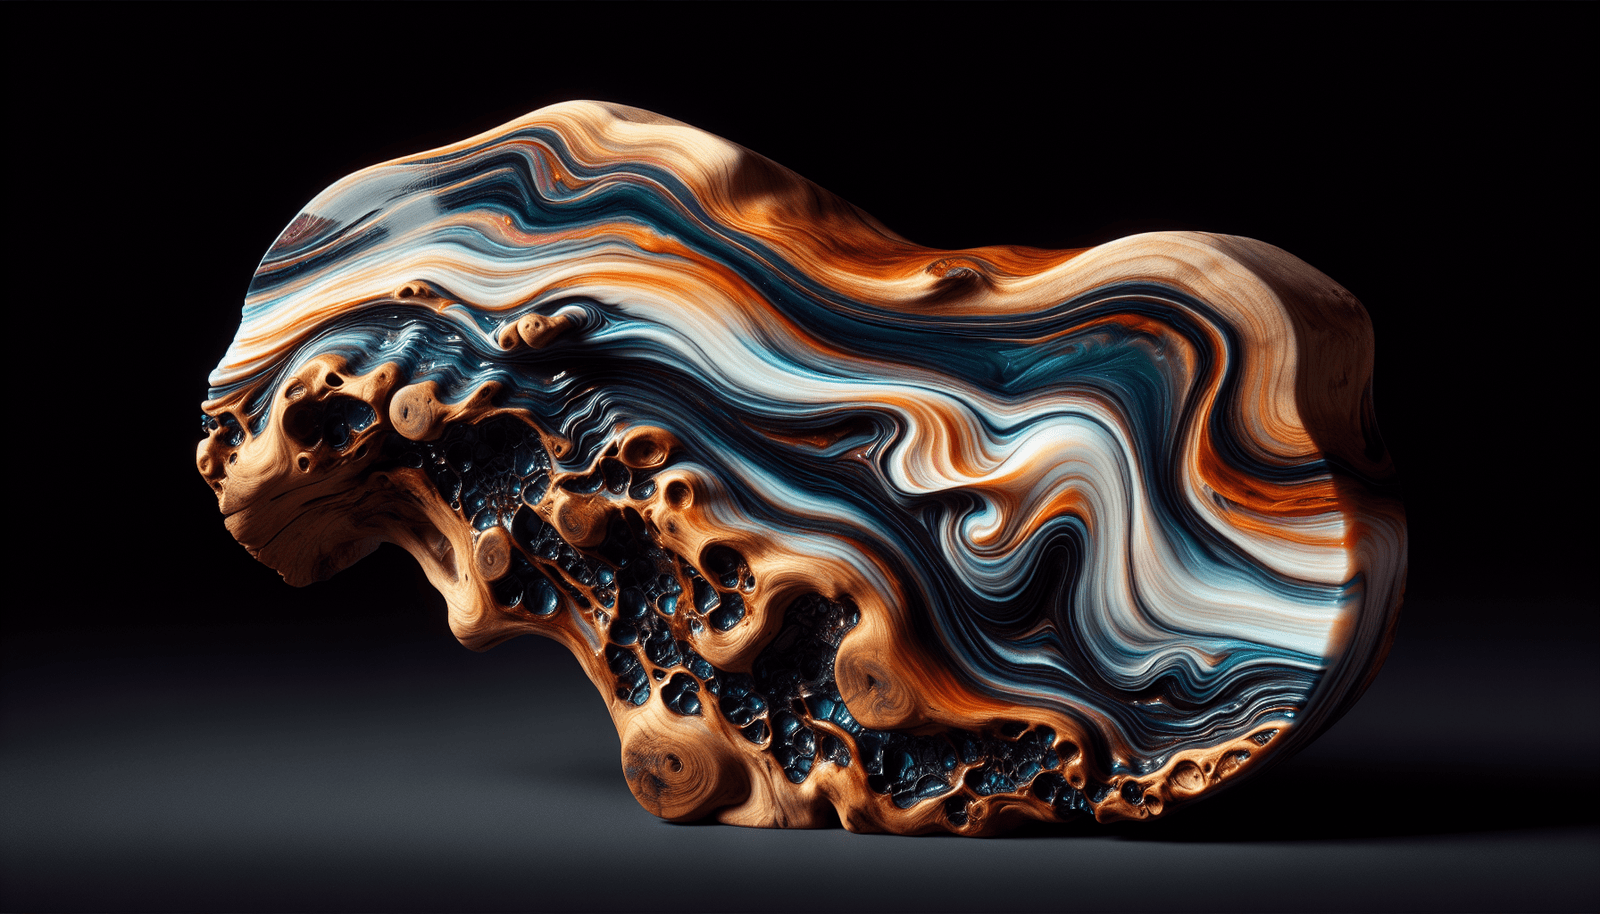
Driftwood epoxy art merges the organic allure of driftwood with the glossy, modern finish of epoxy resin. These two materials together create pieces that are both rustic and polished, offering a blend of natural beauty and intricate artistry. The result can be anything from functional items like tables and lamps to purely decorative pieces such as wall hangings and sculptures.
The Appeal of Driftwood
Driftwood is wood that has been washed onto shore by the action of winds, tides, or waves. Its unique texture and form are a result of years of exposure to the elements. Each piece has its own story, etched into its surface by water and time, which makes it an ideal medium for artists who cherish one-of-a-kind materials.
Benefits of Using Epoxy Resin
Epoxy resin is a versatile polymer known for its high-gloss finish and durability. It acts as both a glue and a protective coat, offering clarity that enhances the natural beauty of the encased driftwood. It is especially loved by artists for its ability to preserve and highlight organic materials while adding an additional layer of depth and dimension.
Tools and Materials Needed
Embarking on a project in driftwood epoxy art requires some specific tools and materials. Whether you’re a seasoned artist or a beginner, having the right equipment can make all the difference. Here’s a breakdown of what you might need:
Basic Materials
- Driftwood: Select pieces that speak to you, factoring in the shape, size, and texture.
- Epoxy Resin: Choose a high-quality brand that offers clarity, UV protection, and longevity.
- Measuring Cups and Stirring Sticks: Accurate measurement is crucial for mixing epoxy resin.
- Protective gear: Gloves, goggles, and a mask to ensure your safety from fumes and spills.
Tools for Crafting
- Saws: To cut driftwood to size if necessary.
- Power Sander: For smoothing any rough edges and surfaces.
- Brushes: Useful for applying epoxy and ensuring it covers all areas.
- Heat Gun or Torch: To remove bubbles from the resin surface.

Selecting and Preparing Your Driftwood
Finding the perfect piece of driftwood is an adventure in itself. Each piece offers a distinct character, challenging and inspiring your creative vision. These are steps to follow to prepare the driftwood:
Finding the Ideal Piece
Search along beaches, riverbanks, and lakeshores where debris is likely to accumulate. Take note of the wood’s condition; it should be neither too fragile nor too dense.
Cleaning and Sanitizing
It’s essential to clean your driftwood to remove any salt, sand, algae, and insects. Begin by rinsing it thoroughly with fresh water. Then, soak it in a bleach solution (1 part bleach to 9 parts water) for at least 24 hours to disinfect it. Finally, rinse it again and let it dry completely in sunny conditions or a well-ventilated area.
Smoothing and Shaping
Using a sander, smooth away any overly rough patches. Shape the wood as desired, keeping in mind the vision you have for your art piece.
Working with Epoxy Resin
Epoxy resin might seem intimidating at first, but with practice, it becomes a rewarding part of the creative process. Here’s how you can work with this material to get the best results.
Mixing the Resin
Follow the product instructions carefully, usually calling for a proper ratio mix of resin and hardener. Use separate measuring cups for each component before mixing them in one container. Stir slowly to avoid introducing air bubbles.
Applying Epoxy to Driftwood
Pour the mixed epoxy over the driftwood, ensuring it covers all surfaces uniformly. Use a brush to spread it out evenly, paying special attention to crevices and curves.
Removing Bubbles
After application, you might notice bubbles forming. Use a heat gun or torch gently to eliminate them, ensuring a crystal-clear finish without altering the texture beneath.
Design Inspirations and Ideas
Driftwood epoxy art can be as varied as your imagination allows. Whether you’re interested in functional pieces or purely decorative ones, there are countless possibilities.
Functional Art Pieces
- Driftwood Tables: Use larger pieces of driftwood as bases or accents for table tops covered in epoxy resin.
- Lamps and Light Fixtures: Integrate lighting elements to create bespoke pieces that add warmth and intrigue to any space.
Decorative Artworks
- Wall Hangings: Arrange smaller driftwood pieces into artistic collages, safely enclosed in epoxy.
- Sculptures: Let the natural form of the driftwood guide you in assembling free-standing sculptures.
Finishing and Preserving Your Artwork
After successfully crafting your driftwood epoxy art, finishing touches are crucial for longevity and presentation.
Final Sanding and Polishing
Once the resin is fully cured, you may need to perform a final sanding to remove any imperfections. Follow this with a polish using fine-grit sandpaper to achieve a sleek finish.
Preserving the Art
Consider adding a UV-resistant topcoat to prevent any yellowing and enhance durability. Also, ensure the driftwood is securely bonded to any mounting surface, providing stability over time.
Troubleshooting Common Issues
Even with careful preparation, challenges can arise. Addressing them is part of the learning journey.
Common Problems
- Bubbles in Resin: Ensure you mix slowly and use a heat gun to remove any bubbles during application.
- Discoloration: This can be due to contamination. Ensure your pots, stirrers, and environment are clean.
Solutions
If discoloration or other minor defects are unavoidable, they can often be fixed by applying an additional layer of epoxy or sanding down and re-polishing the surface.
Conclusion
Driftwood epoxy art is a testament to nature’s beauty and human creativity working in harmony. Whether you’re making functional furniture or creating sculptures and wall art, the combination of driftwood and epoxy provides endless opportunities for artistic expression. So, next time you find yourself on a beach walk, you might just see those pieces of driftwood through the lens of an artist, ready to transform them into something truly remarkable.
Through understanding the materials, refining your techniques, and being unwavering in experimenting, you stand at the cusp of creating breathtaking pieces that capture the organic elegance of the natural world, complemented by the sleek brilliance of epoxy resin. Let the driftwood guide your creativity, and may your artistic journey be as fluid and enchanting as the waves that brought your materials to shore.