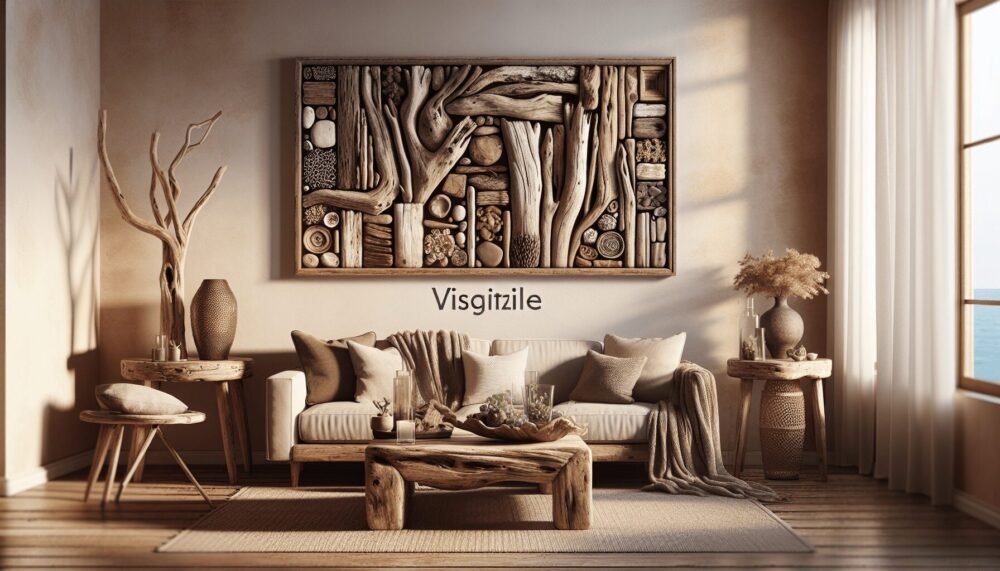
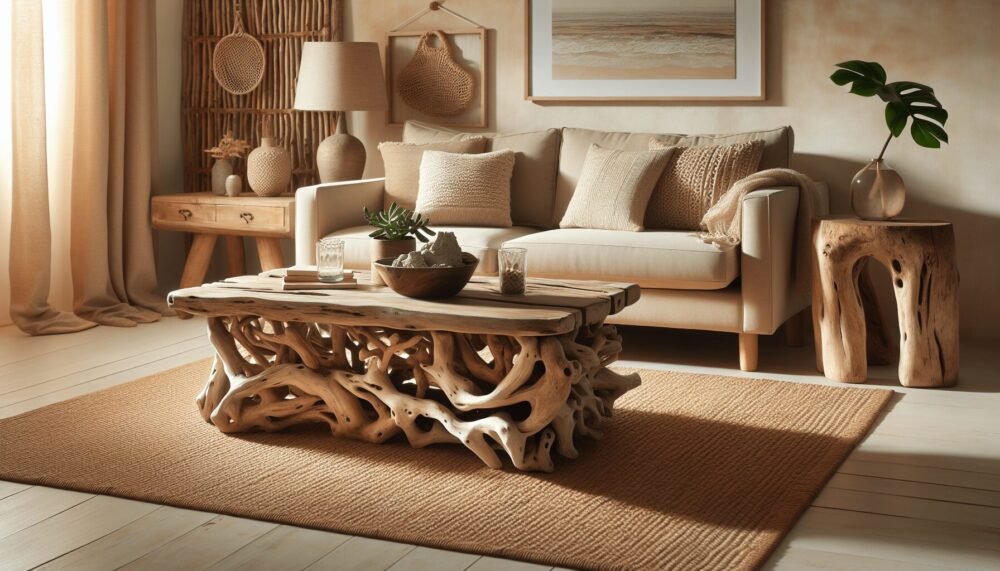
Discover the joy of creating with “Driftwood Furniture DIY Projects,” your go-to guide for transforming nature’s treasures into stunning home decor. As you delve into this unique world of craftsmanship, you’ll find easy-to-follow instructions and inspiring ideas that will ignite your creativity. This article shares everything you need to know, from sourcing the perfect driftwood to assembling one-of-a-kind pieces that add a touch of rustic charm to your living space. Get ready to bring the serene beauty of the shoreline into your home with your very own handmade driftwood furniture!
Driftwood Furniture DIY Projects
Have you ever wandered along a beach, collected a piece of driftwood, and wondered what to do with it? Well, you’re not alone. Many people find the beauty and uniqueness of driftwood irresistible, but aren’t quite sure how to turn it into something useful or decorative. That’s where this guide comes in handy!
In this article, you’ll learn how to transform those lovely pieces of driftwood into stunning pieces of furniture. By the end of your read, you’ll be ready to embark on your own driftwood DIY projects.

Why Choose Driftwood for DIY Projects?
Before diving into the projects, let’s explore why driftwood is such an excellent material for DIY furniture. Driftwood, as the name suggests, is wood that has been carried by the water to the shore. The natural weathering process gives it a distinctive look that you can’t find with other types of wood.
Unique Aesthetic
One of the main reasons to use driftwood is its unique aesthetic. Each piece is different, shaped by the tides, sun, and time. It’s like bringing a piece of nature into your home with all its imperfections and beauty.
Eco-Friendly
Driftwood is essentially recycled wood, which makes it an eco-friendly option for DIY enthusiasts. When you use driftwood, you’re repurposing a material that would otherwise potentially go to waste.
Durability
Driftwood is naturally durable. The process of being weather-beaten and sun-bleached makes this type of wood robust. It’s perfect for creating furniture that will stand the test of time.
Things to Consider Before Starting
There are a few key points you should consider before diving into your DIY projects.
Safety Measures
While working with driftwood is generally safe, certain precautions should be taken. Driftwood may have splinters, nails, or other sharp objects embedded in it. Always wear gloves when handling driftwood and safety glasses when cutting or sanding it.
Tools You’ll Need
Having the right tools is crucial. Here’s a basic list:
| Tool | Purpose |
|---|---|
| Saw | For cutting pieces of driftwood |
| Sandpaper/ Sander | To smooth surfaces and edges |
| Drill | For making holes and attaching screws |
| Screws and Nails | For joining pieces together |
| Paint/ Wood Varnish | To finish and protect your final piece |
| Measuring Tape | For accurate measurements |
Surface Preparation
Before using driftwood in any project, you’ll need to clean it and remove any salt, sand, or dirt. Soak the driftwood in a solution of water and bleach for 24 hours. Rinse it well and let it dry thoroughly before use.
Driftwood DIY Furniture Project Ideas
Now that you’ve prepared and gathered your materials, let’s explore some DIY projects you can embark on.
Driftwood Coffee Table
Creating a driftwood coffee table is a fantastic first project and offers a great combination of function and style.
Materials Needed:
- Several pieces of driftwood
- Glass tabletop (optional)
- Screws and nails
- Wood glue
- Sandpaper
Steps to Follow:
- Design your table: Lay out your pieces of driftwood and try various arrangements until you find a design that you like.
- Cut and sand: Cut the driftwood to the desired length and sand down any rough edges.
- Assemble the base: Use screws and wood glue to assemble the base of your table. Ensure it is stable.
- Add the tabletop: If you’re using a glass top, simply place it on top of your base. For a wooden top, attach it using screws or nails.
Driftwood Lamp
A driftwood lamp can add a rustic yet elegant touch to any room. It’s also a relatively simple project if you’re just starting out.
Materials Needed:
- Driftwood piece (suitable for a lamp base)
- Lamp kit (available at most hardware stores)
- Sandpaper
- Drill
Steps to Follow:
- Select your driftwood: Choose a piece of driftwood that has a flat bottom stable enough to stand on its own.
- Bore a hole: Drill a hole through the selected driftwood to run the lamp cord through.
- Assemble the lamp kit: Follow the manufacturer’s instructions for the rest of the setup.
- Finishing touches: Sand the driftwood to smooth out any rough areas and apply a finish if desired.
Driftwood Shelves
Adding shelves made of driftwood can elevate your home decor by introducing a natural, rustic element.
Materials Needed:
- Pieces of driftwood (straight for shelving)
- Brackets for wall mounting
- Screws and anchors
- Sandpaper
Steps to Follow:
- Measure and cut: Measure the space where you want to place the shelves and cut the driftwood pieces to the desired length.
- Sand the wood: Smooth out any rough areas with sandpaper.
- Install brackets: Use screws and wall anchors to attach the brackets to the wall.
- Place the driftwood: Securely place the driftwood on the brackets, making sure everything is level.
Driftwood Headboard
A driftwood headboard can become the focal point of your bedroom, giving it a cozy and earthy feel.
Materials Needed:
- Long pieces of driftwood (similar in length)
- Wood screws
- Sandpaper
- Drill
Steps to Follow:
- Design layout: Arrange the pieces of driftwood on the floor to determine the design of your headboard.
- Sand and cut: Sand the pieces and cut them to the same height.
- Assemble the headboard: Attach the driftwood pieces to a wooden frame using wood screws. Ensure it’s stable and secure.
- Mount or place: Attach the headboard to your bed frame or mount it on the wall behind your bed.
Driftwood Planters
Driftwood planters are an excellent way to bring greenery into your home while maintaining a natural aesthetic.
Materials Needed:
- Small pieces of driftwood
- Wood screws or nails
- Small pots or plastic liners
- Sandpaper
Steps to Follow:
- Design your planter: Arrange the driftwood pieces to form the sides of a box.
- Sand the wood: Smooth out any rough edges with sandpaper.
- Assemble the planter: Attach the pieces together using wood screws or nails.
- Finish: Place the small pots or liners inside the wooden box, and add your plants.
Tips for Success
Here are some valuable tips that will help you succeed in your driftwood furniture projects:
Working with Imperfections
Driftwood is naturally imperfect, and that’s part of its charm. Embrace the unique shapes and textures. Work with the wood, not against it.
Patience Pays Off
Working with driftwood can sometimes be time-consuming. Whether it’s waiting for the wood to dry or sanding it down, be patient. The results will be worth the effort.
Experiment and Innovate
Don’t be afraid to try something new. Experiment with different finishes, stains, or even combining driftwood with other materials like metal or glass.

Finishing Touches
Once your furniture is assembled, you’ll want to put some finishing touches on it to enhance its look and durability.
Sanding and Sealing
Sanding your driftwood furniture will remove any rough spots and give it a smooth finish. After sanding, consider sealing the driftwood to protect it from future wear and tear.
Sealing Tips:
- Use a clear wood sealer if you want to maintain the natural look.
- For a different aesthetic, consider staining the wood before sealing.
Adding Cushions or Decorative Elements
For pieces like benches or chairs, adding cushions can increase comfort. Look for materials that complement the natural look of driftwood. Decorative elements like rope, shells, or even lights can enhance the rustic charm of your driftwood furniture.
Driftwood Furniture in Different Rooms
Let’s explore how you can incorporate driftwood furniture into various rooms in your home.
Living Room
- Coffee Table: As mentioned earlier, a driftwood coffee table can be a centerpiece in your living room.
- Shelves: Small driftwood shelves can hold books, plants, or decorative items.
Bedroom
- Headboard: A driftwood headboard adds a rustic touch and can be crafted to fit any size bed.
- Lamp: Bedside driftwood lamps create a cozy atmosphere.
Kitchen and Dining Area
- Dining Table: A larger project, a driftwood dining table can be a breathtaking piece for your dining area.
- Bar Stools: Driftwood bar stools are a quirky, natural addition to your kitchen island or bar area.
Outdoor Space
- Benches: Create comfy seating for your garden or deck.
- Planters: Use driftwood planters to house flowers, herbs, or small shrubs.
Cleaning and Maintenance
Driftwood furniture, like any other type of furniture, requires care and maintenance to keep it looking its best.
Regular Cleaning
Regular dusting with a soft cloth will keep your furniture looking fresh. For deeper cleaning, use a damp cloth but avoid soaking the wood.
Maintenance Tips
- Inspect Regularly: Periodically check for loose screws or nails and tighten them as needed.
- Reapply Sealant: Depending on the environment, you may need to reapply a sealant every few years to protect the wood.
Driftwood Furniture: A Sustainable Choice
Choosing driftwood for your DIY furniture projects isn’t just a creative choice, but a sustainable one as well. Here’s why:
Less Waste
Driftwood is often considered “waste” by the natural environment. Repurposing it means less waste overall.
Eco-Friendly Materials
Using natural materials like driftwood reduces the demand for new, commercially produced wood, which often involves harmful deforestation practices.
Conclusion
Turning driftwood into beautiful, functional pieces of furniture is not only rewarding but also eco-friendly. Whether you’re making a coffee table, lamp, or shelves, each project allows you to bring a unique piece of nature into your home. With a bit of patience, creativity, and effort, you can create stunning driftwood furniture that showcases the beauty of the natural world.
So, next time you find yourself on the beach, pick up a piece of driftwood and envision the endless possibilities for your next DIY project. Happy crafting!