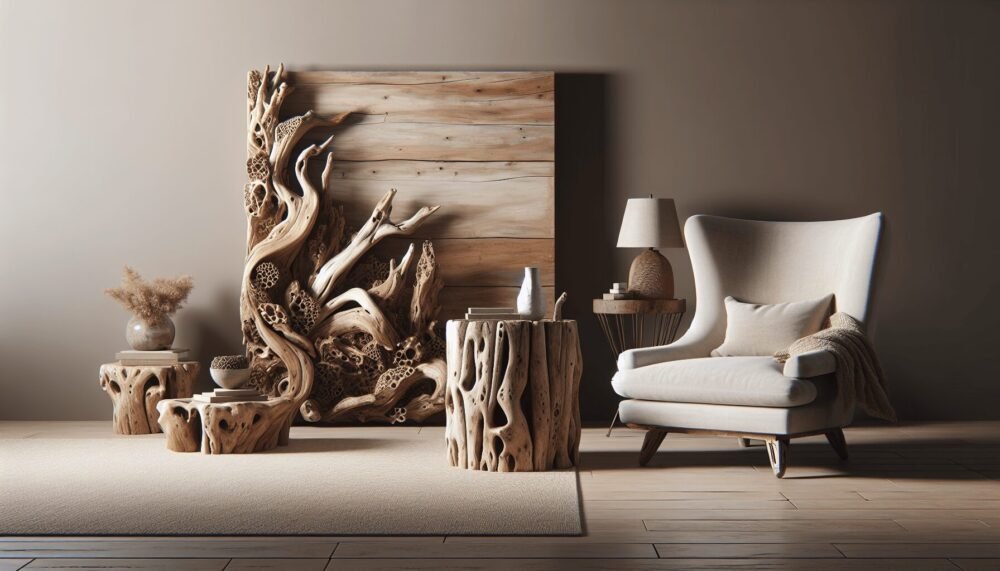
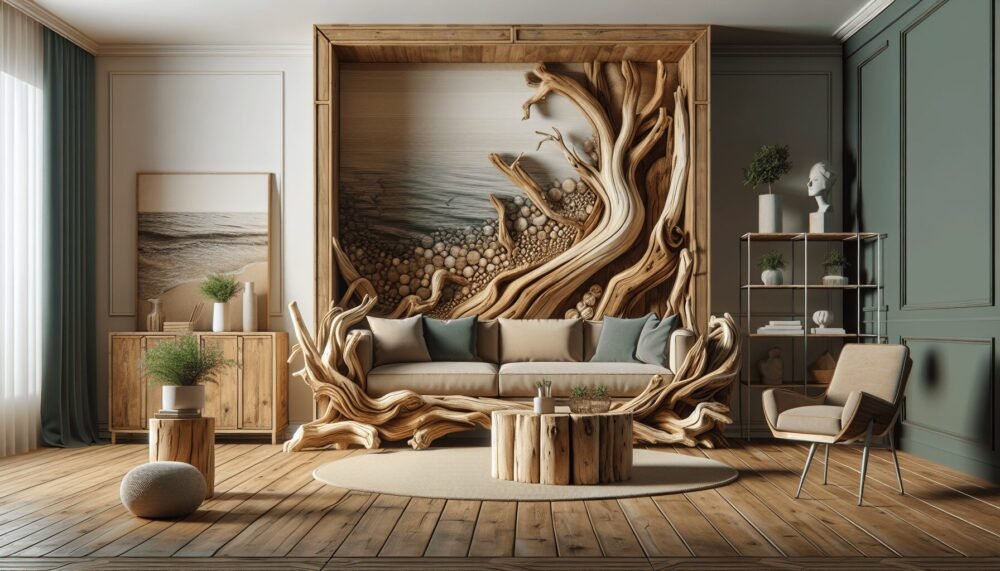
Welcome to the world of unique and inviting decor with our guide, “Driftwood Furniture Finish.” Dive into the beauty of turning ordinary furniture into spectacular pieces that evoke the serene and timeless essence of driftwood. Through this article, you’ll discover simple and effective techniques to achieve that perfect weathered look, with tips ranging from preparation to the finest finishing touches. Whether you’re a seasoned DIY enthusiast or just embarking on your creative journey, this guide is here to inspire and assist you every step of the way. Happy crafting!
Driftwood Furniture Finish
Have you ever wondered how to achieve that beautiful, weathered look on your furniture? The driftwood furniture finish is a popular technique that gives your wooden pieces a unique, aged appearance. It’s not just for coastal or beach-themed decor—this finish can add a touch of rustic charm to any space. So, how can you master this technique and apply it to your own furniture projects? Let’s dive in and explore the steps, tips, and tricks to transform your furniture with a stunning driftwood finish.

What is Driftwood Furniture Finish?
Driftwood furniture finish mimics the natural weathering process that occurs when wood is exposed to the elements over time. Driftwood often appears sun-bleached, washed out, and slightly gray, with a distinct texture. This look can be recreated using specific tools and products to give your indoor furniture an effortlessly aged and natural appeal.
Benefits of Driftwood Furniture Finish
Applying a driftwood finish to your furniture can offer several advantages. Here’s why you might want to try it:
| Benefit | Description |
|---|---|
| Aesthetics | The driftwood finish provides a soft, muted, and natural look that complements various decor styles. |
| Uniqueness | Each piece finished with this method will have its own distinct character and charm. |
| Versatility | Suitable for various types of wood and compatible with different furniture styles, from contemporary to rustic. |
| DIY-Friendly | It can be a fun and fulfilling DIY project, even for beginners. |
Tools and Materials Needed
Before you begin, gather the necessary tools and materials. Here’s a checklist to help you prepare:
| Tools | Materials |
|---|---|
| Sandpaper (coarse and fine grit) | Wood stain in gray or weathered colors |
| Paintbrushes and sponge brushes | Wood conditioner (optional) |
| Lint-free cloths | Sealant or topcoat |
| Mixing cups and stir sticks | Driftwood-colored paint (optional) |
| Drop cloth or protective covering | Gloves |
Preparing Your Workspace
A well-prepared workspace is crucial for achieving a successful driftwood finish. Follow these tips to ensure your space is ready:
- Clean and Clear: Clear the area of any clutter and lay down a drop cloth to protect your floor from spills and stains.
- Ventilation: Ensure your workspace is well-ventilated. If possible, work outdoors or in a garage with the door open.
- Lighting: Good lighting is essential to see the true colors and texture as you work.

Preparing the Furniture
Properly preparing your furniture is the foundation of a great finish. Here’s how to get your piece ready:
Cleaning the Surface
Start by cleaning the furniture to remove any dust, dirt, or grease. Use a mild detergent and water, then let it dry completely.
Sanding
Sanding the surface helps to remove the old finish and creates a smooth surface for the new finish to adhere to. Use coarse-grit sandpaper (e.g., 80-grit) to remove the old finish, then switch to fine-grit sandpaper (e.g., 220-grit) for a smooth finish. Always sand in the direction of the wood grain.
Wiping Down
After sanding, wipe down the piece with a damp, lint-free cloth to remove any dust. This ensures the stain or paint will apply evenly.
Applying the Driftwood Furniture Finish
Now comes the fun part—applying the driftwood finish! This process usually involves staining, painting, or a combination of both to achieve the desired look.
Step 1: Apply Wood Conditioner (Optional)
A wood conditioner helps to ensure even stain absorption, especially on softwoods like pine. Apply it according to the manufacturer’s instructions and let it dry.
Step 2: Apply the Base Stain
Choose a stain color that resembles weathered wood, such as gray, taupe, or even a mix of stains to achieve the desired effect.
- Mix the Stain: Stir the stain thoroughly with a stir stick.
- Apply the Stain: Use a paintbrush or sponge brush to apply the stain evenly, following the wood grain.
- Wipe Off Excess: After a few minutes, use a lint-free cloth to wipe off any excess stain. This ensures an even finish and prevents blotching.
- Drying Time: Allow the stain to dry completely, according to the manufacturer’s instructions.
Step 3: Layering Techniques for Depth
To create a more authentic driftwood appearance, you can layer different colors and textures.
- Dry Brushing: Dip a dry paintbrush into a small amount of driftwood-colored paint. Remove most of the paint onto a paper towel, then lightly brush over the surface, focusing on edges and corners to add depth.
- Whitewashing: Mix a small amount of white or off-white paint with water to create a thin wash. Brush it over the stained wood and quickly wipe off the excess with a cloth. This gives an aged, weathered look.
- Spot Sanding: Lightly sand areas where natural wear would occur to reveal some of the wood underneath, enhancing the aged look.
Sealing the Finish
Once you’re happy with the driftwood effect, it’s important to seal the finish to protect it from wear and tear.
| Type of Sealant | Description |
|---|---|
| Polyurethane | Provides a durable, protective finish in various sheens (matte, satin, gloss). |
| Wax | Offers a soft, velvety finish but may require more frequent reapplication. |
| Oil-Based Sealant | Enhances the wood’s natural beauty but takes longer to dry. |
- Apply the Sealant: Using a clean brush or cloth, apply the sealant evenly according to the product’s instructions.
- Drying Time: Allow the sealant to dry completely. Depending on the type, this could take several hours to overnight.
- Optional: Lightly sand between coats for a smoother finish, applying additional layers as needed.
Troubleshooting Common Issues
Even with careful application, you might encounter some issues. Here’s how to address them:
| Issue | Solution |
|---|---|
| Blotchy Stain | Ensure proper sanding, use wood conditioner, and apply stain evenly. |
| Uneven Paint Coverage | Mix paint thoroughly and apply in thin, even coats. |
| Rough Texture | Sand between layers and wipe down to remove dust. |
| Sealant Bubbles | Use a quality brush and apply sealant in thin, even layers. Pop bubbles immediately. |
Caring for Driftwood Finished Furniture
Proper care and maintenance will keep your driftwood finished furniture looking beautiful for years to come.
- Dust Regularly: Use a soft cloth to remove dust and prevent buildup.
- Clean Spills Immediately: Wipe up spills promptly to avoid staining the finish.
- Avoid Harsh Chemicals: Use gentle cleaning solutions to protect the finish.
- Reapply Sealant: Depending on wear, reapply the sealant every few years to maintain protection.
Enhancing Your Space with Driftwood Finished Furniture
Once you’ve mastered the driftwood furniture finish, you can extend this look throughout your home. Here are some ideas:
| Room | Furniture Piece | Ideas |
|---|---|---|
| Living Room | Coffee table, end tables | Complement with neutral textiles and coastal decor. |
| Bedroom | Bed frame, nightstands | Pair with white or light bedding for a serene atmosphere. |
| Dining Room | Dining table, chairs | Accent with natural elements like woven placemats and linen napkins. |
| Office | Desk, bookshelves | Combine with industrial elements for a modern, rustic feel. |
Eco-Friendly Considerations
Choosing eco-friendly products and methods can make your project more sustainable.
| Eco-Friendly Option | Description |
|---|---|
| Low-VOC Stains and Sealants | Reduces harmful emissions and improves indoor air quality. |
| Reclaimed Wood | Using reclaimed wood adds character and is environmentally friendly. |
| Natural Bristle Brushes | Made from organic materials and biodegradable. |
Conclusion
Creating a driftwood furniture finish can be a rewarding DIY project that transforms ordinary furniture into extraordinary pieces full of character and charm. With the right tools, materials, and techniques, you can achieve this beautiful, weathered look and add a touch of rustic elegance to your home. Remember, practice makes perfect, so don’t be afraid to experiment and find the perfect combination of colors and textures for your unique style. Happy crafting!