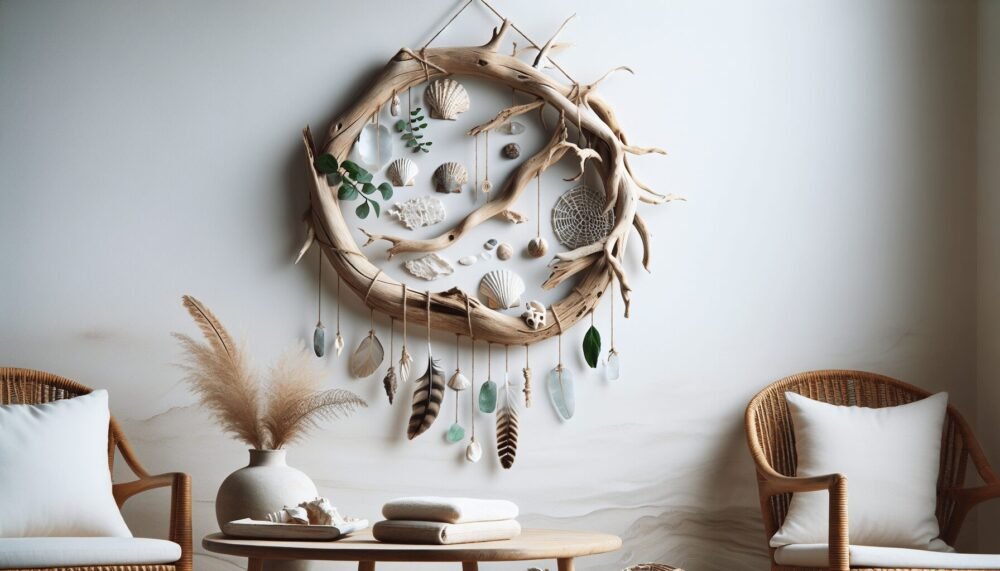
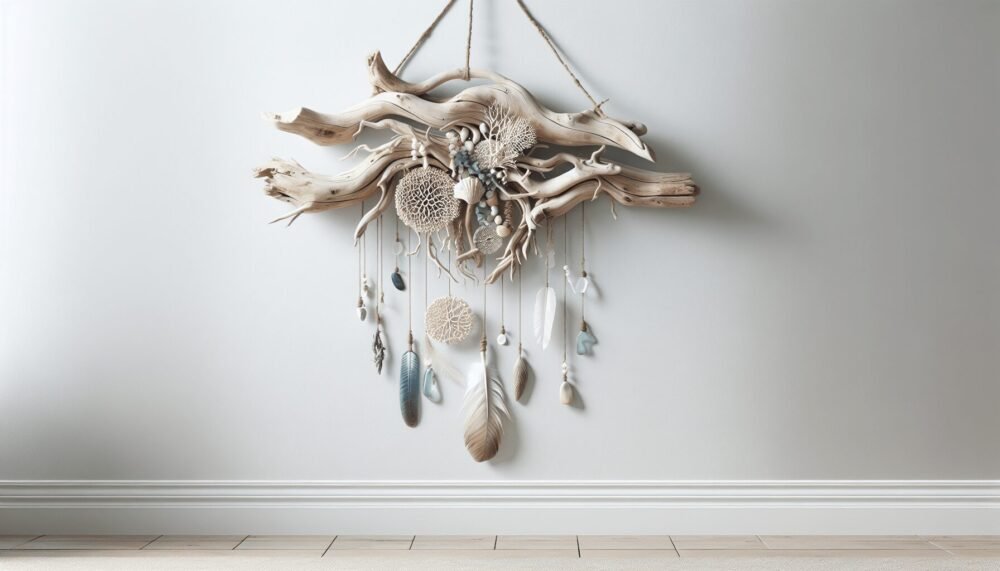
Driftwood Hanging is a charming and versatile piece of decor that brings natural beauty into any living space. Whether you live by the sea or simply adore the tranquility of coastal aesthetics, incorporating driftwood into your home can add a touch of elegance and warmth. You’ll learn how easy it is to craft your own driftwood hanging, perfect for your front porch, living room, or even your bedroom. From selecting the right pieces of driftwood to choosing complementary materials and assembling your masterpiece, this article guides you through each step with ease, making it a delightful project for any DIY enthusiast. Have you ever wandered along the beach, marveling at the various treasures the ocean leaves behind, and wondered what you could create with them? If you have, you’re probably familiar with driftwood. This naturally weathered wood, smoothed by water and sun, is not only beautiful in its organic form but also perfect for unique and creative DIY projects. One such project is making a driftwood hanging, a captivating and artistic way to bring a piece of the beach into your home.

What is Driftwood?
Driftwood is wood that has been washed ashore by waves, tides, or winds. It often has a rustic, weathered look due to prolonged exposure to the elements. Each piece of driftwood carries its own history, etched into its grain and form by the forces of nature. From small twigs and branches to large logs and stumps, driftwood comes in various shapes and sizes, providing endless creative possibilities.
Why Choose Driftwood for Crafting?
Driftwood is more than just a piece of wood; it’s a material imbued with natural beauty and character. Here are a few reasons why it’s ideal for crafting:
- Eco-Friendly: Using driftwood is an excellent way to recycle and repurpose natural materials.
- Unique: No two pieces of driftwood are the same, ensuring your creation will be truly one-of-a-kind.
- Versatile: Driftwood can be used in various crafts and home decor projects, from furniture to wall art.
Gathering Your Materials
Before you start your driftwood hanging project, you’ll need to gather some essential materials. Here’s a handy table to keep track of everything you need:
| Material | Description |
|---|---|
| Driftwood Pieces | Various sizes and shapes for a visually interesting design |
| Twine or Rope | Natural fibers work best for a rustic look |
| Hooks or Rings | For hanging the finished piece on a wall |
| Drill | To create holes in your driftwood for threading twine or rope |
| Sandpaper | To smooth out rough edges or surfaces |
| Optional: Beads, Shells | For additional decorative elements |
Preparing the Driftwood
Cleaning the Driftwood
Once you’ve collected your driftwood, it’s important to clean it thoroughly. Even though driftwood is naturally beautiful, it may carry dirt, salt, and microorganisms that you’d prefer not to have in your home.
- Rinse: Start by rinsing the driftwood pieces with fresh water to remove any sand and surface dirt.
- Soak: Soak the driftwood in a mixture of water and bleach (1:9 ratio) for 24 hours to sterilize it.
- Scrub: Use a brush to scrub away any remaining debris.
- Dry: Let the driftwood dry completely in a well-ventilated area. This can take several days, depending on the size and thickness of the pieces.
Smoothing and Drilling
To ensure your driftwood hanging looks polished, you’ll want to smooth out any rough edges. Use sandpaper to gently buff the surfaces, paying extra attention to any jagged areas that might catch on clothing or skin.
After smoothing the wood, you’ll need to drill holes for threading the twine or rope. Decide on the arrangement of your driftwood pieces before drilling. Mark the spots for the holes with a pencil, ensuring they are aligned properly for even hanging.

Designing Your Driftwood Hanging
Plan Your Layout
Before you start assembling, it’s helpful to lay out your design on a flat surface. Arrange the driftwood pieces in a way that pleases you, considering balance and symmetry.
Adding Decorative Elements
To add a touch of individuality to your driftwood hanging, consider incorporating decorative elements such as shells, beads, or small charms. These can be threaded onto the twine or rope between the driftwood pieces.
Assembling the Hanging
Thread the twine or rope through the holes you drilled in the driftwood. Secure each piece with knots, ensuring they are evenly spaced. Here’s a step-by-step guide to help you:
- Start with the Top Piece: Thread a piece of twine through the top driftwood piece and tie a knot to secure it.
- Add Additional Pieces: Continue threading and knotting, spacing the driftwood pieces evenly.
- Secure the Bottom Piece: Once all pieces are added, tie a secure knot at the bottom to keep everything in place.
- Attach the Hanging Mechanism: Tie a loop or attach hooks or rings to the top for easy hanging.
Displaying Your Driftwood Hanging
Choosing the perfect spot for your driftwood hanging is key to showcasing your creation. Driftwood hangings are versatile and can enhance various areas of your home:
- Living Room: Display your driftwood hanging above a couch or fireplace to create a focal point.
- Bedroom: Hang it above the bed for a touch of natural serenity.
- Bathroom: Driftwood’s beachy vibe makes it an ideal addition to bathroom decor.
- Entryway: Welcome guests with a beautiful driftwood hanging in the entryway.
Maintenance and Care
Driftwood hangings are relatively low maintenance, but a little care will ensure they remain in good condition over time. Here are some tips:
- Dust Regularly: Use a soft cloth or feather duster to remove dust from the driftwood.
- Avoid Excess Moisture: While driftwood is naturally resistant to moisture, avoid hanging it in areas with high humidity to prevent mold growth.
- Check for Stability: Periodically check the knots and hanging mechanisms to ensure they remain secure.
Additional Driftwood Craft Ideas
If you enjoyed making your driftwood hanging, you might want to try some other driftwood crafts. Here are a few ideas to inspire you:
Driftwood Mirror
Transform a plain mirror by framing it with driftwood pieces. This creates a stunning, rustic look perfect for any room.
Driftwood Sculpture
Create a free-standing sculpture by assembling larger driftwood pieces. This can be a striking centerpiece for your home or garden.
Driftwood Shelf
Construct a unique shelf by using a long, sturdy piece of driftwood as the base. Attach brackets and mount it on the wall for a functional piece of art.
Driftwood Candle Holder
Drill holes into a flat piece of driftwood to hold candles. This creates a warm and inviting ambiance.
Driftwood Wind Chime
Thread smaller pieces of driftwood, shells, and beads to create a wind chime. Hang it outside and enjoy the soothing sounds as the wind blows.
Conclusion
Creating a driftwood hanging is a fulfilling and rewarding project that allows you to bring a piece of nature into your home decor. The process is enjoyable and the results are stunning, especially knowing that each piece of driftwood carries its own natural history and charm.
By following the steps outlined in this guide, you’ll craft a unique and beautiful driftwood hanging that reflects your personal style and love for the ocean. Not only will you have a gorgeous piece of art, but you’ll also have a great conversation starter and a constant reminder of the beach’s beauty.
So, why not start collecting driftwood on your next beach walk and see what you can create? Happy crafting!