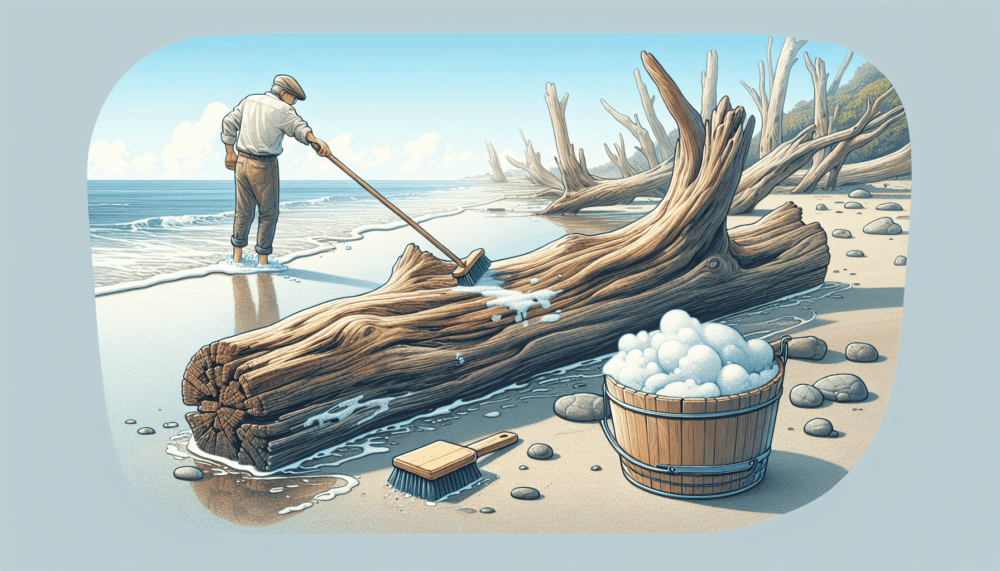
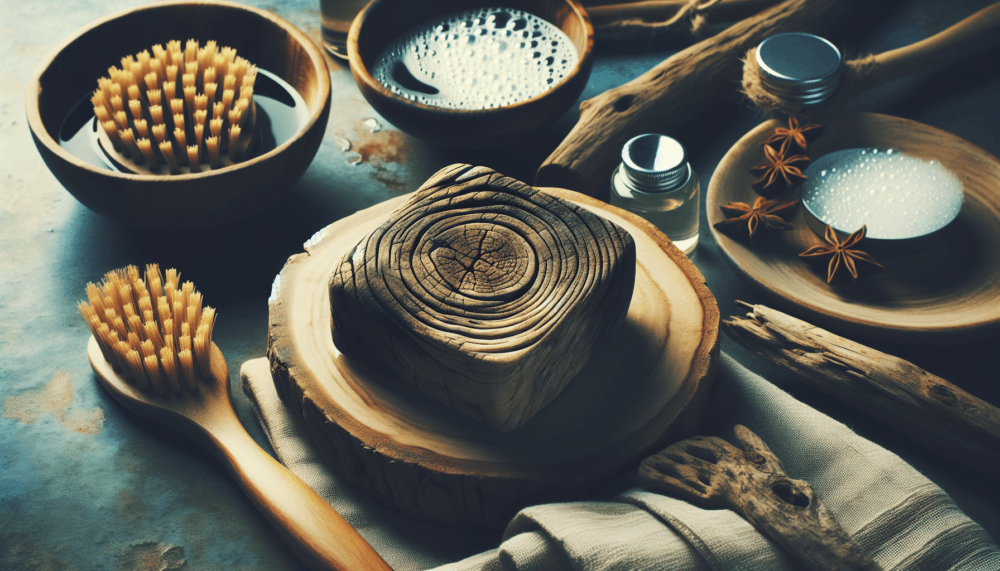
So you’ve stumbled upon a beautiful piece of driftwood and the burning question on your mind is, “How do I clean it?” Well, fret not, because in this article, we will uncover the secrets of driftwood cleaning. Whether you’re a seasoned collector or a novice explorer, we’ve got you covered with useful tips and tricks that will leave your driftwood looking fresh, sanitized, and ready to bring nature’s charm into your home. Get ready to discover the step-by-step process and the few essentials you’ll need to revive your driftwood treasure and make it shine once again.

Types of Driftwood
Driftwood comes in various types, each with its own unique characteristics and appearances. Understanding the different types of driftwood can help you determine the best cleaning methods for your specific piece.
Weathered Driftwood
Weathered driftwood has been exposed to the elements for an extended period, resulting in a beautifully worn and aged appearance. It usually has a grayish or brownish color, with intricate textures and patterns created by erosion and water damage. Cleaning weathered driftwood requires a delicate approach to preserve its natural charm.
Fresh Driftwood
Fresh driftwood refers to pieces that have recently washed up onshore and have not undergone significant weathering or decay. It often retains its original color, which can range from light brown to deep red. Cleaning fresh driftwood is essential to remove any debris or impurities it may have accumulated during its time in the water.
Bleached Driftwood
Bleached driftwood is characterized by its pale and faded appearance. This type of driftwood has been exposed to intense sunlight for extended periods, causing the colors to lighten significantly. Bleached driftwood is often used for a more minimalistic or coastal aesthetic and requires appropriate cleaning to maintain its light and airy look.
Materials Needed
Before you begin cleaning your driftwood, make sure you gather the necessary materials. Having them prepared will ensure a smooth and efficient cleaning process. Here are the items you will need:
Soft-Bristled Brush
A soft-bristled brush is essential for gently removing dirt, debris, and loose particles from the driftwood’s surface without causing any damage. Be sure to choose a brush that won’t scratch or scrape the wood.
Mild Soap or Detergent
Using a mild soap or detergent will help dissolve dirt and grime on the driftwood’s surface during the cleaning process. Opt for a gentle soap to avoid any potential damage to the wood.
Bleach (optional)
Bleach may be necessary for cleaning fresh driftwood, as it helps remove bacteria and prevent mold growth. However, it’s important to note that not all driftwood requires bleaching. Use it only if necessary and with caution, as excessive use of bleach can damage the wood.
Water
Water is essential for various steps throughout the cleaning process. Ensure you have a sufficient amount of clean water available for rinsing and soaking the driftwood.
Gloves
Wearing gloves while cleaning driftwood is advisable to protect your hands from any chemicals or rough surfaces. Choose gloves that are durable and can withstand prolonged contact with water and cleaning agents.
Protective Eyewear
To safeguard your eyes from any potential debris or cleaning agents splashing up, wearing protective eyewear is highly recommended. Safety glasses or goggles will provide adequate protection while cleaning your driftwood.
Preparation
Proper preparation is crucial for achieving the best results when cleaning driftwood. Before diving into the cleaning process, make sure to follow these important preparation steps:
Choose a Suitable Location
Selecting an appropriate location for cleaning your driftwood is essential. Ideally, choose an outdoor area with good ventilation to ensure proper air circulation while you work. Cleaning driftwood outdoors can also help minimize the mess and make it easier to rinse off any cleaning products.
Inspect the Driftwood
Before cleaning, carefully inspect the driftwood for any signs of damage, such as cracks or weak spots. Identifying such issues beforehand will help you decide on the best cleaning approach and prevent further damage during the process.
Remove Loose Debris
Gently brush off any loose debris, sand, or dirt from the surface of your driftwood using a soft-bristled brush. This step will make the subsequent cleaning process more effective and prevent any dirt from spreading or sticking to the wood during cleaning.
Cleaning Weathered Driftwood
Cleaning weathered driftwood requires a gentle approach to preserve its natural worn appearance and unique textures. Follow these steps to clean weathered driftwood effectively:
Step 1: Brush Off Loose Dirt
Using a soft-bristled brush, gently remove any loose dirt, dust, or debris from the surface of the weathered driftwood. Take care not to scrub too hard, as this can damage the delicate textures of the wood.
Step 2: Soak in Soapy Water
Prepare a mixture of mild soap or detergent and warm water. Place the weathered driftwood in a bucket or basin and carefully submerge it in the soapy water mixture. Allow it to soak for about 20-30 minutes to loosen any stubborn dirt or grime.
Step 3: Scrub Gently
After soaking, use the soft-bristled brush to scrub the driftwood gently. Work in small circular motions, focusing on areas that require more attention. Be mindful not to scrub too hard, as this can damage the delicate surfaces of the weathered driftwood.
Step 4: Rinse and Dry
Thoroughly rinse the weathered driftwood with clean water to remove any residual soap or dirt. Once rinsed, shake off any excess water and pat dry with a clean towel. Leave the driftwood to air dry completely before proceeding to the next steps.

Cleaning Fresh Driftwood
Cleaning fresh driftwood is crucial to remove any impurities it may have accumulated during its time in the water. Follow these steps to clean fresh driftwood effectively:
Step 1: Remove Bark (if desired)
If your fresh driftwood has bark attached to it and you prefer a smoother finish, you can choose to remove the bark. Carefully peel or scrape off the bark using a dull knife or a specific bark removal tool. Take caution not to damage the underlying wood while removing the bark.
Step 2: Brush Off Debris
Using a soft-bristled brush, gently brush off any loose debris or dirt from the surface of the fresh driftwood. This will help prepare the wood for the subsequent cleaning steps.
Step 3: Soak in Bleach Solution
Prepare a bleach solution by combining water and bleach in a well-ventilated area. The ratio of bleach to water will depend on the level of cleaning required for your driftwood. Soak the fresh driftwood in the bleach solution for approximately 24 hours to eliminate any bacteria or mold.
Step 4: Rinse Thoroughly
After the soaking process, remove the fresh driftwood from the bleach solution and rinse it thoroughly with clean water. Rinse repeatedly until the water runs clear, ensuring all traces of bleach are removed.
Step 5: Dry
Place the freshly cleaned driftwood in a well-ventilated area to air dry completely. Make sure it is exposed to adequate airflow to avoid moisture buildup. Once dry, your fresh driftwood is ready to be displayed or used in your desired project.
Cleaning Bleached Driftwood
Bleached driftwood offers a beautiful and light aesthetic that complements various decor styles. To clean bleached driftwood effectively, ensure you follow these steps:
Step 1: Dust Off Residue
Using a soft-bristled brush, gently dust off any residue or loose particles from the surface of the bleached driftwood. This will help prepare the wood for the subsequent cleaning process.
Step 2: Soak in Water
Fill a bucket or basin with clean water and immerse the bleached driftwood. Allow it to soak for around 30 minutes to loosen any dirt or grime that may have accumulated. This step will make the subsequent cleaning process more effective.
Step 3: Scrub with Brush and Soap
After soaking, use a soft-bristled brush and mild soap or detergent to gently scrub the bleached driftwood. Work in small circular motions, ensuring all areas are cleaned. Pay extra attention to any stubborn or dirty spots, being careful not to scrub too hard and damage the wood.
Step 4: Rinse and Dry
Thoroughly rinse the bleached driftwood with clean water to remove any soap or residue. Ensure all cleaning agents are completely removed. Once rinsed, pat dry with a clean towel and allow the driftwood to air dry completely before proceeding.
Removing Odors
Sometimes driftwood may have unpleasant odors that need to be addressed before displaying or using it in your home. Follow these steps to remove odors effectively:
Step 1: Soak in Vinegar Solution
Prepare a solution of equal parts water and distilled white vinegar in a container large enough to submerge the driftwood. Immerse the driftwood in the vinegar solution and allow it to soak for 24-48 hours. Vinegar helps eliminate odors and neutralize any bacteria or mold present.
Step 2: Rinse with Water
After soaking, remove the driftwood from the vinegar solution and rinse it thoroughly with clean water. Ensure all traces of vinegar are washed off. Repeat the rinsing process if necessary until the water runs clear.
Finishing Touches
Once your driftwood is thoroughly cleaned and odor-free, you may consider adding finishing touches to enhance its appearance and longevity. Follow these steps for the final touches:
Step 1: Sanding (if desired)
If you prefer a smoother or polished finish, you can opt to sand the driftwood lightly. Use fine-grit sandpaper to gently sand the surface, removing any roughness or unevenness. This step can help prepare the driftwood for the application of wood sealer if desired.
Step 2: Apply Wood Sealer (optional)
To further protect and enhance the appearance of your driftwood, you may choose to apply a wood sealer. Ensure you select a sealer suitable for your specific driftwood type. Apply the sealer according to the manufacturer’s instructions, allowing sufficient drying time before handling or displaying the driftwood.
Safety Precautions
When cleaning driftwood, it’s essential to prioritize safety to prevent any accidents or injuries. Follow these safety precautions while cleaning your driftwood:
Wear Protective Gear
Before starting the cleaning process, wear protective gloves and eyewear to safeguard your hands and eyes from any potential risks, such as chemicals or debris.
Avoid Harsh Chemicals
While some cleaning solutions may require the use of bleach, it’s important to avoid excessive use or prolonged exposure to harsh chemicals. Always follow the recommended instructions and handle cleaning agents with caution.
Proper Ventilation
Ensure you clean your driftwood in a well-ventilated area, especially when using cleaning agents or bleach. Adequate ventilation will help prevent the inhalation of potentially harmful fumes and promote a safer environment for cleaning.
Display Tips
Once your driftwood is clean and ready, displaying it properly can enhance its aesthetic appeal. Consider these tips for displaying your driftwood:
Choosing a Suitable Location
Select a location in your home or outdoor space that complements the overall decor and style. Driftwood can be displayed on mantels, shelves, or incorporated into centerpieces. Ensure the location provides appropriate lighting to showcase the unique textures and colors of the driftwood.
Styling with Other Decor
Driftwood pairs well with various decor elements such as plants, shells, or other natural materials. Experiment with different arrangements and combinations to create visually appealing displays. Embrace your creativity and let the driftwood become a focal point or an accent piece in your design.
Regular Dusting
To maintain the beauty of your driftwood over time, make sure to dust it regularly using a soft cloth or a feather duster. This will help prevent the buildup of dirt and ensure your driftwood remains clean and vibrant.
Cleaning driftwood can be a rewarding and enjoyable process. By following the correct cleaning techniques and safety precautions, you can restore the natural beauty of your driftwood and display it proudly in your home or outdoor space. Enjoy the process and let your creativity shine as you incorporate this unique element of nature into your decor.