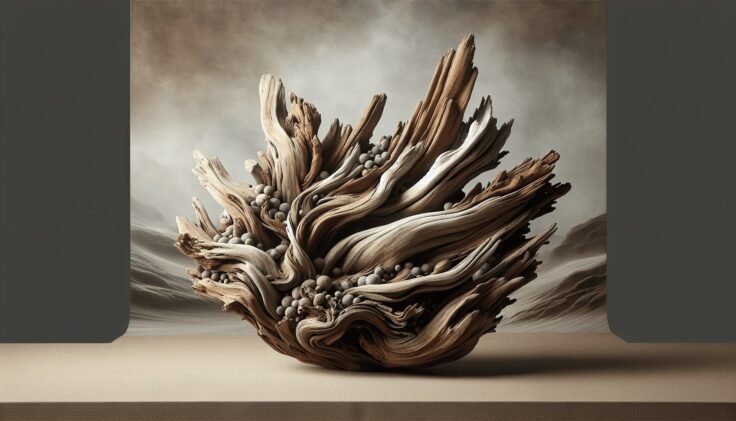
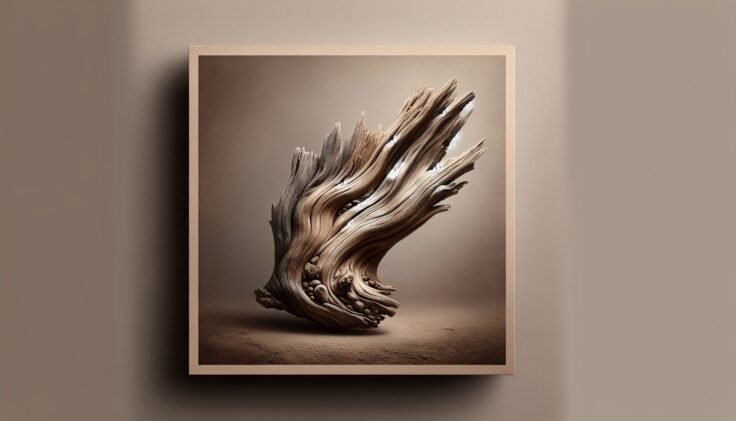
Have you ever stumbled upon a piece of driftwood on a beach and wondered how it got there or what stories it might tell? Driftwood has a natural allure, with its weathered texture and unique shapes. But have you thought about bringing that natural beauty into your home in a creative way, perhaps by crafting a driftwood jar? A driftwood jar combines the rustic charm of driftwood with the practical utility of a container, offering a lovely piece of decor for your living space.

What is a Driftwood Jar?
A driftwood jar is essentially a container, often glass or ceramic, that is adorned or wrapped with pieces of driftwood. This can be achieved through various techniques, but the end result is always a stunning and natural piece of art that brings the essence of the sea and nature into your home. These jars can serve multiple purposes, from decorative items to functional storage solutions.
The Allure of Driftwood
Driftwood is wood that has been washed onto shore by the action of winds, tides, or waves. The journey that each piece of driftwood takes imbues it with a story, featuring elements like erosion, salt, and sun that give it its characteristic weathered and unique appearance. By using driftwood in home decor, you bring part of that story into your home, creating a connection between you and the natural world.
Why Create a Driftwood Jar?
Creating a driftwood jar allows you to merge creativity with nature. It’s an opportunity to craft something that is both beautiful and functional. You can place your driftwood jar as an accent piece on a shelf, use it on your dining table as a centerpiece, or employ it as a storage container for small items. It’s not only a conversation starter but also a way to upcycle and bring nature’s artistry inside.
Materials Needed for a Driftwood Jar
Before you embark on crafting your driftwood jar, you need to gather some materials. Let’s break down what you’ll need:
- Driftwood Pieces: Of course, the star of the show. Collect pieces from the beach or purchase them if you don’t live near a coastline.
- A Jar: This can be any jar you have on hand or an upcycled glass jar from your pantry.
- Strong Adhesive: You’ll need a durable glue to ensure the driftwood sticks to the jar securely.
- Sandpaper: Optional, for smoothing any rough edges on the driftwood.
- Paint or Stain: Optional, if you wish to color the driftwood or the jar.
- Sealant: To protect the wood and enhance its natural look.
Choosing Your Driftwood
Select pieces that are interesting in shape and texture, and try to ensure a variety of sizes. Pieces that are too large or heavy might not adhere well to the jar. If you’re collecting driftwood yourself, ensure it’s thoroughly dry before beginning the project.
Selecting the Right Jar
The jar can be any shape or size, depending on what you plan to use it for. A wider jar might be ideal for a centerpiece, whereas a taller jar could serve as a striking vase for more extended items like kitchen utensils or fresh flowers.
How to Assemble a Driftwood Jar
Now, let’s walk through the assembly process. You’ll find that this craft allows for a lot of personalization and creativity.
Step 1: Cleaning the Driftwood
Before assembly, ensure your driftwood is clean. You can rinse it with water and let it dry thoroughly. If needed, sand down any rough edges or splinters carefully.
Step 2: Preparing the Jar
Clean and dry your jar. If you plan to paint or stain the jar or driftwood, now’s the time to do it. Ensure everything is dry before proceeding to the next step.
Step 3: Arranging the Driftwood
Lay out your driftwood bits to see how they may fit best around your jar. Don’t be afraid to get creative; this step is about playing with the textures and shapes to form an attractive layout.
Step 4: Gluing the Driftwood to the Jar
Use your adhesive to affix each piece of driftwood to the jar, starting from the base and working your way up. Hold pieces in place until the glue sets. Take care to ensure a snug fit between adjacent pieces.
Step 5: Sealing Your Work
After the wood is securely attached and any paint or stain is dry, apply a sealant to protect your creation from moisture and wear. This step will also bring out the wood’s natural grain and color.
Decorating Ideas for Driftwood Jars
Once you’ve made your driftwood jar, there are myriad ways to use it. Here are some ideas:
- Vase for Flowers: Let your jar burst to life with fresh or dried flowers.
- Candle Holder: Place a pillar or tea light candle inside for a cozy ambiance.
- Storage Solution: Use it in the kitchen or bathroom to store utensils or supplies.
- Beach Vibes: Fill it with shells or sea glass for a complete ocean-inspired display.

Caring for Your Driftwood Jar
Proper care ensures the longevity of your driftwood jar while keeping it beautiful.
Cleaning Tips
To clean, dust gently with a duster or a soft, dry cloth. Do not submerge the jar in water, as excessive moisture may damage the driftwood or dissolve the adhesive.
Maintenance Advice
Over time, the sealant may need reapplication to maintain the wood’s appearance and protection. Reapply according to the sealant manufacturer’s instructions.
Driftwood Jar as a Gift
A driftwood jar can be a thoughtful and personalized gift. By paying attention to the recipient’s taste and home decor style, you can create a piece that they’ll treasure. Adding items inside the jar, such as homemade bath salts or handmade candles, turns it into a personalized gift basket.
Conclusion
Bringing nature into your home with a driftwood jar is not just about creating art; it’s about capturing the stories of nature and making them a part of your life. This project allows you to express creativity while respecting the unique beauty of driftwood. Whether it’s for personal use or as a heartfelt gift, a driftwood jar is something you can be proud to share with others. What bit of the ocean’s story will your driftwood jar tell?