Driftwood Key Holder Diy
Have you ever found yourself rummaging around for that elusive set of keys just when you need to rush out the door? It’s a common occurrence, and surely it’s happened to all of us at one point or another. Now, what if you could create a unique and aesthetically pleasing solution to this everyday issue, using something as simple yet charming as driftwood? You’re about to discover how crafting your own driftwood key holder can not only help you keep your keys organized but also add a touch of nature-inspired decor to your living space. With driftwood’s rustic, weather-beaten appeal, you can bring a piece of the beach or riverbank into your home, transforming it into a practical and decorative item.


Why Driftwood?
Natural Beauty and Uniqueness
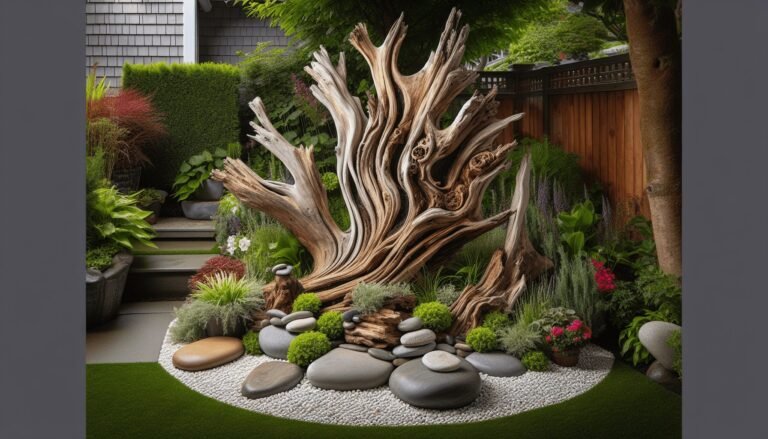
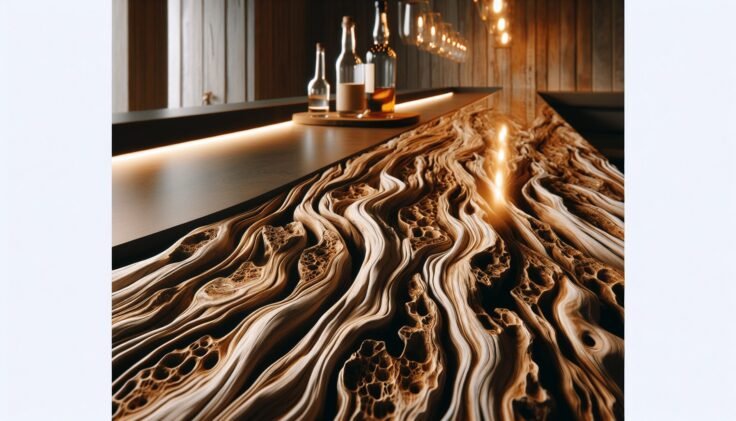
Driftwood is wood that has been washed onto a shore or bank by the action of winds, tides, or waves. Every piece of driftwood carries a unique story, having traveled through water and time to become naturally smoothed and bleached by the elements. No two pieces are the same, and this natural variety adds character and uniqueness to your craft.
Sustainability and Cost-Effectiveness
Opting for driftwood means you are using a material that’s already been discarded by nature, thus making it an eco-friendly choice. It’s cost-effective as you can collect driftwood from local beaches or riverbanks, making it a budget-friendly option for your home decor projects.
Preparing Your Driftwood
Collecting the Driftwood
Before you start crafting, you need to gather some driftwood. Head to your nearest coastline or riverbank and search for pieces that are about 12-24 inches long, sturdy, and aesthetically pleasing to your eye. Keep an eye out for driftwood with a flat surface so it can be easily mounted on a wall.
Cleaning and Drying
Once you’ve gathered your driftwood, it’s important to clean it thoroughly to remove any lingering dirt, sand, or salt. Soak the driftwood in a bucket of water with some bleach added to it for a few hours. After soaking, scrub it gently using an old toothbrush to remove any remaining debris.
Rinse the wood thoroughly with clean water and let it dry completely. Depending on its initial condition, drying could take anywhere from a few days to a week. Ensure that it’s fully dry before moving on to the next steps to prevent any mold or mildew growth.
Designing Your Key Holder
Visualizing Your Project
Now that you have a piece of driftwood ready, take a minute to visualize how you want your key holder to look. Consider the placement of hooks or any additional decorative elements you might want to add. Do you want it to be minimal, or do you prefer something a bit more embellished?
Gathering Additional Materials
To turn your driftwood into a functional key holder, you’ll need a few additional materials:
| Material | Purpose |
|---|---|
| Screw hooks | To hold the keys securely |
| Drill and drill bits | For creating holes to mount the hooks |
| Sandpaper | To smooth any rough edges |
| Wall hooks | To mount your key holder onto the wall |
| Paint or varnish | Optional, for finishing touches or to enhance the wood’s look |
Layout Planning
Before attaching anything, it’s a good idea to lay out your materials and have a mock setup. Measure the driftwood and place the hooks evenly spaced. Figuring out the spacing in advance will prevent adjustments later on, which could potentially damage the wood.
Crafting the Key Holder
Drilling and Installation
Start by marking where each hook will be placed. Ensure the marks are evenly spaced and are a distance apart that accommodates your keys comfortably. Use a power drill with a drill bit that matches the size of your screw hooks to create pilot holes for the hooks.
Insert the hooks once the holes are ready. Twist them in securely, ensuring they’re facing the right direction for ease of use.
Finishing With Care
If you want to maintain the natural appearance of the driftwood, opt for a clear varnish. If you’re looking to give it a more customized look, consider painting it in colors that match your home decor. After painting or varnishing, let it dry completely.
Optionally, use sandpaper on any parts that feel rough to the touch. This extra step ensures a smooth finish which can prevent any injuries when grabbing for your keys.
Mounting the Key Holder
The final step is mounting your driftwood key holder on the wall. Depending on the weight of the driftwood and number of keys you plan to hang, using strong wall hooks or a mounting bracket can provide greater stability.
Choose a location near an entrance for convenience. Mark the spots for wall hooks, drill pilot holes, place the anchors, and screw in the wall hooks. Finally, hang your driftwood key holder securely.

Adding Personal Touches
Incorporating Additional Decorations
Personalize your driftwood key holder with other elements that resonate with your style. Consider adding small decorative items like seashells, mini plants, or a small chalkboard for notes.
Paint and Stencil Art
Stencils can be a fun way to add some art to your key holder. Consider painting motivational quotes or patterns using a stencil for a more polished look.
Benefits of a Driftwood Key Holder
Practical Organization
The primary benefit is practicality—having a designated spot for your keys can help reduce clutter and streamline your daily routine. No more lost keys!
Aesthetic Enhancement
Apart from serving a practical purpose, a driftwood key holder adds a rustic and natural touch to your interior decor. It’s a subtle yet effective way to integrate elements of nature into your home.
Conversation Starter
A unique piece like a driftwood key holder is sure to catch the eyes of visitors. It can become a conversation starter and a way to showcase your creativity and DIY skills.
Troubleshooting and Tips
Securing Loose Hooks
If you find that any of the hooks have become loose over time, consider applying a small amount of wood glue before re-inserting them for extra hold.
Ensuring Longevity
To ensure your driftwood key holder withstands the test of time, consider reapplying varnish every year or two to protect it from wear and tear.
Testing Stability
Before hanging keys, test the stability of your key holder on a wall to ensure it is securely mounted and can support the weight.
Conclusion
Creating your own driftwood key holder is not just a craft project; it’s a way to bring functionality and a touch of nature into your everyday life. The process from start to finish involves a mixture of creativity, practicality, and sustainability. As you enjoy the benefits of your handcrafted piece, you’ll likely find yourself inspired to embark on more driftwood adventures. So, why keep rummaging when you can create a stunning solution? Let the natural beauty of driftwood transform your home’s organization and aesthetics today.