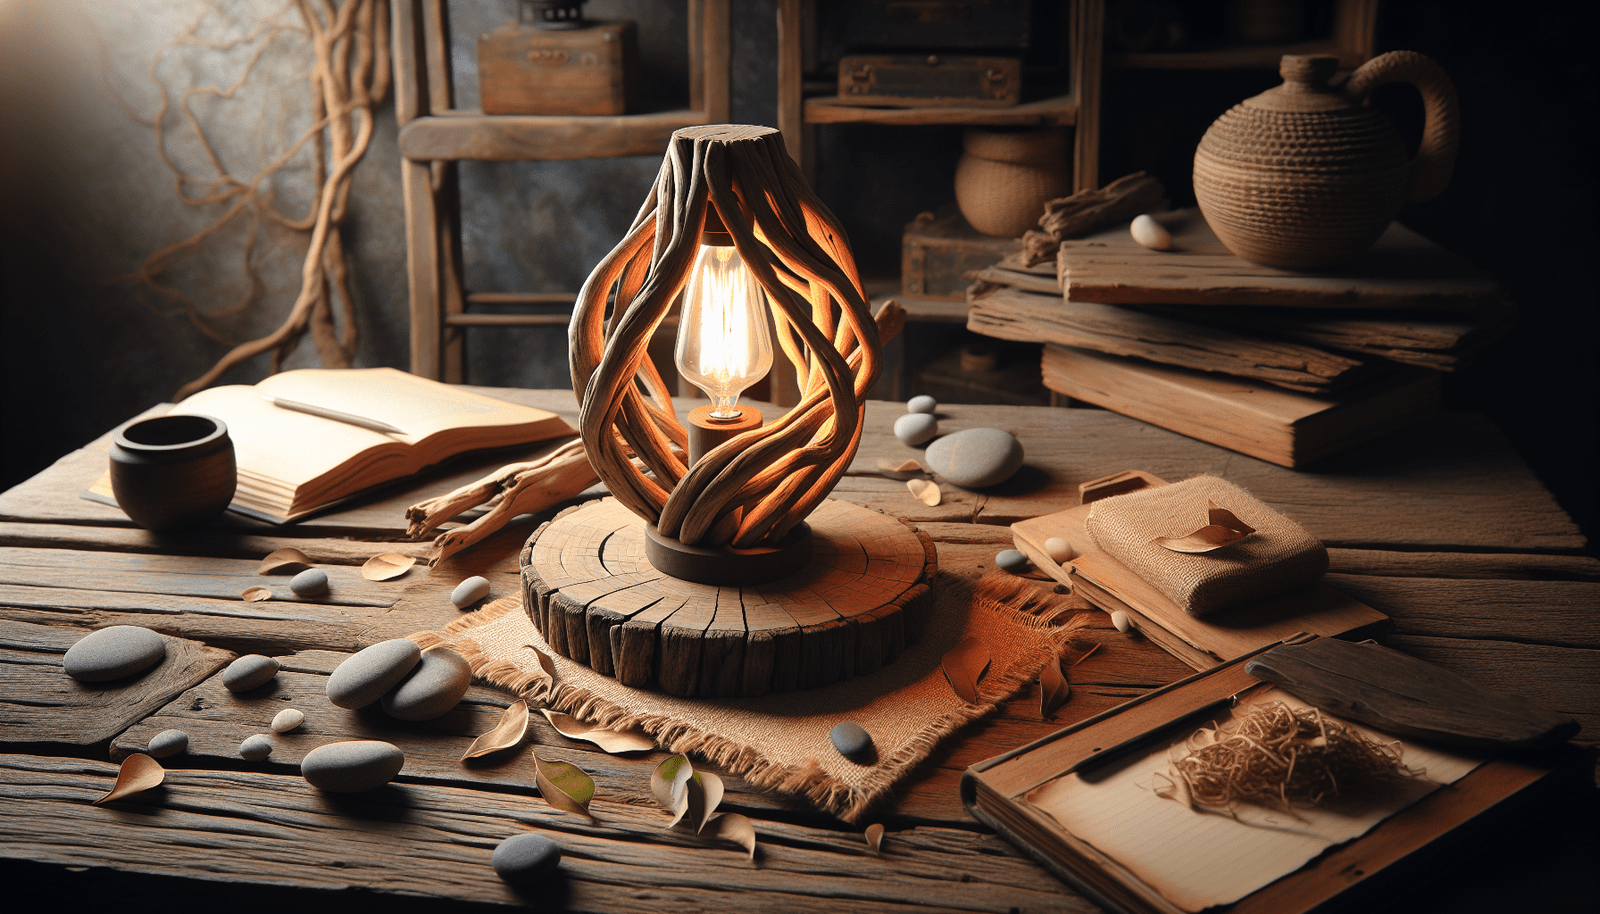
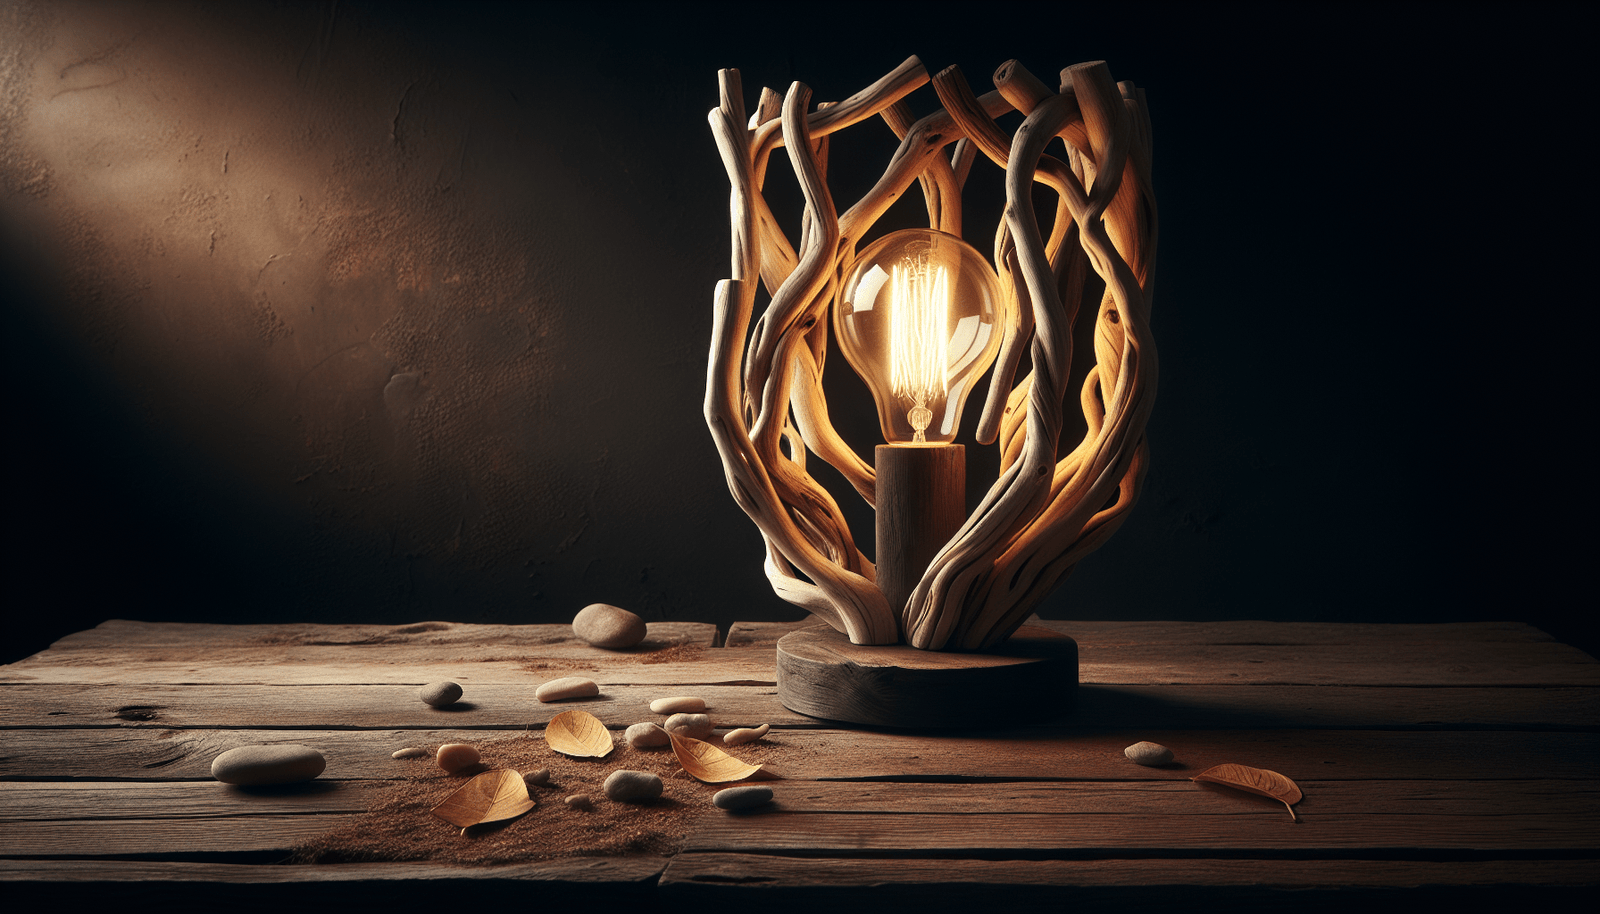
Have you ever found yourself strolling along a beach or riverbank, captivated by the unique, organic beauty of driftwood? What if you could transform those intriguing pieces of nature into a beautiful, functional item for your home? Creating a driftwood lamp is not only a creative project but also a way to bring a touch of nature’s artistry into your living space. If you’ve ever been curious about how to make a driftwood lamp yourself, you’re in the right place!

Understanding Driftwood and Its Appeal
Driftwood is essentially wood that has been washed onto a shore or riverbank after being at sea or in the water. Over time, it becomes smoothed and uniquely shaped due to the effects of weathering, making each piece one of a kind. The process of selecting the right driftwood is vital for creating a visually appealing lamp.
Why Driftwood?
Driftwood embodies the notion of wabi-sabi, the Japanese aesthetic centered around accepting the imperfect and transient nature of things. Its natural variability and distinctive appearance make it an intriguing choice for home decor. Crafting with driftwood allows you to create something that is both useful and aesthetic while repurposing mother nature’s handiwork into something of personal significance.
Selecting the Perfect Driftwood
Your journey begins with selecting the right piece of driftwood. Look for wood that is dry and free from excessive moisture. The texture, shape, and size of the driftwood will influence the final design of your lamp. It’s important to choose pieces that not only appeal to you visually but also conform to practical requirements such as stability and size.
Preparing the Driftwood
Before starting the project, it’s necessary to clean the driftwood thoroughly. This involves removing sand, salt, and any small organisms that may have made a home on your chosen piece. You can do this by soaking the driftwood in a mixture of water and bleach, which will help to sanitize it. Rinse it thoroughly and let it dry completely before proceeding.
Planning Your Driftwood Lamp
Creating a driftwood lamp requires a few materials and tools. Proper planning and gathering of supplies will save you time and effort as you progress.
Gathering Supplies
Here’s a simple table summarizing the materials and tools you’ll need:
| Materials | Tools |
|---|---|
| Driftwood | Power Drill |
| Lamp kit (including cord, socket, harp, and switch) | Sandpaper |
| Lamp base (optional) | Screwdriver |
| Lampshade | Hot glue gun or wood glue |
| Screws | Clamps (optional for stability) |
Designing the Lamp
This is where your creativity can shine. Visualize how you want your lamp to look. Consider whether you’d like your lamp to be tall and slender or more compact and robust. Will you use one large piece of driftwood or several smaller ones? Sketch your ideas to serve as a roadmap for assembly. Keep in mind the stability and the balance of the lamp when designing, as well as the placement of the electrical components.
Step-by-Step Guide to Making Your Driftwood Lamp
Now that you have your driftwood and your supplies, let’s proceed with making your driftwood lamp. Below, you’ll find detailed steps that guide you from start to finish.
Step 1: Assemble the Lamp Kit
The lamp kit is the core of your lamp’s functionality. Begin by assembling the kit components. This typically includes a cord, socket, and switch. Follow the instructions provided with the kit to ensure proper setup. Test the lamp kit separately to ensure it works properly before integrating it with your driftwood.
Step 2: Drill Holes into the Driftwood
Carefully decide where and how you will route the lamp’s cord through the driftwood. Based on your design, drill holes accordingly. A power drill fitted with a long drill bit will be necessary to bore through the wood. Take your time with this step to prevent cracking or splintering your driftwood.
Step 3: Secure the Driftwood Pieces
If you are using multiple pieces of driftwood to construct your lamp, you will need to secure them together. Use a hot glue gun or wood glue to bond the pieces. Clamps can be helpful to hold the pieces securely until the glue dries completely.
Step 4: Attach the Lamp Kit
Once the driftwood structure is stable, integrate the lamp kit. Feed the cord through the pre-drilled holes and attach it to the socket setup. Secure the socket firmly in place at the top of the driftwood, where the light bulb will be positioned.
Step 5: Affix a Lamp Base (If Necessary)
Depending on your driftwood design, you may require a base to balance the lamp securely. A base can be crafted from a flat, sturdy piece of wood or purchased pre-made. Securely attach the driftwood to the base using screws or strong adhesive.
Step 6: Finishing Touches
Once assembled, smooth the surface of the driftwood using sandpaper to eliminate rough edges and achieve a polished finish. You may choose to treat the wood with a clear, protective finish that will enhance its natural color and preserve it.
Step 7: Install a Lampshade
Choose a lampshade that complements the natural beauty of the driftwood. Play around with different colors and materials to see what suits your space best. Secure the lampshade to the socket, following the instructions provided with your lamp kit.
Caring for Your Driftwood Lamp
To ensure your driftwood lamp continues to brighten your space beautifully, a bit of maintenance is required. Keep it away from high-moisture areas and dust it regularly. The lamp, being an organic piece, should not be exposed to excessive humidity which can degrade the wood over time.
Enhancing Environmental and Aesthetic Appeal
This project isn’t just about creating a lamp; it’s a way to bring a piece of the natural world into your home while reusing found materials in a creative manner. Each time you look at your lamp, you’ll be reminded of the hands-on craftsmanship and the unique patterns nature has crafted for you.

Conclusion
By following these steps, you’ll have crafted a driftwood lamp that is not just functional but also a conversation piece, making it a wonderful addition to your home decor. This project not only turns beachcombing finds into a work of art but also provides you with a sense of accomplishment as you transform natural beauty into an everyday essential.