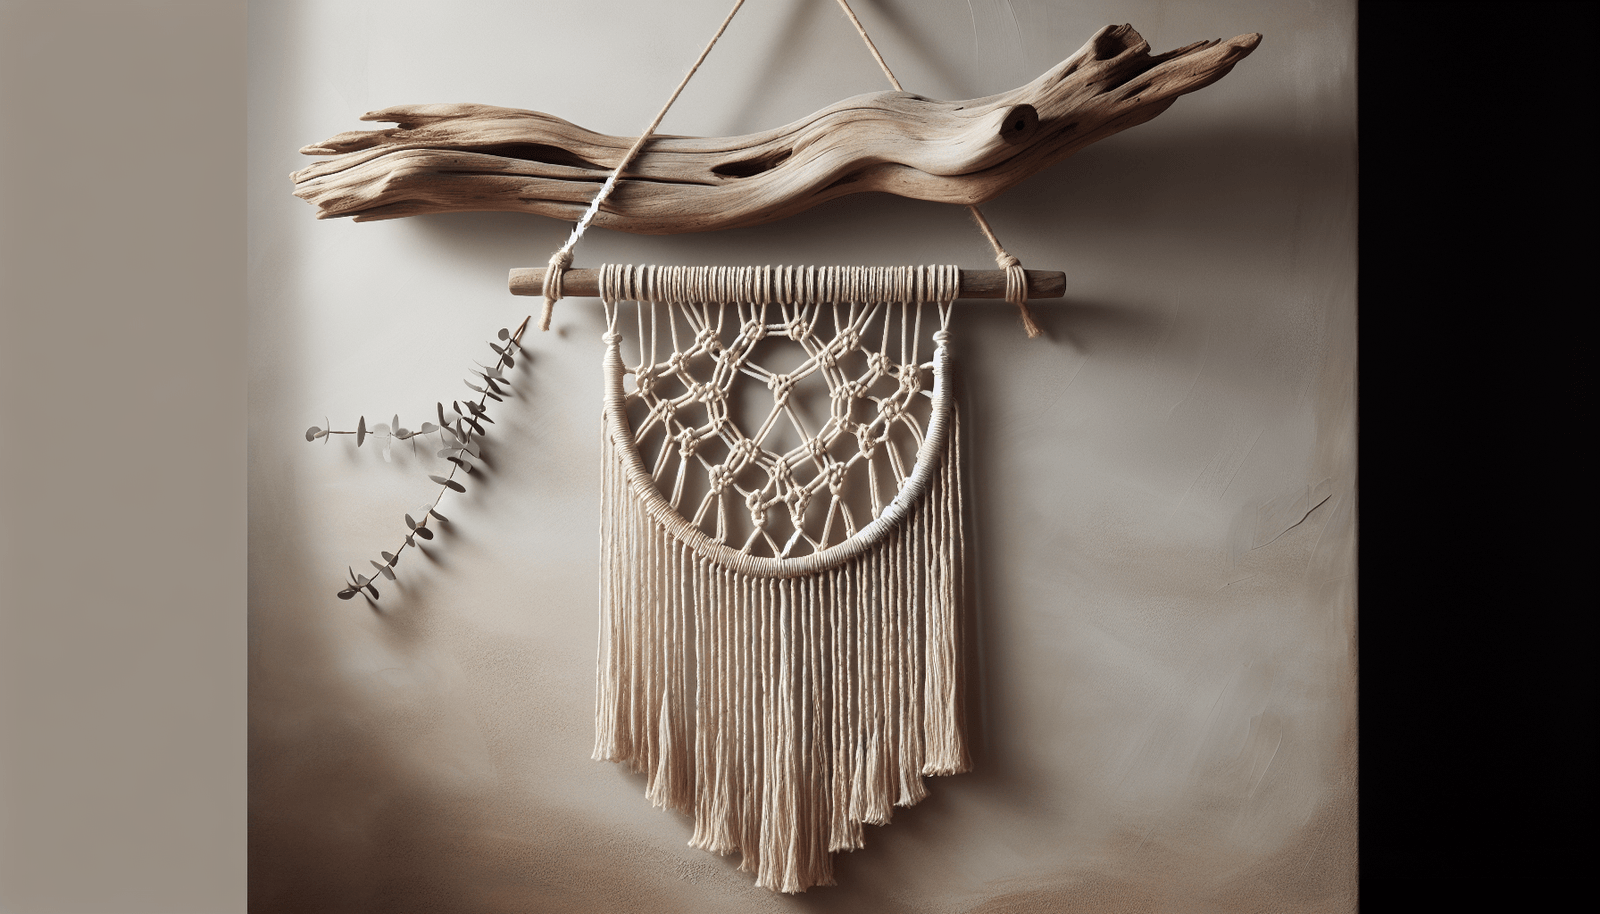
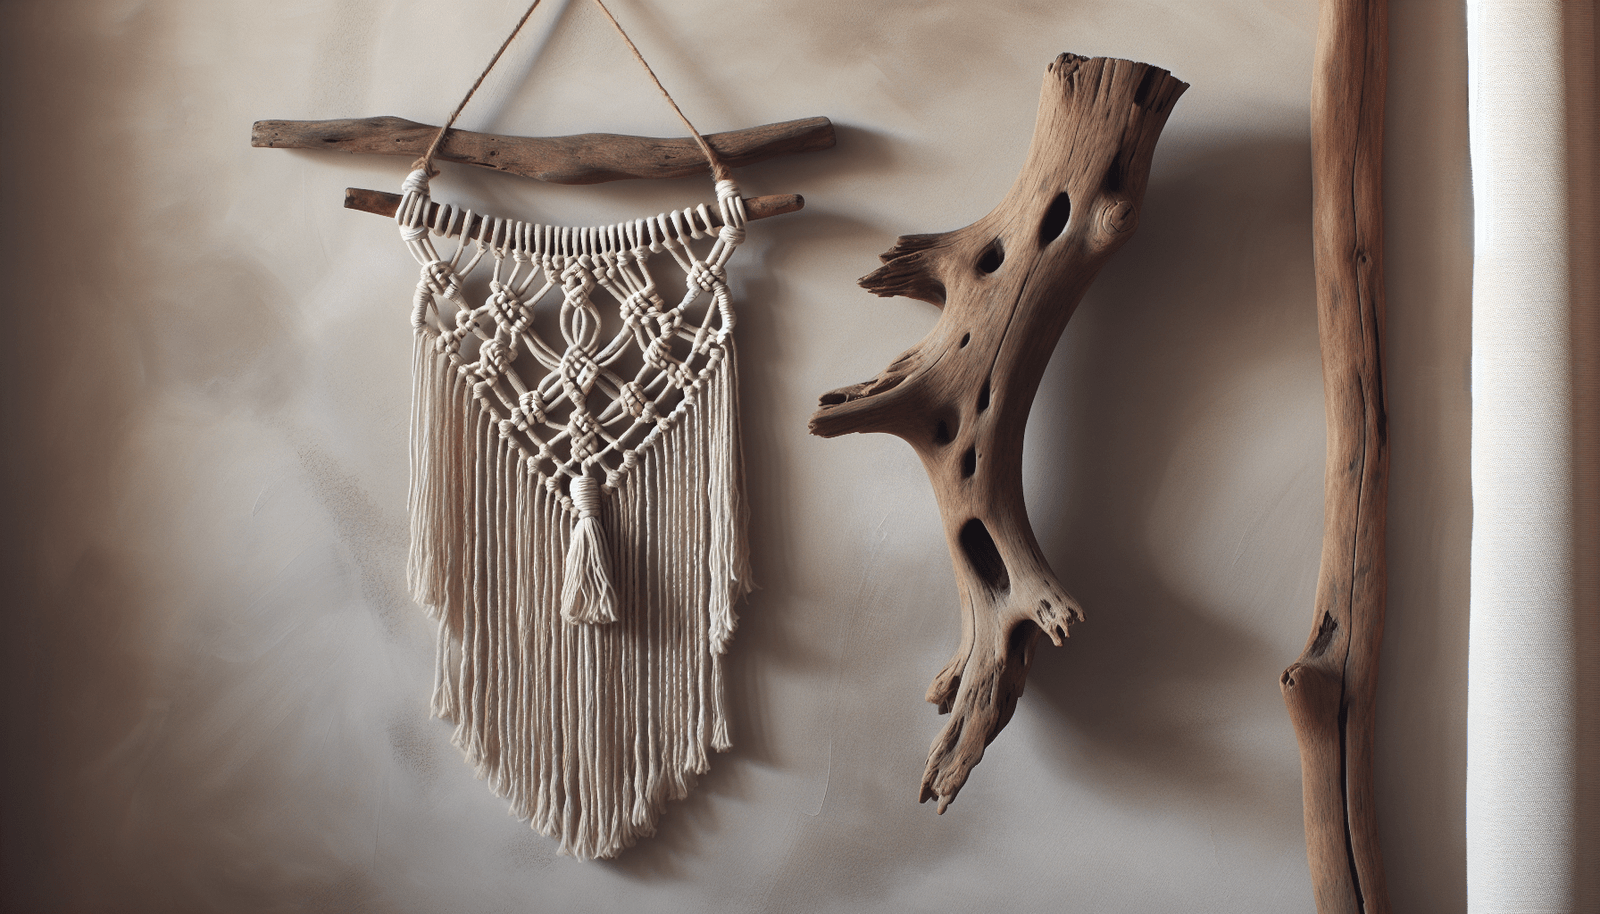
Have you ever found yourself captivated by a piece of beachy, bohemian decor and wanted to recreate the charm at home? Creating your own driftwood macrame wall hanging can be a deeply rewarding process—and a beautiful way to bring some coastal style into your space! In this tutorial, you’ll learn how to put together a stunning piece using just driftwood and macrame techniques. Whether you’re a beginner or have some experience with macrame, you’ll find this guide informative and easy to follow. So, let’s embark on this creative journey!

Understanding the Basics
Before you jump in, let’s talk a little about what macrame is and what materials you’ll need. Familiarizing yourself with the basic concepts and tools will make the crafting process smoother and more enjoyable.
What is Macrame?
Macrame is a form of textile-making that uses knotting rather than weaving or knitting. Its hands-on craft style allows for a wide variety of designs and styles, from intricate and detailed to simple and rustic. Macrame has been around for centuries, dating back to 13th-century Arabic weavers, and has seen a resurgence in popularity in recent decades as a favored technique for home decor.
Materials You Will Need
The materials for a driftwood macrame wall hanging are relatively simple and can be found at most craft stores or easily ordered online. Here’s a quick list:
| Material | Description |
|---|---|
| Driftwood | Choose a piece that is sturdy, about 18-30 inches long, and suits your aesthetic. |
| Macrame Cord | Typically, cotton cords are used, but there are synthetic options as well. |
| Scissors | A good pair of sharp scissors will make cutting cord smooth and precise. |
| Measuring Tape | Essential for ensuring your cords are cut to the correct lengths. |
| Optional: Beads or Feathers | These can be woven into your design for added flair. |
Choosing the Right Driftwood
Selecting the perfect piece of driftwood is a crucial step. It should not only fit the aesthetic you’re aiming for but also be robust enough to support the weight of your macrame design. Driftwood pieces can often be found near bodies of water, or you may choose to purchase them from craft suppliers.
Preparing Your Workspace
Setting up a dedicated workspace will help keep your project organized and enjoyable. You don’t need a large area, but having a well-lit and clutter-free zone makes a big difference in your crafting experience.
Clearing and Arranging Your Area
Find a flat surface, like a table or desk, where you can easily lay out your materials. Make sure you have good lighting to minimize eye strain. It helps to cover your workspace with a fabric or mat to catch any small pieces of cord or dust.
Organizing Your Materials
Organize all your materials before beginning. Lay them out in the order of use, or keep them neatly compartmentalized. Having everything readily accessible keeps the process smooth and glitch-free.
Measuring and Cutting the Cord
The next step is to measure and cut your macrame cord. This is an important part of the method since your entire piece relies on consistent measurements and having enough cord on hand.
How to Measure Correctly
Determine the desired finished length of your wall hanging, doubling that measurement or more, depending on the complexity of your knots. It’s better to have a little extra cord than to run short halfway through your project. Use your measuring tape to accurately gauge the lengths and note how many cords you’ll need.
Tips for Cutting
Using sharp scissors, cut each strand carefully. You don’t want to fray the ends or make angled cuts which can happen if you use dull blades. Arrange the cut cords neatly in a pile, preferably in the order they’ll be used, to keep everything tidy.
Basic Macrame Knots
Learning about the basic knots is essential for creating your macrame wall hanging. These fundamental techniques will serve as the foundation for your entire design.
Square Knot
The square knot is a staple in macrame projects. It’s comprised of two cords and is relatively simple to master.
- Start with two cords. Let’s call them cords A and B.
- Cross cord A over cord B.
- Pull the end of cord A under cord B.
- Cross cord A over the working cord.
- Pull through and tighten.
Half Hitch Knot
The half hitch knot is perfect for adding texture to your piece.
- Start with two cords. Call them cords A and B.
- Pull cord A over cord B.
- Bring cord A back through the loop you created.
- Pull tight to secure.
Gathering Knot
This knot is often used to bring cords together at the bottom or to create loops for hanging.
- Gather all your cords together.
- Wrap a separate cord around them several times.
- Pull the end of the wrapping cord through the loop.
- Tighten it so it stays snug.

Designing Your Wall Hanging
Now for the creative part—designing your wall hanging. Let your imagination guide you while using the knots and elements that you’ve learned.
Plan Your Design
Having a sketch or plan removes much guesswork and helps you visualize the outcome. You can base your design on existing patterns or come up with a custom design that suits your personal style.
Start Knotting
Begin your knotting at the top of the driftwood. Work your way down as you complete each section, making use of the knots you’ve practiced. Tension control is key; keeping your knots consistent in tightness ensures a professional look.
Incorporating Different Elements
Don’t shy away from experimenting with additional materials. Beads and feathers can be easily added to the cords between knots to provide a pop of color or texture.
Finishing Touches
As you reach the end of your piece, you’ll want to focus on finishing touches. This phase adds personality and polish to your wall hanging.
Trimming Pending Cord Ends
After you’ve completed your design, trim the end cords to your desired length. This enhances the neatness of your piece and allows you to customize the look.
Adding Optional Elements
If you want to add extra details such as fringes or other decorative elements, now is the time. Carefully incorporate them, ensuring that they complement rather than detract from your walls.
Displaying Your Creation
After all the hard work, it’s finally time to display your wall hanging. Where and how you display it can make a huge difference in how it’s perceived.
Finding the Perfect Spot
Consider where the wall hanging will look best. Locations with natural light can illuminate the intricate designs and give life to your project.
Mounting Your Driftwood
Secure your work using nails, hooks, or adhesive that can bear the weight of the driftwood and cord. Make sure it’s at a suitable height, ensuring it becomes the focal point of the room.
Troubleshooting Common Issues
Even with meticulous planning, some challenges can arise while creating macrame wall hangings. Here’s how you can tackle common problems.
Uneven Knotting
If your knots appear uneven or your cords are curling, try loosening the knots slightly or using a steamer to help the strands relax. Recommence with careful attention to tension on each knot.
Running Out of Cord
In case you run out of macrame cord, you can attach additional lengths discreetly. Overlap the new and old cords with a square knot to maintain integrity and disguise the transition.
Driftwood Slippage
If your driftwood moves when knots are applied, placing rubber or felt pieces between your driftwood and the wall can stabilize your hanging.
Tips for Perfecting Your Technique
Perfecting your macrame skills takes time and practice. Here are some additional tips to elevate your craft:
- Practice Knots Consistently: Repetition will make complex knotting techniques second nature.
- Experiment with Cord Varieties: Different cord textures and colors can alter the finish drastically.
- Embrace Mistakes: Consider mishaps as opportunities to innovate your design.
By now, you should be well on your way to crafting a charming driftwood macrame wall hanging. With a mix of creativity, patience, and a little trial and error, you’re fully equipped to create something that is not only aesthetically pleasing but uniquely yours. Enjoy this engaging activity and watch your skills grow with each piece you create!