Your kitchen doesn’t need more metal; it needs the organic warmth of a sea-worn blade-rest. Most magnetic strips look like they belong in a hospital. This vertical driftwood slab brings a piece of the coast into your kitchen while keeping your counters completely clear.
Driftwood Magnetic Knife Holder Tutorial
A driftwood magnetic knife holder is more than a simple storage solution; it is a functional sculpture born from the collision of land and sea. This project involves taking a piece of timber that has been tumbled by the tides, cured by the sun, and stripped of its softest fibers, then embedding it with high-strength rare earth magnets. The result is a seamless surface where steel blades appear to float against a backdrop of ancient, textured grain.
Traditional kitchen storage often relies on bulky wooden blocks that harbor moisture or industrial chrome strips that feel cold and sterile. A vertical driftwood slab breaks this monotony. It provides a dedicated home for your most essential tools—the chef’s knife, the paring blade, and the serrated bread knife—while reclaiming valuable workspace. In a real-world kitchen, where efficiency is king but soul is often lacking, this piece serves as a reminder of the rugged outdoors.
Finding the right piece of wood is the first step in this journey. You are looking for a slab that is dense enough to hold its shape but weathered enough to tell a story. Whether it is a sun-bleached branch from the Pacific Northwest or a water-logged oak fragment from a riverbed, the wood must be treated with respect and prepared with precision to ensure it can safely support the weight of heavy German or Japanese steel.
Necessary Tools and Raw Materials
Gathering the right supplies is paramount before you begin making sawdust. You cannot compromise on the quality of your magnets. Neodymium magnets, specifically those rated N42 or N52, are the only choice for this application. Weaker ceramic or ferrite magnets will fail to pull through the wood fibers, leading to dropped knives and chipped edges.
Preparation requires a drill press if available, though a steady hand with a power drill and a Forstner bit can suffice. Forstner bits are essential because they create a flat-bottomed hole, allowing the magnet to sit flush against the thin “web” of wood remaining at the front. You will also need a high-quality, two-part epoxy to secure the magnets in place, as standard wood glue does not bond well to the nickel coating of neodymium.
- Driftwood Slab: Ideally 12 to 18 inches long and at least 3/4 inch thick.
- Neodymium Magnets: 3/4-inch diameter by 1/4-inch thickness are standard for most kitchen knives.
- Forstner Bit: Sized to match your magnet diameter exactly.
- Epoxy Resin: For a permanent, moisture-resistant bond.
- Food-Safe Finish: Mineral oil, beeswax, or raw tung oil to protect the wood.
- Mounting Hardware: Keyhole hangers or a French cleat system.
The Build Process: From Tide to Table
The journey begins with sanitation. Driftwood has spent months or years in the wild, likely hosting microscopic life or salt deposits. Start by scrubbing the wood with a stiff brush and fresh water to remove surface debris. A soak in a mild bleach solution—one part bleach to nine parts water—for twenty-four hours will kill any lingering bacteria or fungi. Once soaked, the wood must dry completely, which can take several days in a low-humidity environment. Working with damp wood will lead to warping or cracking once you install the magnets.
Once the slab is bone-dry, select the “show side.” This is the face that will greet you every time you reach for a blade. Flip the piece over and mark your magnet locations on the back. For a standard knife rack, you want a double row of magnets for each knife position. Placing one magnet high and one low ensures the knife stays vertical and does not pivot on a single point of contact. Space these pairs about two inches apart to accommodate the width of various handles.
Set your drill press depth with extreme care. This is the most critical technical moment of the project. You want to drill deep enough that only about 1/16 to 1/8 of an inch of wood remains on the front face. If the wood is too thick, the magnetic pull will be too weak. If you drill too deep, the bit will poke through the front, ruining the seamless look. Test your depth on a scrap piece of wood first. Every millimeter counts when you are fighting the physics of an air gap.
After the holes are bored, clean them out with a vacuum or compressed air. Apply a small dab of epoxy into the hole before pressing the magnet home. Be mindful of polarity; ensure all magnets are facing the same direction. If you accidentally flip one, the magnets might repel each other or create “dead zones” where the knife won’t stick. Let the epoxy cure for a full twenty-four hours before moving to the next stage.
Benefits of a Driftwood Knife Rack
Aesthetics are the most obvious advantage. A natural sanded slab offers a visual softness that balances the hard lines of a modern kitchen. Every piece of driftwood is unique, meaning your knife rack is a one-of-a-kind artifact that cannot be bought in a big-box store. It turns a utility item into a focal point, grounding the room in organic textures.
Blade protection is a practical benefit that professional chefs appreciate. Magnetic strips made of exposed metal can scratch the sides of a high-end blade if the knife is pulled away incorrectly. Because the magnets in a driftwood holder are buried beneath a layer of wood, your steel only ever touches a sanded, oiled surface. This prevents micro-scratches and maintains the pristine finish of your cutlery over years of use.
Space optimization is the final piece of the puzzle. Countertop blocks take up valuable real estate and often trap crumbs and moisture in their slots. A wall-mounted holder clears the deck for prep work. By going vertical, you keep your tools within reach but out of the way, creating a safer and more organized cooking environment.
Challenges and Common Mistakes
The “Dead Zone” is a frequent error for beginners. This happens when magnets are spaced too far apart, creating gaps where a knife might slide down. To avoid this, consider using bar magnets instead of discs, or overlapping your disc magnets slightly in a zig-zag pattern. A knife should feel a pull the moment it nears the wood; it should never have to “search” for a landing spot.
Over-drilling is the second most common pitfall. Driftwood can be unpredictable. 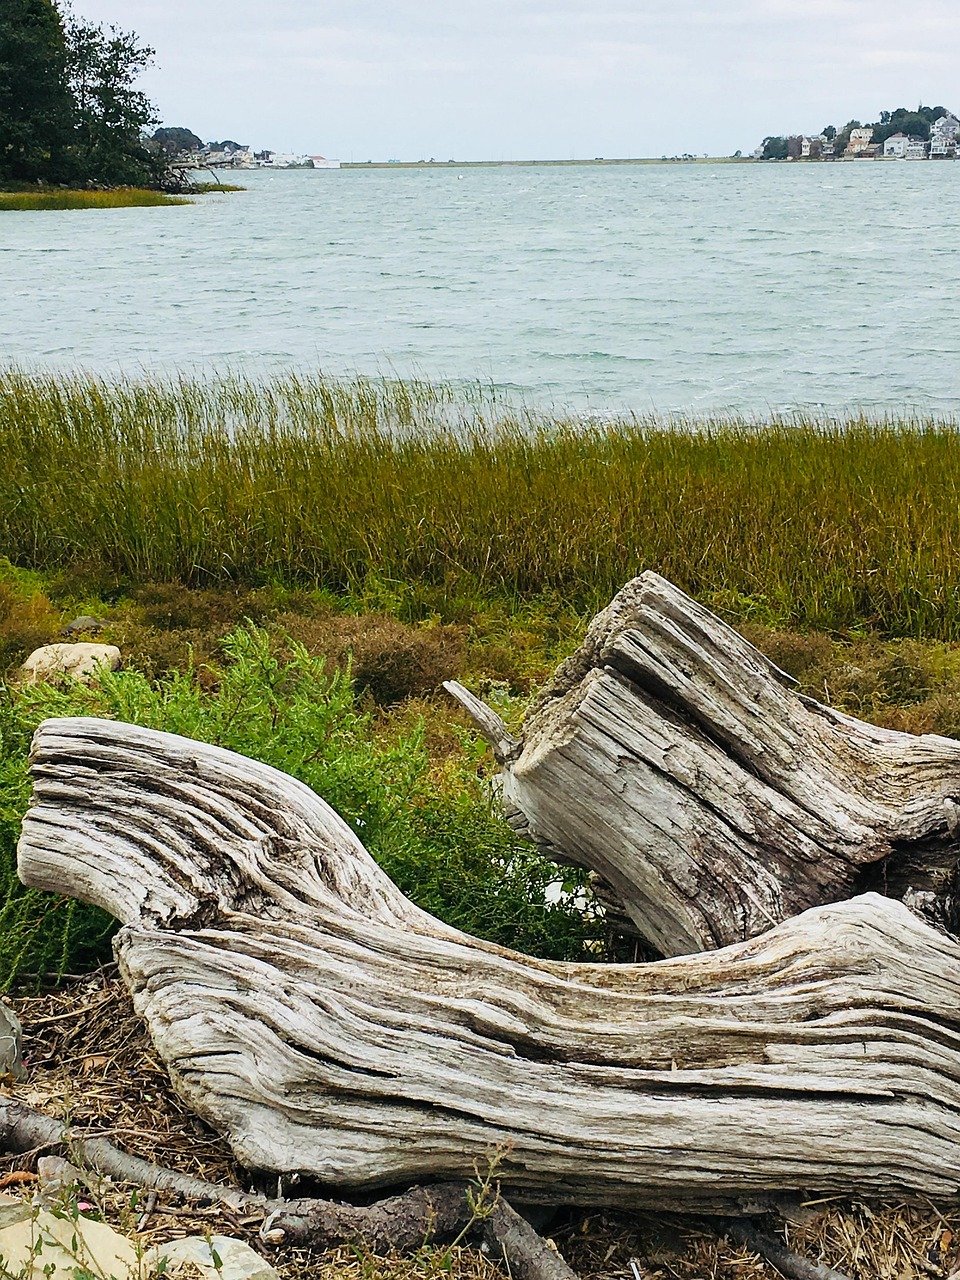 . You might hit a soft spot or a hidden rot pocket that the drill bit tears through instantly. If you do break through the front surface, do not panic. You can fill the hole with a mixture of fine sawdust and epoxy, sand it back, and treat it as a “beauty mark,” though it is better to avoid the error by checking your depth gauge every three holes.
Magnet strength vs. Wood thickness is a delicate balance. Some builders buy the strongest magnets available but leave a quarter-inch of wood in front of them. Even N52 magnets lose significant pull force with every extra millimeter of distance. Always aim for the thinnest possible “web” of wood that still maintains structural integrity. If you can see light through the wood when holding it up to a bulb, you are at the perfect depth.
Limitations to Consider
Weight constraints are real. While a well-built rack can hold a heavy cleaver, a very thick or exceptionally heavy custom blade might test the limits of magnetic saturation. Driftwood is not as uniform as a manufactured board, and its internal density varies. You should always test your heaviest knife on the rack before fully trusting it, especially if it is mounted above a sink or an expensive glass stovetop.
Environmental factors like steam and grease will affect the wood over time. In a kitchen, wood is subjected to heat cycles and humidity from boiling pots. This can cause the wood to expand and contract. If the wood was not properly cured or if the epoxy is brittle, magnets can eventually work themselves loose. Using a flexible epoxy and a high-quality oil finish is necessary to mitigate these environmental stresses.
SYNTHETIC CHROME BAR vs NATURAL SANDED SLAB
Choosing between an industrial solution and a handcrafted driftwood piece depends on your priorities. The following table highlights the measurable differences between these two approaches.
| Factor | Synthetic Chrome Bar | Natural Sanded Slab |
|---|---|---|
| Blade Safety | Risk of scratching from metal-on-metal contact. | Soft wood surface protects delicate steel edges. |
| Installation | Usually involves visible screws and easy mounting. | Requires hidden hardware and careful leveling. |
| Durability | Highly resistant to moisture and heat. | Requires periodic oiling to prevent drying. |
| Aesthetic | Modern, cold, and uniform. | Rustic, warm, and completely unique. |
| Cost | Inexpensive and mass-produced. | Higher cost in time and specialized magnets. |
Practical Tips and Best Practices
Start by selecting your knives first. Lay them out on a table in the order you want them on the wall. This allows you to measure the exact spacing needed. A common mistake is building the rack and then realizing your large santoku doesn’t fit next to your bread knife because the handles collide. Give every tool its breathing room.
Grain orientation matters for mounting. If you are using a long, thin piece of driftwood, ensure your mounting points are secured into wall studs. A driftwood rack loaded with five or six heavy knives can weigh several pounds. Using drywall anchors alone is a recipe for a midnight crash. If you cannot hit a stud, use a mounting plate or high-toggle bolts that can handle the sheer force.
When applying the finish, do not reach for polyurethane. A film-forming finish like poly will eventually chip and peel under the constant impact of knife blades.  . Instead, use a penetrating oil. Mineral oil is the standard because it is food-safe and easy to reapply. Simply rub it into the wood with a lint-free cloth, let it sit for twenty minutes, and buff away the excess. This keeps the wood “alive” and allows it to age gracefully.
Advanced Considerations for Practitioners
Experienced woodworkers might consider adding an epoxy inlay to the front of the driftwood. If the wood has a natural crack or a deep knot, filling it with a colored or clear resin can add structural strength and a modern touch. This requires a two-stage pour: first the decorative inlay, followed by the magnet installation on the rear once the front is sanded flat.
Hidden mounting is the hallmark of a professional build. Rather than screwing through the front of the driftwood, use a keyhole router bit to create recessed slots in the back. This allows the rack to slide onto screws already driven into the wall, leaving no visible hardware. It creates the illusion that the wood is simply hovering against the backsplash.
Consider the “Pull Force” physics. For a truly premium feel, you want the knife to engage with a satisfying “thud” rather than a violent “snap.” If your magnets are too strong, you might find yourself pulling the entire rack off the wall just to get a knife free. If this happens, you can actually add a very thin layer of veneer or even a heavy-duty fabric to the back of the knife (though not recommended for food safety) or simply increase the wood thickness on your next build.
Realistic Scenario: The Coastal Galley
Imagine a small kitchen in a renovated cottage. Space is at a premium, and the walls are a mix of white plaster and exposed brick. A 14-inch piece of sun-grayed cedar driftwood is mounted vertically next to the stove. . It holds a 10-inch chef’s knife, a utility knife, and a pair of kitchen shears. Because it is mounted vertically, it fits in a narrow six-inch strip of wall that would otherwise be wasted. The owner can reach for the chef’s knife without looking, and because the magnets are N52 grade, the knife stays perfectly true even when the nearby oven door is slammed. This is the marriage of “pioneer-grit” utility and aesthetic intention.
Final Thoughts
Creating a driftwood magnetic knife holder is a rewarding project that bridges the gap between raw nature and refined culinary practice. It requires a patient hand during the drilling process and a keen eye for selecting the right timber, but the payoff is a piece of equipment that serves you every single day. You are not just building a tool; you are preserving a piece of history that has been shaped by the elements.
The transition from a standard knife block to a wall-mounted driftwood slab will change the way you move in your kitchen. It encourages cleanliness, as blades must be wiped dry before they are returned to their magnetic perch. It also turns your knives into a display of your commitment to the craft of cooking. Once you feel the organic warmth of the wood against your hand, you will never want to go back to the cold steel of a commercial strip.
Experiment with different wood species and magnet configurations. Each project is a lesson in tension and balance. Whether you are a weekend DIY enthusiast or a serious woodworker, the driftwood knife rack is a testament to the idea that the most beautiful things in our homes are often those we have reclaimed and repurposed with our own hands.
Sources
1 wikihow.com (https://www.wikihow.com/Clean-Driftwood) | 2 youtube.com (https://www.youtube.com/watch?v=xkG0rGlMKGM) | 3 totalelement.com (https://totalelement.com/blogs/magnetic-life-hacks/making-a-magnetic-knife-holder-with-neodymium-magnets) | 4 aprettyfix.com (https://aprettyfix.com/disinfect-driftwood/) | 5 hejmonti.com (https://www.hejmonti.com/en/drift/how-to) | 6 kjmagnetics.com (https://vertexaisearch.cloud.google.com/grounding-api-redirect/AUZIYQF-ETkczuFtkvaKsoDlAtattcJY2-xJi5IRuKc2fgrEBriYX8GJFXQEGPTd1nVWS7oJbTEbR-013-31RYQXuVAg9Me4DftHGMIo7-YjoaChawV9sRV5hyle_K9CFryyx346OLOOLw6ppKaMhQ0zgHE4) | 7 artefactinterior.com (https://artefactinterior.com/blogs/news/how-to-mount-your-magnetic-knife-rack-no-matter-your-wall-type)