Driftwood Minwax Stain On Red Oak
Have you ever wondered how to achieve that perfect, rustic look with your woodworking projects? If you’re looking to add a touch of coastal elegance to your red oak furniture or flooring, using a driftwood Minwax stain could be just the answer. This guide will take you through everything you need to know about using driftwood Minwax stain on red oak, making sure your project ends up with a finish that you’ll love.
What is Driftwood Minwax Stain?
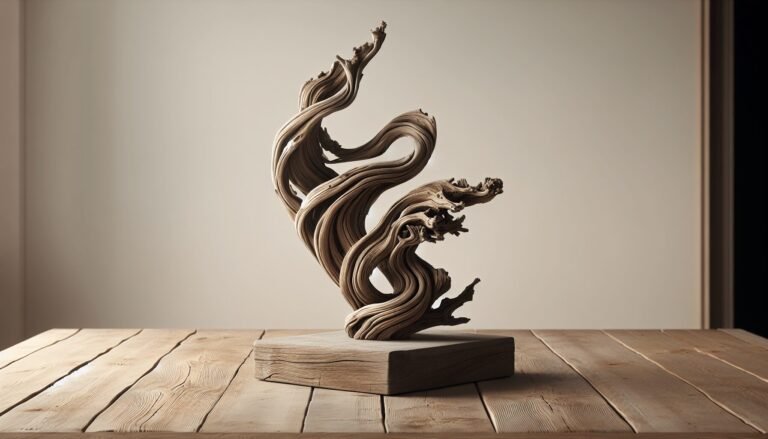
Driftwood Minwax stain is a popular choice for those looking to create a weathered, nautical appearance similar to the natural look of weather-beaten wood washed ashore. This stain highlights the wood’s natural grain while imparting a subtle grayish hue that adds depth and character to any piece. Whether you’re finishing a small piece of furniture or an entire room of red oak flooring, driftwood Minwax stain can transform the ordinary into something extraordinary.
Understanding the Driftwood Color
The driftwood color is often desired for its sophisticated yet relaxed aesthetic. Imagine the aged look of wood that has drifted through sea foam, gradually taking on a silvery gray tone. It’s perfect for those aiming for a shabby chic, coastal, or even modern farmhouse style. When applied to red oak, a wood known for its warm tones and pronounced grain, the driftwood stain can create a striking contrast that enhances the wood’s natural beauty.
Why Choose Red Oak?
Red oak is a widely used hardwood in the United States, favored for its durability and attractive grain patterns. It has a warm, reddish hue that can vary from light pink to brownish-red. Its natural character allows for a beautiful transformation when treated with stains, making it perfect for capturing that driftwood look.
Preparing Your Red Oak for Staining
Preparation is key to achieving a flawless finish. Before you start staining, it’s important to properly prepare the wood surface to ensure the stain absorbs evenly and showcases the desirable characteristics of red oak.
Sanding the Wood
Start by sanding your red oak thoroughly. Use a progression of sandpaper grits, beginning with a coarse 80-grit to remove any rough patches or imperfections, and working your way up to a fine 220-grit for a smooth finish. Sanding opens up the wood’s grain to allow the stain to penetrate more deeply, which is essential for achieving that desired weathered look.
Cleaning the Surface
Once sanding is complete, make sure to clean the surface meticulously. Use a soft cloth or tack cloth to remove any dust particles that could interfere with the stain application. Even the smallest particles can cause uneven staining, so it’s worth taking the time to ensure a spotless surface.

Applying Driftwood Minwax Stain
With your red oak surface prepared, you’re ready to apply the driftwood Minwax stain. Here’s a step-by-step guide to ensure you apply it correctly and achieve the desired finish.
Choosing the Right Tools
Use a high-quality, synthetic brush or a clean, lint-free cloth for applying the stain. The choice between a brush or cloth can depend on your personal preference and the size of the project at hand. Brushes often offer more control, while cloths can provide a softer application for more subtle effects.
Application Process
Test the Stain: Before applying the stain to the entire surface, test it on a small section or a scrap piece of red oak. This test will show you the color and intensity, allowing you to adjust your technique if necessary.
Apply the First Coat: Generously apply the stain with your brush or cloth, following the direction of the wood grain. Ensure the stain goes on evenly to prevent streaks and patches.
Wipe Off Excess Stain: Allow the stain to sit for about 5-10 minutes, letting it soak into the wood, then wipe off any excess with a clean, dry cloth. The longer you let it sit, the darker the finish will become, so adjust the timing based on your desired intensity.
Allow to Dry: Let the first coat dry completely, typically overnight, depending on humidity and temperature conditions.
Assess and Reapply: Assess the dried stain. If a deeper color is desired, repeat the application. Sometimes multiple coats are necessary to achieve the perfect driftwood gray.
Finishing Touches
Once you’re pleased with the stain’s color, you may consider adding a clear protective finish. A polyurethane topcoat will help protect the wood from scratches and wear, while subtly enhancing its appearance. Choose between water-based or oil-based polyurethane based on the desired durability and finish.
Troubleshooting Common Issues
Even with the best preparations, sometimes things don’t turn out as expected. Here are a few solutions to common issues.
Uneven Stain Application
Uneven staining can occur if the surface wasn’t sanded or cleaned thoroughly. In this case, you can try lightly sanding the uneven areas and applying another coat of stain. Sometimes re-applying the stain while the first coat is still wet can help blend any inconsistencies.
The Stain is Too Light or Too Dark
If the stain is too light, apply additional coats, allowing sufficient drying time between each. For a stain that’s too dark, gentle sanding can lighten the effect, or you can use a stain remover specifically designed for wood surfaces.

Achieving the Perfect Finish
Mastering the driftwood finish on red oak takes patience and practice. However, once you’ve succeeded, you’ll have created a stunning piece that captures the essence of coastal beauty. It’s both a rewarding and transformative process that makes all the time and effort worthwhile.
Consistency is Key
When working on larger projects or multiple pieces, consistency is crucial. Be sure to maintain the same application technique, drying times, and number of coats across all surfaces for a uniform look.
Maintenance and Care
To maintain the driftwood finish, regular cleaning with a dry or slightly damp cloth is recommended. Avoid harsh chemicals or abrasive cleaners that can damage the wood or the finish.
Conclusion
Transforming your red oak projects into stunning driftwood-inspired pieces involves careful preparation and precise application of Minwax stain. By following the steps outlined in this guide, you’ll be well on your way to creating a beautiful, lasting finish that enhances the natural beauty of red oak. So, embrace the process, and you’ll find that achieving a perfect driftwood look is both attainable and highly satisfying. With your newfound knowledge, you’re sure to impress with your woodworking prowess and stylistic flair.