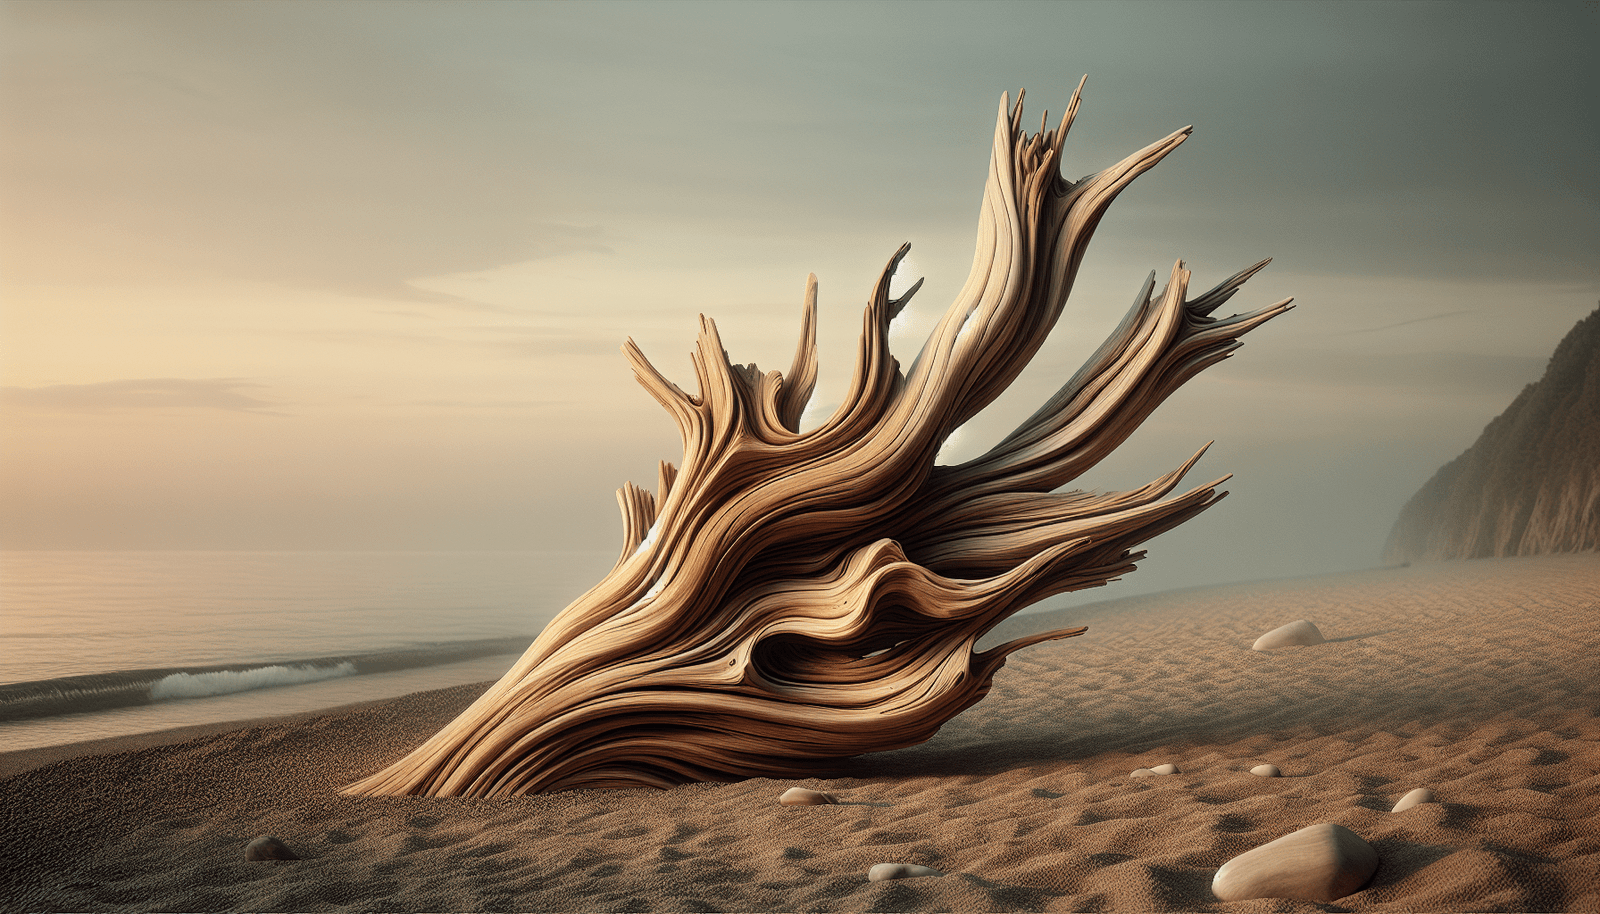
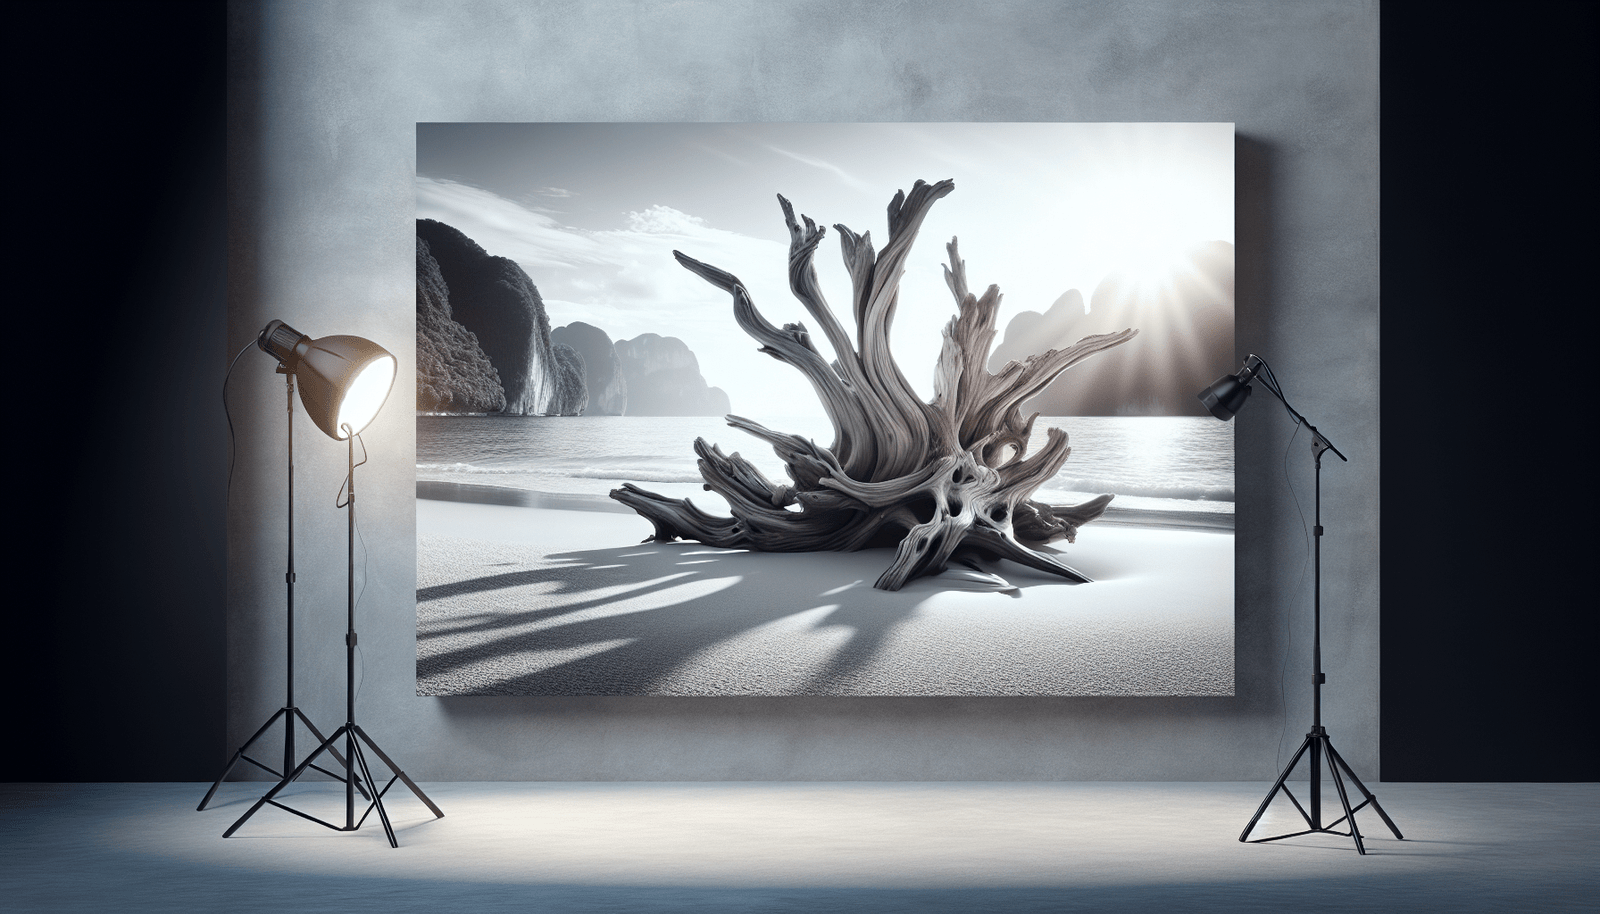
Have you ever walked along the beach, feeling the warm sand under your feet, when a piece of driftwood caught your eye? This natural artwork tells a story of its journey across the vast ocean, offering a sense of mystery and history. What if you could capture this sense of wonder and transform it into a stunning piece of art in your home or garden? Welcome to the world of driftwood murals, a creative and eco-friendly way of bringing the beauty of nature into your living space.
What Is a Driftwood Mural?
A driftwood mural is a crafted artwork made by assembling pieces of driftwood to form a larger image or design. These murals use wood that has been naturally polished and weathered by the elements, creating a timeless aesthetic. Driftwood’s unique texture and character make it an appealing medium for artists and DIY enthusiasts, turning what was once debris into a beautiful and sustainable piece of art.
The Origin of Driftwood
Driftwood begins its journey as part of a tree that may have fallen or been cut down near a body of water. Carried by rivers, streams, or tides, the wood eventually reaches the ocean where its rough edges are smoothed out by water and sand over time. The natural process of erosion, coupled with the wood’s exposure to saltwater and sun, gives each piece a unique appearance, making it so desirable for artistic use.
Why Driftwood?
The appeal of driftwood lies in its versatility and the natural beauty it brings into any space. No two pieces of driftwood are alike, ensuring that your mural will be one-of-a-kind. It’s also a sustainable choice: creating art from driftwood helps clean beaches and reduces waste. Moreover, working with driftwood allows you to stay connected with nature while fostering creativity and mindfulness.
Getting Started with Driftwood Murals
Creating a driftwood mural can be a rewarding project, offering both artistic satisfaction and a sense of personal accomplishment. Whether you’re a seasoned artist or a beginner looking to start a new hobby, this creative process enables you to express yourself and bring a piece of nature indoors.
Choosing Driftwood
The first step in creating a driftwood mural is selecting the right pieces. You’ll want to gather driftwood that’s both visually interesting and functional for your design. Look for pieces that have varied shapes, sizes, and textures, which will add depth to your mural. While beachcombing, consider:
- Size: Smaller pieces for detailed areas, larger ones for background elements.
- Shape: Use the natural curves and lines to enhance your design.
- Texture: Smooth, rugged, or a mix, depending on your artistic vision.
Tools and Materials Needed
To create a driftwood mural, certain tools and materials will be necessary. Here’s a basic list:
| Tool/Material | Purpose |
|---|---|
| Driftwood | Primary material for the mural |
| Backing board | Provides structure and support |
| Adhesive | To attach driftwood to the backing |
| Saw | For cutting and shaping pieces |
| Sandpaper | To smooth any rough edges |
| Sealant | Protects and preserves the wood |
Proper planning will make your creative process more enjoyable. Ensuring you have these basic tools will set the stage for a successful project.
Planning Your Design
Before you start assembling your mural, it’s beneficial to plan your design. Determine the mural’s size based on the intended space, and sketch your ideas on paper. Consider the theme or image you want to convey, such as an ocean scene, landscape, abstract design, or even a representation of a favorite pet.
The design phase should be playful and imaginative. Don’t be afraid to rearrange your pieces until you find a composition that truly resonates with you. Remember, the beauty of a driftwood mural is its uniqueness and authenticity.

Crafting Your Driftwood Mural
You’ve gathered your materials and sketched out your design. Now, it’s time to bring your vision to life!
Assembling the Background
Before adding small details, secure larger pieces to form the backdrop of your mural. Arrange these pieces on the backing board, exploring different layouts until you’re satisfied with the look. Use adhesive to fix each piece, making sure to apply even pressure for a secure bond.
Adding Details
Once the foundation is set, incorporate smaller and more intricate pieces to add detail and interest. This step allows you to refine the mural, adding elements to make it truly pop. It may involve some additional cutting and shaping to ensure everything aligns harmoniously.
Securing and Finishing
After completing the assembly, examine your mural for any loose pieces. Use additional adhesive if necessary. Consider applying a sealant to enhance the wood’s natural colors and protect the artwork from moisture and damage. A good finish not only adds luster but also extends the life of your mural, ensuring its beauty is preserved for years to come.
Displaying Your Mural
Once your mural is complete, it’s time to find the perfect spot to showcase your masterpiece. Since driftwood murals fit wonderfully in a variety of settings, consider these ideas:
- Indoor Spaces: Living rooms, bedrooms, or offices can benefit from the earthy feel of driftwood art.
- Outdoor Areas: Patios or garden walls often serve as fantastic backdrops, connecting the mural with nature.
- Public Displays: Community centers or art galleries may welcome such environmentally friendly displays, offering appreciation for natural materials.
Tips and Tricks for Driftwood Murals
Creating a driftwood mural is a deeply personal and rewarding endeavor. To help you on this artistic journey, here are several tips and tricks:
Keep It Simple
Especially for beginners, simplicity can lead to stunning results. Focus on creating a work that has a clear theme and cohesive feel.
Embrace Imperfection
Driftwood is imperfect by its very nature, and that’s part of its charm. Celebrate these imperfections and let them drive creativity in your design.
Balance Form and Function
While aesthetics are crucial, ensure that your mural is structurally sound. Pay attention to the way pieces are attached to ensure stability.
Mix with Other Media
Feel free to combine driftwood with other natural materials like shells, stones, or feathers to add variety and texture.
Experiment and Innovate
Art is an expression of individuality. Don’t hesitate to experiment with different techniques and arrangements.

Environmental Impact of Driftwood Murals
Creating art with driftwood is not only a personal creative endeavor but also an environmentally conscious practice. It serves as a wonderful example of how art can engage with ecological themes to foster sustainable practices.
Reducing Waste
By repurposing driftwood into art, waste is minimized, making better use of natural resources. This reuse and recycling process helps lower the demand for newly sourced materials.
Beach Clean-Up Initiatives
Beachcombing for driftwood helps clean shorelines, which in turn aids in maintaining local ecosystems. Regularly removing debris helps protect marine life and ensures coastal areas remain pristine, encouraging tourists and locals alike to cherish nature’s beauty.
Raising Awareness
Driftwood murals can be conversation starters, raising awareness about environmental conservation and sustainability. Sharing stories of your art can inspire others to think creatively about reusing materials in their own lives.
Conclusion
With a driftwood mural, you have the opportunity to preserve the natural world’s beauty while expressing your creativity. This eco-friendly art form is accessible to anyone, inviting you to explore different themes and personal styles. Each piece tells a story, from the origin of the wood to the hands that crafted it. It’s a journey of discovery, from natural origins to stunning conclusion. Embrace the chance to craft something meaningful—something that not only enhances your space but also reflects a love and respect for nature.
Keep your creativity flowing, and treasure the beauty of driftwood as you venture into this artistic experience.