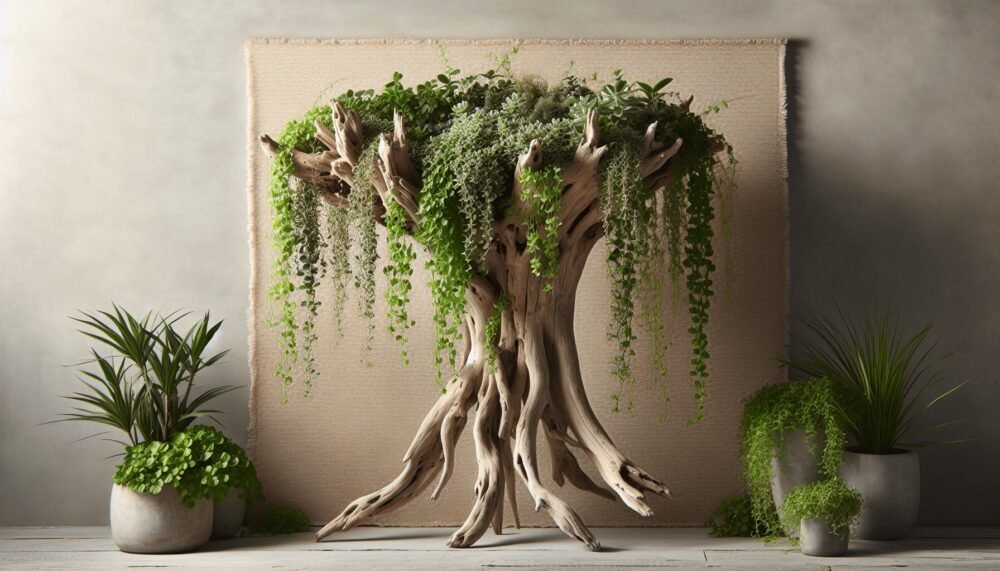
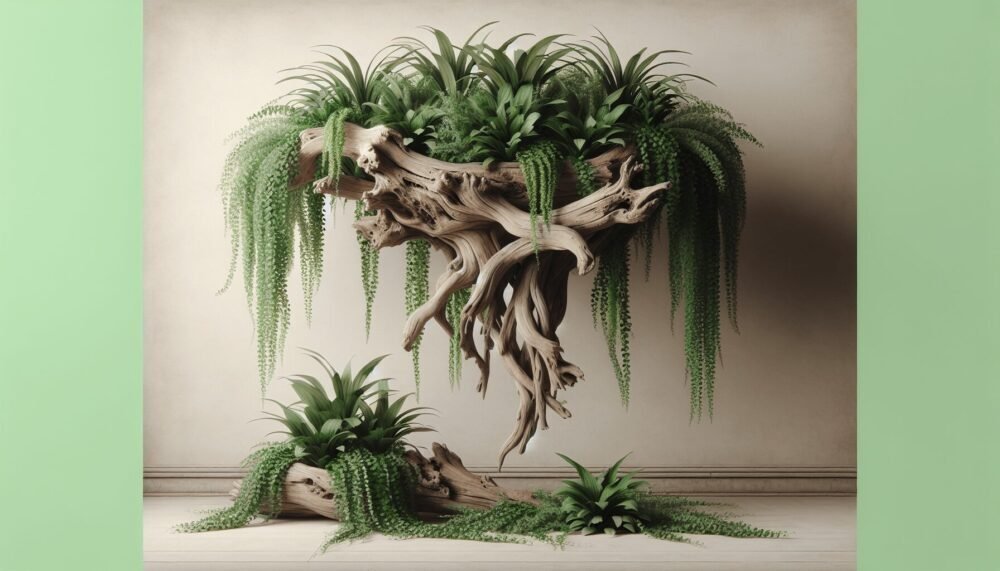
Have you ever found a piece of driftwood on a beach and wondered what you could create with it? Driftwood has a rustic, natural charm that’s perfect for adding a touch of the outdoors to your home decor. One fantastic way to use driftwood is by making a driftwood plant hanger. This project not only repurposes an intriguing piece of natural wood but also provides an elegant way to display your favorite plants.

Why Choose Driftwood for a Plant Hanger?
Driftwood possesses unique qualities that make it ideally suited for artistic and functional creations. Over time, the elements erode the wood, smoothing its surface and creating interesting shapes and textures. Additionally, no two pieces of driftwood are alike, guaranteeing a one-of-a-kind creation every time. Its lightweight yet sturdy nature makes it perfect for hanging applications.
The Aesthetic Appeal
Driftwood adds a touch of coastal serenity to any space. Its natural, weathered look complements a variety of decor styles, from boho chic to modern minimalist. When integrated into your living space, it brings a piece of nature inside, creating a calming and inviting environment.
Environmental Benefits
Using driftwood for crafting projects like plant hangers is also an eco-friendly choice. Driftwood is essentially recycled wood, which means you’re repurposing materials that would otherwise go to waste. This helps reduce the demand for newly harvested wood and contributes to a more sustainable lifestyle.
Materials Needed for a Driftwood Plant Hanger
Gathering the right materials is essential for the success of your project. Here’s a list of items you will need:
| Material | Quantity | Description |
|---|---|---|
| Driftwood | 1 piece | Choose a sturdy piece around 18-24 inches long. |
| Rope or Cord | 1-2 yards | Natural jute or cotton looks best. Adjust length based on hanger size. |
| Hooks | 2-4 | Small, screw-in hooks for hanging the plants. |
| Plant Pots | 2-3 | Ensure they are lightweight to avoid overburdening the driftwood. |
| Drill | 1 | For making holes in the driftwood. |
| Scissors | 1 | To cut the rope or cord. |
| Sandpaper (optional) | 1 sheet | For smoothing any rough areas on the driftwood. |
Selecting Your Driftwood
Choosing the right piece of driftwood is crucial. While walking along the shoreline, keep an eye out for pieces that are both aesthetically pleasing and functional. Look for wood that is free from rot and pest infestations. The ideal piece should have some natural holes or indentations that can help when attaching the rope or plants.
Choosing the Rope or Cord
Natural fibers like jute, hemp, or cotton blend well with the rustic appearance of driftwood and offer good strength. Synthetic ropes can also work, but they may not provide the same visual appeal. Generally, using a rope diameter of about 1/4 to 1/2 inch will ensure sturdiness without overwhelming the driftwood.
Step-by-Step Instructions
Creating a driftwood plant hanger involves several straightforward steps. Follow this guide to bring your driftwood plant hanger to life.
Step 1: Prepare Your Driftwood
Before you start, ensure your driftwood is clean and dry. If needed, wash it with soapy water and let it air dry thoroughly. Use sandpaper to smooth any rough or jagged edges. This makes the wood safer to handle and helps it look polished.
Step 2: Plan Your Design
Think about how you want your driftwood plant hanger to look. Determine the number and placement of plant pots, and decide where you’ll attach the rope or cord. Make light pencil marks on the driftwood to mark these spots.
Step 3: Drill Holes
Using a drill, create small holes at the marked spots where you’ll attach the rope or hooks. Ensure the holes are not too close to the edge to avoid cracking the wood. If you don’t have a drill, you can use a hammer and a nail to make small indentations where the screws will go.
Step 4: Attach hooks
Screw in the hooks at the drilled spots. Make sure they are secure and at even intervals to evenly distribute the weight of the plant pots.
Step 5: Cut the Rope
Measure and cut your rope or cord into manageable lengths. The number of ropes you need will depend on how many pots you plan to hang and how it balances on the driftwood.
Step 6: Attach the Rope
Thread the rope through the holes and tie secure knots. You can also use macrame knots for added decorative appeal. Ensure the knots are tight to prevent slipping.
Step 7: Hang the Plant Pots
Place your plant pots in the hooks or rope holders. Double-check that everything is secure and balanced. Adjust as necessary.
Tips for a Stunning and Functional Driftwood Plant Hanger
A well-made driftwood plant hanger is not just about functionality but also visual appeal. Here are some tips to elevate your project:
Choose the Right Plants
Selecting the right plants is crucial for the longevity and appearance of your plant hanger. Opt for lightweight plants that do well in hanging pots. Here are some excellent choices:
| Plant Type | Description |
|---|---|
| Succulents | Require minimal watering and are lightweight. |
| Spider Plant | Easy to care for and visually appealing. |
| Pothos | Hardy and great for indoor settings. |
| Ivy | Ideal for cascading over the sides of the pot. |
Ensure the plants you choose are compatible with the indoor environment, considering factors like light and humidity.
Safety Considerations
Your driftwood plant hanger needs to be safely installed to prevent accidents. Make sure you:
- Securely attach hooks: Ensure that your hooks are tightly screwed in and can support the weight.
- Appropriate weight: Be mindful of the combined weight of the driftwood, pots, and plants. It’s best to stay within a manageable limit.
- Solid ceiling fixture: If you’re hanging the driftwood plant hanger from the ceiling, use a strong ceiling anchor to prevent it from falling.
Maintenance
Keeping your driftwood plant hanger looking its best involves regular maintenance. Here are some routines to follow:
- Dusting: Use a soft brush to dust the driftwood regularly.
- Plant care: Water and trim your plants as needed. Be cautious when watering to avoid spillages that may affect the driftwood.
- Check for wear and tear: Periodically inspect the ropes and hooks for signs of wear. Replace them if they show significant degradation.

Creative Variations
Once you’ve mastered the basic driftwood plant hanger, there are numerous ways to get creative:
Different Hanging Designs
Experiment with various hanging designs and patterns. For instance, you could create a multi-tiered hanger by attaching several smaller pieces of driftwood vertically.
Incorporate Other Natural Elements
Add additional natural elements such as seashells, stones, or small pieces of reclaimed wood. These can be glued or wired onto the driftwood for added visual interest.
Paint and Stain
While driftwood’s natural appearance is beautiful on its own, you can also paint or stain it to match your decor. Use non-toxic, plant-safe paints to ensure there’s no harm to your plants.
Conclusion
Creating a driftwood plant hanger is a rewarding and eco-friendly project that adds natural beauty to your home. With its unique aesthetic appeal and environmental benefits, it’s a wonderful way to display your favorite plants. By following these steps and incorporating some creative variations, you can craft a stunning, one-of-a-kind piece that perfectly suits your space. Enjoy the process of blending nature and creativity to craft your perfect driftwood plant hanger.