Driftwood Planters Diy
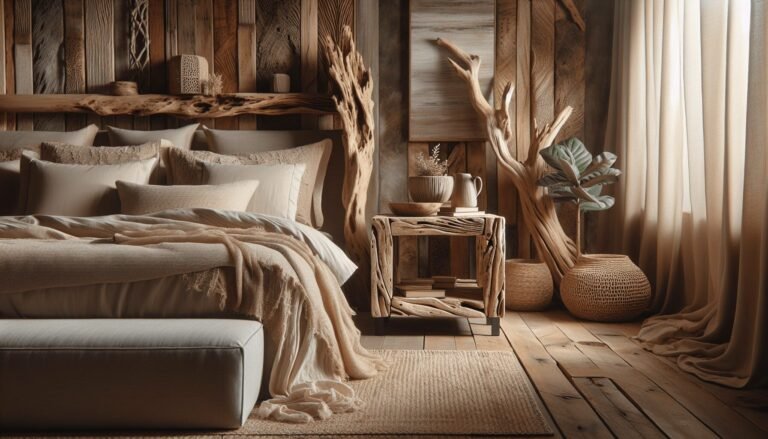
Have you ever considered bringing a piece of nature’s artistry into your home as a centerpiece or a charming outdoor feature? Crafting a DIY driftwood planter could be the perfect project for you. Driftwood, with its weathered look and unique shapes, can turn a simple plant holder into a rustic, eye-catching display. This guide will show you how to create your own driftwood planters, offering step-by-step instructions and helpful tips along the way. Let’s get started!


What You’ll Need
Before diving into the process, it’s essential to gather all the necessary materials and tools. Here’s a comprehensive list to ensure you have everything at your fingertips:
Materials
- Driftwood pieces
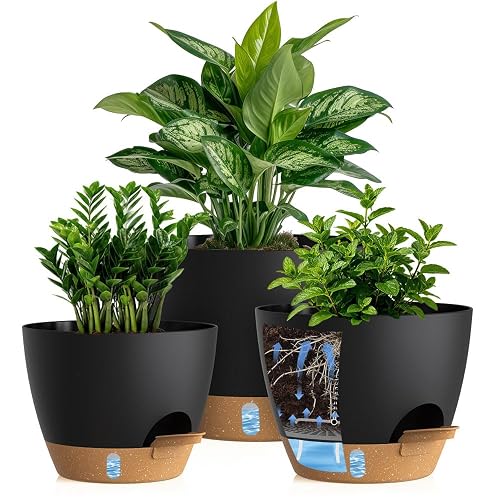
- Planter or pot to fit inside the driftwood
- Soil suitable for the type of plant you wish to grow
- Plants or seeds
Tools
- Hot glue gun and glue sticks or wood adhesive
- Small saw or cutting tool
- Hammer and nails or screws (optional)
- Sandpaper
- Protective gloves
Having all these items on hand will make your project easier and more enjoyable.
Selecting Your Driftwood
Driftwood can be found along beaches, riverbanks, and lakesides. When selecting driftwood, consider the following:
Size and Shape
Choose pieces that fit the dimensions of the planter you have in mind. Larger pieces work well as bases, while smaller pieces can be used for detailing.
Condition
Look for driftwood that isn’t too brittle or decayed. Sturdy pieces are essential for the structural integrity of your planter.
Unique Features
Select pieces with interesting textures or shapes to give your planter more character.
Preparing the Driftwood
Preparation is key to ensuring your planter lasts and is safe for plants. Here’s how you can prep your driftwood:
Cleaning and Sanitizing
- Remove Debris: Scrape off any algae, dirt, or loose particles.
- Soak in Water: Soak the driftwood in a solution of 9 parts water to 1 part bleach for 24 hours to kill any bacteria or insects.
- Rinse and Dry: Rinse thoroughly with fresh water and allow it to dry completely in the sun for a few days.
Sanding
Using sandpaper, smooth out any rough edges. This step will make the handling of driftwood safer and more aesthetically pleasing.
Building the Planter
Now comes the creative part! Designing and assembling your driftwood planter involves several steps.
Designing the Layout
Visualize how you want the planter to look. Arrange the driftwood pieces around the planter pot before attaching them to get a sense of the final product.
Cutting and Attaching
- Measure and Cut: Use a small saw to cut driftwood pieces to the desired size.
- Attach: Use a hot glue gun or wood adhesive to affix the driftwood pieces around the planter pot securely.
Optional Reinforcement
For added stability, you can use small nails or screws. Just ensure that they are not visible and do not damage the aesthetic appeal of your planter.

Planting Your Greenery
Choosing the right plants and planting them correctly will ensure your driftwood planter thrives.
Selecting Plants
When choosing plants, consider their size, water needs, and growth habits. Here are some great options for driftwood planters:
| Plant Type | Ideal Conditions | Example Plants |
|---|---|---|
| Succulents | Low water, bright sunlight | Aloe Vera, Echeveria |
| Ferns | Humidity, indirect light | Boston Fern, Maidenhair |
| Flowering plants | Moderate water, partial sun | Marigolds, Pansies |
Planting Process
- Fill with Soil: Add a layer of soil suitable for your chosen plants into the planter.
- Position the Plants: Gently place the plants into the soil, ensuring their roots are well-covered.
- Watering: Give the plants a good initial watering.
Maintenance Tips
Maintaining your driftwood planter isn’t difficult, but it does need some attention to ensure the plants continue to flourish.
Watering
Be mindful of overwatering, especially with succulents. Water according to the needs of the specific plants you have chosen.
Light
Place the planter in an area where it will receive the appropriate amount of sunlight for the plants you’ve selected.
Periodic Cleaning
Occasionally wipe down the driftwood and remove any dead leaves or debris to keep the planter looking fresh.
Frequently Asked Questions
Can I Use Driftwood from Anywhere?
Yes, but be sure to follow the sanitization process to remove any harmful organisms.
What If My Driftwood is Too Large?
You can cut larger pieces into smaller sections that fit your design needs using a small saw or cutting tool.
Can I Use Artificial Plants?
Absolutely! If maintaining live plants isn’t for you, artificial plants can provide the same aesthetic appeal without the upkeep.
Conclusion
Creating a DIY driftwood planter is a wonderful way to bring a touch of rustic charm into your home or garden. By choosing the right materials, carefully crafting your planter, and selecting suitable plants, you can create a unique and beautiful display. Enjoy the process and the natural beauty that driftwood planters can bring to your space. Happy crafting!