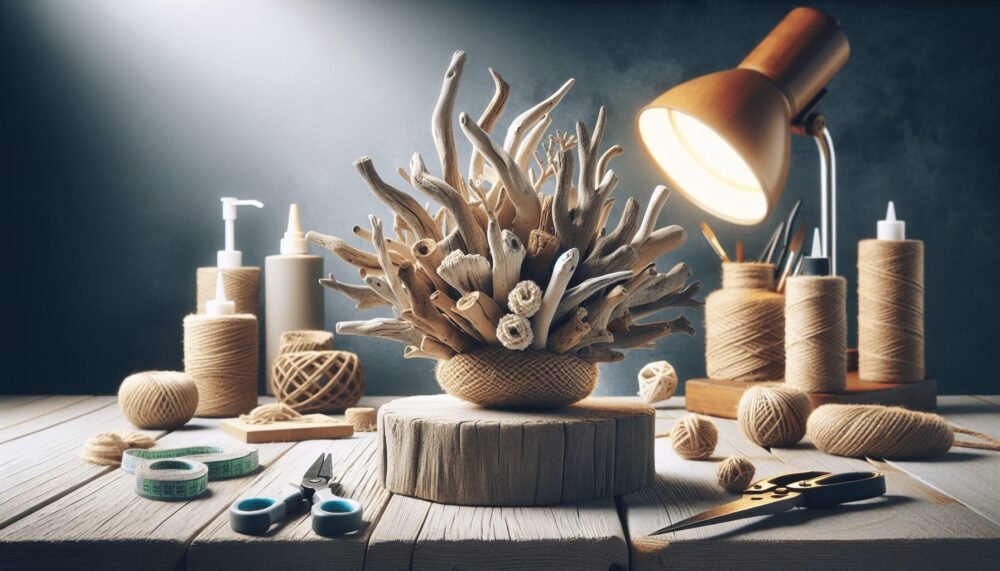
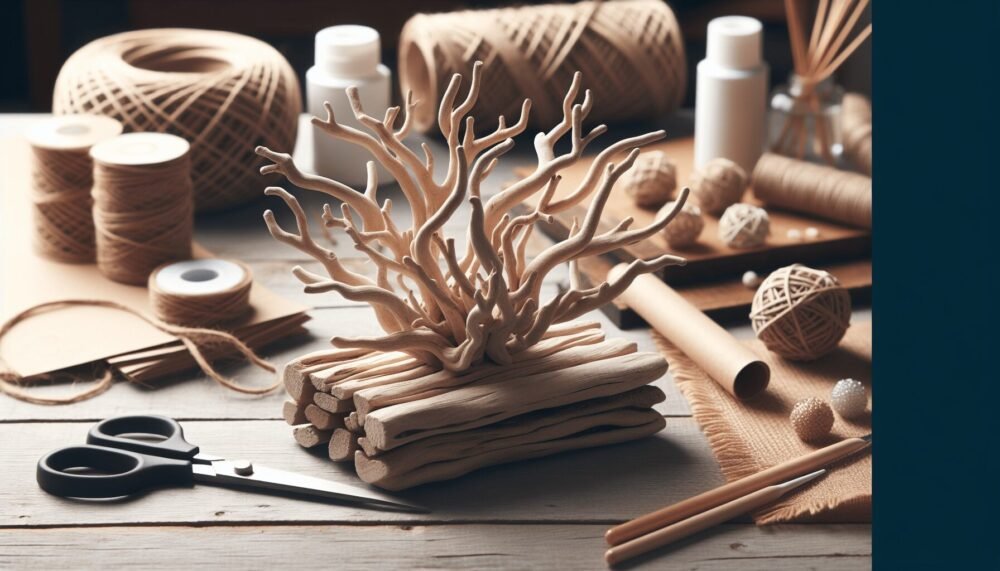
You’re going to love diving into the world of “Driftwood Projects DIY.” Imagine transforming simple pieces of driftwood into stunning home decor with your unique touch. This article guides you through various creative DIY projects, from beautiful wall art to charming candle holders, all using driftwood. Whether you’re an experienced craft enthusiast or just starting out, these straightforward and fun ideas will inspire you to bring a bit of nature’s elegance into your home. So, gather your driftwood pieces and let’s unleash your creativity!
Driftwood Projects DIY
Do you love the idea of bringing a little piece of nature into your home but aren’t sure where to start? Driftwood projects might just be the perfect DIY endeavor for you. Driftwood, with its organic shapes and unique textures, is a versatile material that you can use to create stunning home decor. In this article, we’ll explore various driftwood projects you can easily tackle yourself. From small, intricate crafts to eye-catching furniture pieces, there’s something for everyone.

Understanding Driftwood
Before you dive into your next driftwood project, it’s helpful to understand exactly what makes driftwood so special.
What is Driftwood?
Driftwood is wood that has been washed onto the shore of rivers, lakes, or oceans by the action of winds, tides, or waves. This weathered wood often has a worn, smooth texture and a unique appearance due to its exposure to the elements over time.
Why Use Driftwood?
One of the main appeals of using driftwood is its natural beauty. Every piece is unique, shaped by the water and weather it has been exposed to. Incorporating driftwood into your home decor can bring a rustic, beachy vibe and a touch of nature indoors.
Sourcing Driftwood
Knowing where and how to collect driftwood is crucial to ensuring you have the best materials for your DIY projects.
Where to Find Driftwood
The best places to find driftwood are beaches, riverbanks, and lakeshores. After a storm, these locations are likely to have an abundance of driftwood pieces. Just remember to respect the local ecosystem and any regulations regarding driftwood collection.
Choosing the Right Pieces
When selecting driftwood for your projects, look for pieces that are dry, sturdy, and free of rot. The size and shape of the wood will depend on the specific project you’re planning.
Preparing Driftwood
Before you start crafting, there are a few steps to take to ensure your driftwood is ready to use.
Cleaning Driftwood
Soak the driftwood in a mixture of water and bleach for 24 hours to eliminate any remaining salt, algae, or microorganisms. After soaking, rinse the wood thoroughly with fresh water and let it dry completely.
Sanding and Cutting
Depending on your project, you may need to sand or cut the driftwood. Use fine-grit sandpaper to smooth out any rough edges, and a saw to cut the wood into the desired shapes or sizes.
Driftwood Projects to Try
Now that your driftwood is ready to go, let’s dive into some fun and creative DIY projects.
Driftwood Wall Art
Driftwood wall art can be as simple or intricate as you like. Here’s a basic project to get you started:
- Materials Needed:
- Several pieces of driftwood
- Hot glue gun
- Backing board or canvas (optional)
- Hooks or hanging wire
- Instructions:
- Arrange the driftwood pieces into a pattern or design on a flat surface.
- Once you’re happy with the arrangement, use a hot glue gun to attach the pieces together.
- If you prefer, attach the driftwood to a backing board or canvas for extra support.
- Add hooks or a hanging wire to the back for wall mounting.
Driftwood Candle Holders
A driftwood candle holder is a charming addition to any home and makes for a great gift.
- Materials Needed:
- A sturdy piece of driftwood
- Drill and spade bit (size to match your candles)
- Sandpaper
- Tea light candles or small pillar candles
- Instructions:
- Decide where you want the candles to sit on the driftwood.
- Use a drill with a spade bit to create holes in the driftwood that are slightly larger than the base of your candles.
- Sand the edges of the holes to remove any rough spots.
- Insert the candles into the holes and enjoy your new candle holder.
Driftwood Mirrors
A driftwood mirror is a striking, nature-inspired piece that can elevate any room.
- Materials Needed:
- A round or square mirror
- Several pieces of driftwood
- Hot glue gun
- Saw (if trimming the driftwood)
- Instructions:
- Lay the mirror flat and arrange the driftwood pieces around the frame until you’re satisfied with the look.
- Trim the driftwood if needed for a better fit.
- Use a hot glue gun to attach the driftwood pieces to the mirror frame.
- Ensure all pieces are secure before hanging the mirror on the wall.
Driftwood Coasters
Driftwood coasters are an easy and practical project that requires minimal supplies and effort.
- Materials Needed:
- Several small, flat pieces of driftwood
- Sandpaper
- Clear varnish or sealant (optional)
- Instructions:
- Choose flat pieces of driftwood that are roughly similar in size.
- Sand the surfaces of the driftwood to create a smooth finish.
- Apply a clear varnish or sealant to protect the wood from moisture (optional).
- Let dry completely before using your new driftwood coasters.
Driftwood Shelves
Driftwood shelves not only look great but are also functional additions to your living space.
- Materials Needed:
- Long pieces of driftwood (for the shelf surfaces)
- Brackets
- Screws and wall anchors
- Drill and screwdriver
- Instructions:
- Measure and cut the driftwood to your desired shelf length.
- Attach the brackets to the wall using screws and wall anchors.
- Place the driftwood on the brackets and secure it with screws.
- Decorate your new shelves with plants, books, or other decor items.

Tips for Working with Driftwood
Creating driftwood projects can be hugely rewarding, but it can also present unique challenges.
Safety First
Always wear protective gear such as gloves and goggles when cutting, sanding, or drilling driftwood. Some pieces may have sharp edges or harbor small insects, so it’s important to handle them with care.
Experiment with Different Finishes
Depending on the look you’re going for, you might want to paint, stain, or seal your driftwood. Testing out different finishes on small scrap pieces can help you decide what works best for your project.
Combine Driftwood with Other Materials
Don’t be afraid to get creative! Combining driftwood with other natural materials like shells, stones, or plants can lead to stunning results. You can also mix it with more modern elements like metal or glass to create a striking contrast.
Common Questions About Driftwood Projects
Is It Safe to Use Driftwood?
Yes, driftwood is generally safe to use in DIY projects, especially if it’s been properly cleaned and dried. However, be cautious of pieces that appear to be rotten or have a strong odor, as these may indicate the presence of harmful bacteria or fungi.
Can I Use Driftwood from Any Body of Water?
While you can use driftwood from various bodies of water, ocean driftwood is often preferred due to its unique texture and smoother edges. River and lake driftwood can be just as beautiful, but it may require more cleaning.
How Do I Preserve Driftwood?
To preserve driftwood, you can apply a clear wood sealant or varnish. This will protect the wood from moisture and pests, helping it to last longer. Make sure to let the sealant dry completely before using your driftwood piece.
Advanced Driftwood Projects
Once you’ve mastered the basics, consider tackling more complex driftwood projects. These might require additional tools and expertise but can result in truly impressive pieces.
Driftwood Furniture
Creating furniture from driftwood can range from coffee tables and benches to headboards and shelving units. Here’s a simple guide to building a driftwood coffee table:
- Materials Needed:
- Several large pieces of driftwood
- Glass tabletop
- Sandpaper
- Wood glue or epoxy
- Screws and brackets (optional)
- Instructions:
- Arrange the large driftwood pieces into a sturdy base or frame.
- Sand any rough edges and surfaces.
- Use wood glue or epoxy to join the pieces together, ensuring they’re securely attached.
- Allow the glue or epoxy to dry completely.
- Place the glass tabletop on the driftwood base. Use screws and brackets if additional support is needed.
Driftwood Lamps
A driftwood lamp is an eye-catching and functional decor piece that can bring warmth and style to any room.
- Materials Needed:
- A suitable piece of driftwood
- Lamp kit (including socket, wiring, and bulb)
- Drill
- Sandpaper
- Lamp shade (optional)
- Instructions:
- Choose a piece of driftwood with a solid base and an appealing shape.
- Drill a hole through the driftwood for the lamp wiring.
- Sand any rough edges and surfaces.
- Install the lamp kit according to the manufacturer’s instructions.
- Attach a lampshade if desired.
- Plug in your new driftwood lamp and admire your handiwork.
Conclusion
Working with driftwood can open up a world of creativity and endless possibilities for DIY projects. From simple coasters and wall art to more complex furniture and lighting, there’s an array of ways you can incorporate this natural material into your home. By understanding how to source, prepare, and work with driftwood, you’ll be well on your way to creating stunning pieces that showcase the beauty of nature.
So, are you ready to start your next driftwood project? Go out and find that perfect piece of driftwood and get crafting. You’ll have a unique and beautiful addition to your home in no time. Happy DIY-ing!