Driftwood Shell Wall Art
In the world of DIY decor, nothing captures the essence of coastal charm quite like driftwood shell wall art. Imagine adorning your home with pieces that embody the soothing vibes of the beach, using natural elements like weathered driftwood and delicate seashells. This guide will inspire you to create your own driftwood shell wall art, transforming simple materials into beautiful, personalized masterpieces that bring the serene beauty of the seaside right into your living space. Have you ever strolled along the beach, picking up intriguing pieces of driftwood and shells, and wondered how you could transform those treasures into a beautiful piece of art for your home? If so, you’re in the right place! Creating driftwood shell wall art is a delightful way to bring the serene beauty of the seaside into your living space.
[affiai]
The Allure of Driftwood and Shells
Nature offers some of its most exquisite art in the form of driftwood and shells. These natural materials are not only captivating to look at but also have sentimental value, often serving as tangible memories of your beachside adventures.
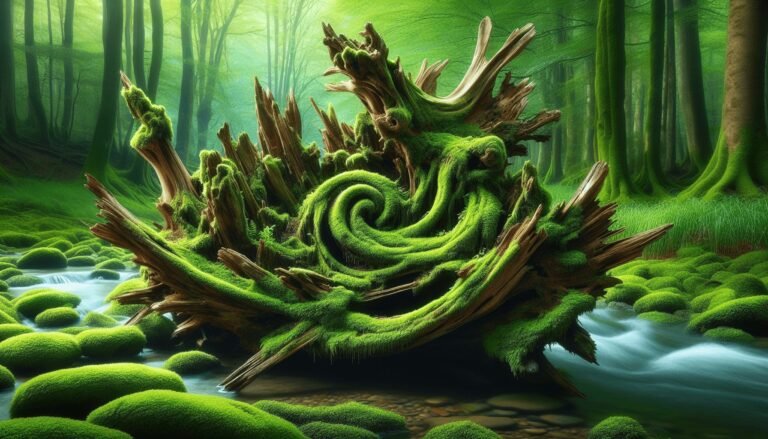
What Makes Driftwood Special?
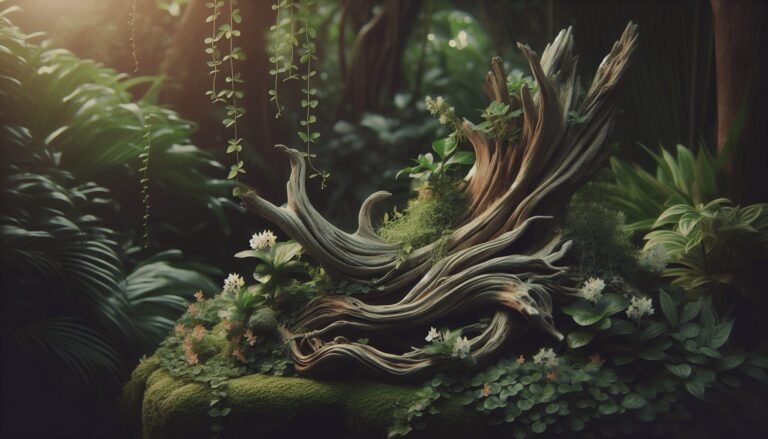
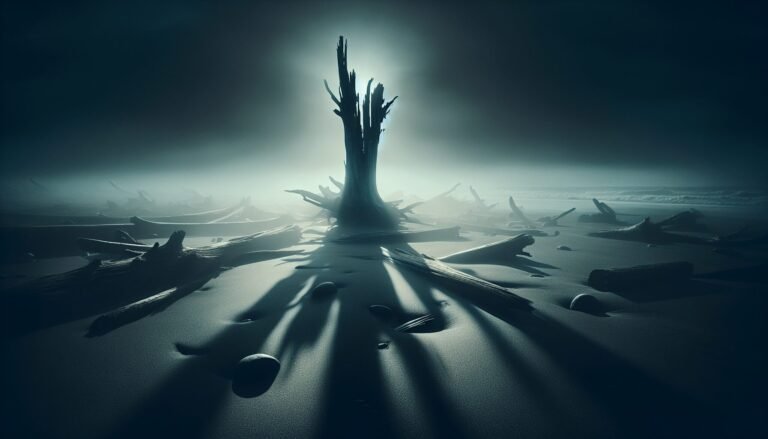
Driftwood is wood that has been washed onto the shore by the action of winds, tides, or waves. Each piece is unique, having been shaped and smoothed by the ocean over time. Driftwood pieces can come in various sizes, shapes, and textures, making them perfect for various artistic projects.
The Charm of Shells
Shells, the hard, protective outer layer of sea creatures, come in numerous shapes, sizes, and colors. Like driftwood, no two shells are alike, making them ideal for adding unique touches to your artwork. From spiraled conch shells to tiny, intricate sand dollars, there’s a vast array of options to choose from.
Planning Your Driftwood Shell Wall Art Project
Before you dive into crafting, a bit of planning will go a long way in ensuring your artwork turns out just as you envision it.
Gather Your Materials
Make a checklist of all the materials you’ll need for your project. This can include:
- Driftwood pieces: Look for various sizes and shapes.
- Shells: Collect a diverse range of shells.
- Adhesives: Hot glue gun, epoxy, or craft glue.
- Backboard: A sturdy surface like a wooden panel or canvas to mount your driftwood and shells.
- Tools: Pliers, scissors, tweezers, and any other tools you might need.
- Optional extras: Paint, varnish, or other decorative items.
Here’s a simple table to help you keep track of your materials:
| Material | Quantity | Notes |
|---|---|---|
| Driftwood | Various | Different shapes and sizes |
| Shells | Various | Diverse types and colors |
| Adhesives | Sufficient | Hot glue gun, epoxy, craft glue |
| Backboard | 1 | Wooden panel or canvas |
| Tools | As needed | Pliers, scissors, tweezers |
| Optional Extras | As desired | Paint, varnish, decorative items |
Choose Your Design
Decide on the design or layout of your artwork. Do you want a symmetrical pattern, an abstract arrangement, or perhaps a scene like a shoreline? Sketching out a rough design on paper can help you visualize your final piece.
Prep Your Supplies
Clean your driftwood and shells thoroughly. Driftwood may need to be soaked in water and scrubbed to remove any salt or sand, while shells can be cleaned with a mixture of water and mild dish soap. Allow all materials to dry completely before you start crafting.

Step-by-Step Guide to Creating Driftwood Shell Wall Art
Now that you’re prepared, let’s walk through the process of creating your beautiful driftwood shell wall art.
Step 1: Plan Your Layout
Lay out your driftwood and shells on your work surface in the general arrangement you have in mind. This helps you get a feel for how everything will look once it’s mounted. Don’t be afraid to experiment with different arrangements until you’re satisfied.
Step 2: Prepare Your Backboard
If you’re using a wooden panel or canvas, you may want to paint or varnish it first to give it a more finished look. This is optional, but it can add an extra touch of elegance to your piece.
Step 3: Start Mounting the Driftwood
Begin by adhering the driftwood pieces to your backboard. Use a strong adhesive like a hot glue gun or epoxy to ensure they stay in place. Start with the larger pieces and work your way down to the smaller ones. Hold each piece firmly in place for a few seconds to ensure it adheres properly.
Step 4: Add the Shells
Once your driftwood is securely mounted, start arranging and gluing the shells in your desired pattern. Tweezers or pliers can help you place the smaller shells with precision. Be sure to use enough adhesive to keep the shells in place but avoid over-gluing, which can be messy.
Step 5: Final Touches
After all the driftwood and shells are in place, add any final touches you like. This could be extra decorative elements like small pebbles, sea glass, or even a light coat of varnish to make your artwork shine.
Displaying Your Driftwood Shell Wall Art
Once your piece is complete, it’s time to display it! Here are a few tips for showcasing your new artwork.
Choose the Right Spot
Pick a location where your driftwood shell wall art can be a focal point. This could be a living room wall, above a fireplace, or in a hallway. It’s an excellent conversation starter and adds a natural, beachy vibe to any space.
Securely Hang Your Art
Ensure your art is securely hung to prevent it from falling. Depending on the weight and construction of your piece, you may need heavy-duty picture hangers or wall anchors. Always follow the instructions for any hanging hardware you use.
Complement Your Decor
Your driftwood shell wall art can complement other natural elements in your decor. Consider pairing it with other beach-themed decorations like sand-filled vases, nautical ropes, or a collection of smaller seashells displayed in glass jars.

Tips and Tricks for Creating Stunning Driftwood Shell Wall Art
As you become more experienced with creating driftwood shell wall art, you’ll learn some handy tips and tricks that can make the process smoother and more enjoyable.
Experiment with Different Techniques
Don’t be afraid to try new techniques. For example, you might try incorporating other natural materials, like sand or pebbles, into your artwork. You might also experiment with different adhesives to see which works best for your materials.
Mix and Match
Combining driftwood and shells with other artistic elements can lead to unique and visually stunning results. For instance, you could add small pieces of coral, sea glass, or even incorporate some lighting to add a beautiful glow to your artwork.
Personalize Your Art
Adding personal touches to your wall art can make it even more special. Consider including shells you’ve collected from different beaches you’ve visited or pieces of driftwood that hold sentimental value.
Environmental Considerations
When collecting materials for your artwork, it’s essential to be mindful of the environment. Here are some tips to ensure your hobby is eco-friendly.
Responsible Collecting
Only take what you need, and avoid disturbing natural habitats. Remember that driftwood and shells play a crucial role in coastal ecosystems, providing homes and nutrients for various marine life.
Sustainable Alternatives
If you can’t find natural materials or if collecting them is prohibited in your area, consider purchasing sustainably sourced driftwood and shells from reputable suppliers. There are many online stores that sell eco-friendly materials specifically for crafting purposes.
Benefits of Creating Driftwood Shell Wall Art
Engaging in this creative hobby offers numerous benefits, both for you and your living space.
Therapeutic and Stress-Relieving
Crafting can be a wonderful way to relax and unwind. The concentration and creativity involved can take your mind off everyday stresses, providing a therapeutic and enjoyable experience.
Unique Home Decor
Creating your own wall art ensures you have a piece that is truly unique. Unlike mass-produced decor items, your driftwood shell wall art is one-of-a-kind, reflecting your personal style and creativity.
A Hobby with Sentimental Value
Using materials you’ve collected yourself adds sentimental value to your artwork. Each piece can serve as a reminder of happy times spent at the beach, making it more meaningful and special.
Conclusion
In creating driftwood shell wall art, you’re not only making a beautiful piece of decor, but you’re also preserving memories of your beachside adventures. This art form allows you to bring a slice of nature into your home, creating a serene and tranquil environment.
So go ahead, gather your materials, unleash your creativity, and start crafting your own driftwood shell wall art. Not only will you end up with a stunning piece to adorn your walls, but you’ll also enjoy the process of bringing a bit of the ocean’s charm into your living space.
Happy crafting!