Driftwood Wind Chime
Have you ever thought about how you can bring a touch of the serene and natural beauty of the beach right into your home? Imagine the gentle sound of the wind blending with the unique allure of driftwood, creating an enchanting melody and a soothing atmosphere. Crafting a driftwood wind chime might just be the perfect project for you to attempt.


What is Driftwood?
Driftwood refers to wood that has been washed onto the shore by waves. It could come from fallen trees, broken branches, or even wooden objects lost at sea. Over time, the elements weather the wood, giving it a smooth and unique texture.
Benefits of Using Driftwood
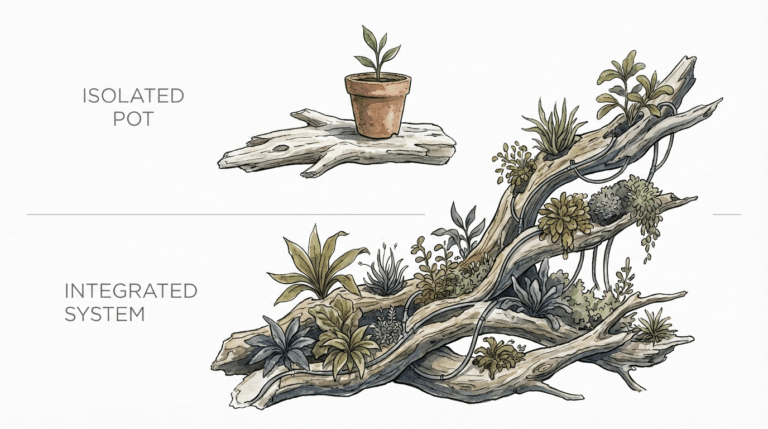
Driftwood not only boasts a rustic and natural aesthetic but also has ecological benefits. It’s a form of recycling, giving life to pieces that might otherwise remain waste material. Driftwood is often used in various DIY projects because of its unique appearance and durability.
Why Choose a Driftwood Wind Chime?
Creating a driftwood wind chime allows you to embrace creativity while crafting something that brings a natural and soothing sound into your space. It’s a great way to add a touch of coastal charm to your home or garden.
Aesthetic Appeal
Driftwood wind chimes have a unique beauty that blends well with various styles of decor. Whether you prefer a more rustic, bohemian, or minimalist look, driftwood can adapt beautifully to your design preferences.
Relaxing Ambient Sound
The gentle clinking and rustling of the wind chime can create a relaxing atmosphere. This sound can be reminiscent of the beach, making your space feel more serene and tranquil.
Personal Satisfaction
Crafting your own wind chime provides a sense of achievement. It allows you to put a personal touch on your decor and showcases your creativity and skills.
Materials Needed
Before you begin, gather all the necessary materials. Here’s a table to help you organize your checklist:
| Material | Description |
|---|---|
| Driftwood | Various sizes and shapes, preferably with holes or pre-drilled ones |
| String or Wire | Durable strings, twines, or wire to hang the driftwood pieces together |
| Scissors | To cut the string or twine |
| Hooks | S-hooks or eye screws for larger driftwood pieces |
| Beads or Shells | Optional decorative elements to add flair |
| Drill | For making holes in driftwood pieces if needed |
| Sandpaper | To smoothen the edges of the driftwood pieces |
| Clear Sealant | Protects the wood from further weathering (optional) |
Step-by-Step Guide to Making a Driftwood Wind Chime
Building a driftwood wind chime is an enjoyable project that might take a couple of hours, depending on the complexity and the design. Here’s a detailed guide to assist you.
Step 1: Collecting Driftwood
Collect various pieces of driftwood. You can find them on beaches, riversides, or purchase them from craft stores. Look for pieces of different lengths and thicknesses to add variety to your wind chime.
Step 2: Preparing the Driftwood
Clean the driftwood thoroughly to remove any sand, dirt, or salt. Use a brush and water if needed. Let them dry completely before proceeding. You can use sandpaper to smooth out any rough edges or splinters.
Step 3: Drilling Holes
If your driftwood pieces don’t already have holes, you’ll need to drill them. Carefully drill small holes at the points where you want to attach the string. Make sure the holes are evenly spaced for balance.
Step 4: Assembling the Pieces
Start arranging your driftwood pieces in a sequence that you find visually appealing. Arrange them from largest to smallest, or randomly, based on your preference. Cut strings or wires to the required lengths.
Step 5: Attaching the String or Wire
Tie the string or wire through the holes, knotting securely. Attach additional pieces such as beads or shells if desired. Ensure the strings are of appropriate length and the knots are tight to avoid the chime falling apart.
Step 6: Final Touches
Attach a larger piece of driftwood horizontally at the top to act as the support. Ensure all the hanging pieces are balanced well. Apply a clear sealant to protect the driftwood from further weathering if you’re placing it outdoors.
Step 7: Hanging Your Chime
Attach a hook or eye screw to the top piece, and your driftwood wind chime is ready to hang. You can place it in your garden, on your porch, or even indoors near a window where it can catch a soft breeze.

Creative Ideas and Variations
There are countless ways to personalize your driftwood wind chime. Here are some creative ideas to consider:
Adding Unique Elements
Incorporate other natural elements such as sea glass, shells, or pebbles. These can add a splash of color and different textures to your chime.
Using Colored Threads
Instead of plain string or wire, you can use colored threads that complement your home’s decor. This adds a subtle yet significant visual appeal.
Experimenting with Shapes and Sizes
Not all driftwood pieces need to be standard sizes. Play around with larger and smaller pieces, round or flat shapes, and create an interesting visual clatter.
Personal Messages
Engrave or paint personal messages, quotes, or names on the driftwood pieces. This makes your wind chime truly unique and personal.
Maintenance and Care
To keep your driftwood wind chime looking great and prolong its life, a little maintenance goes a long way.
Regular Cleaning
Dust or rinse the wind chime occasionally to keep it clean. If it’s outdoor, a gentle rinse with water helps remove any built-up dirt or salt.
Protecting from Extreme Weather
If the wind chime is placed outdoors, consider protecting it from extreme weather conditions by moving it to a sheltered spot during heavy rain or snow.
Retightening String or Wire
Over time, the knots might loosen. Periodically check and retighten any loose strings or wires to prevent the chime from falling apart.
Sustainability and Ethical Considerations
When collecting driftwood, it’s essential to consider the environmental impact. Ensure you’re gathering materials responsibly and not disturbing wildlife habitats.
Responsible Collection
Collect driftwood from areas where it is abundant and not part of protected environments. Avoid taking wood from habitats that serve as shelters for wildlife.
Eco-Friendly Materials
Opt for eco-friendly materials like natural fibers and non-toxic sealants. This reduces the environmental footprint of your craft project.
Supporting Local Artisans
You can also purchase driftwood or related materials from local artisans who sustainably gather and sell such items. This supports local businesses and promotes ethical sourcing practices.
Troubleshooting Common Issues
Sometimes, creating a driftwood wind chime might pose a few challenges. Here are potential issues and their solutions:
Uneven Balancing
If your wind chime isn’t hanging straight, check the lengths of the strings and the points of attachment. Adjust them until the chime hangs evenly.
Fragile Driftwood
If any driftwood pieces are too fragile, avoid using them or reinforce them with a sealant. If broken pieces occur, replace them with sturdier ones.
Rusting Wire
If you used metal wire and it starts rusting, consider replacing it with rust-resistant alternatives or natural fibers like jute or hemp.
The Beauty of Driftwood Wind Chimes
Creating your driftwood wind chime is not only a beautiful addition to your home but also a fulfilling project that connects you with nature. The soft melodies produced by the wind chime can transform your space, adding a touch of the outdoors to your indoor environment.
Driftwood wind chimes stand out because they are crafted from materials that have been shaped by nature itself. Every piece carries a story of its journey through water and weather, adding to the charm and character of your wind chime.
Conclusion
Crafting a driftwood wind chime is a rewarding and creative endeavor that can bring a piece of the outside world into your home. From collecting driftwood to assembling the final product, every step is an opportunity to express your artistic vision. Whether you place your wind chime in a garden, on your porch, or indoors, it will serve as a constant reminder of nature’s beauty and tranquility.
By following this guide, you’ll not only have a stunning piece of decor but also a handcrafted item that provides a sense of accomplishment and peace. So go ahead, gather your materials, and start your driftwood wind chime project today. Embrace the process and enjoy the serenity it brings to your space.