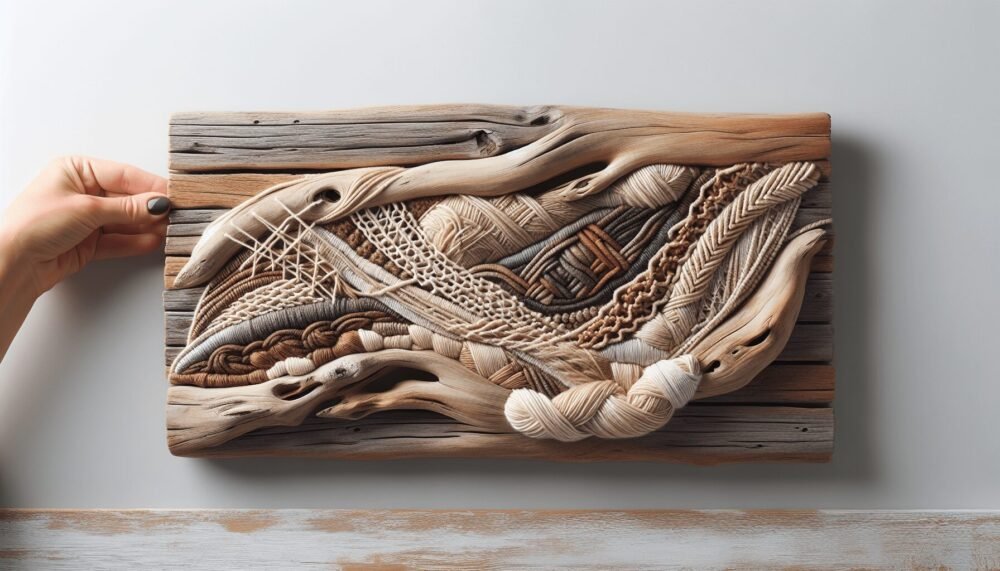
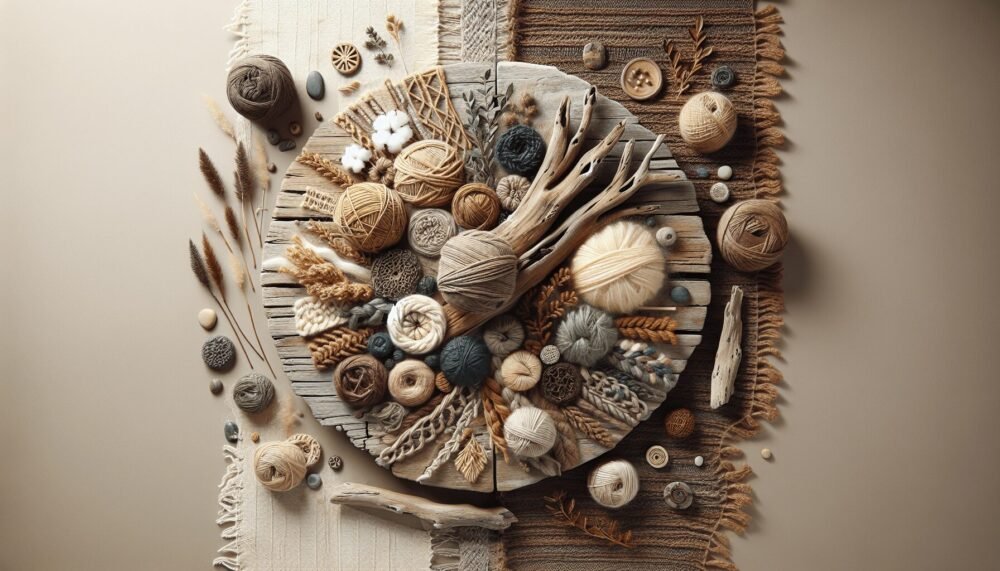
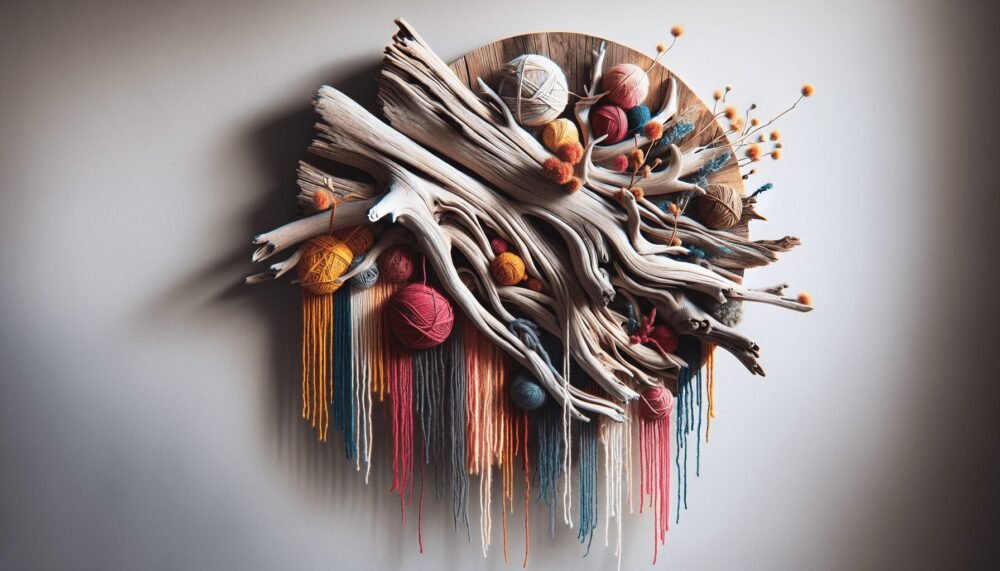
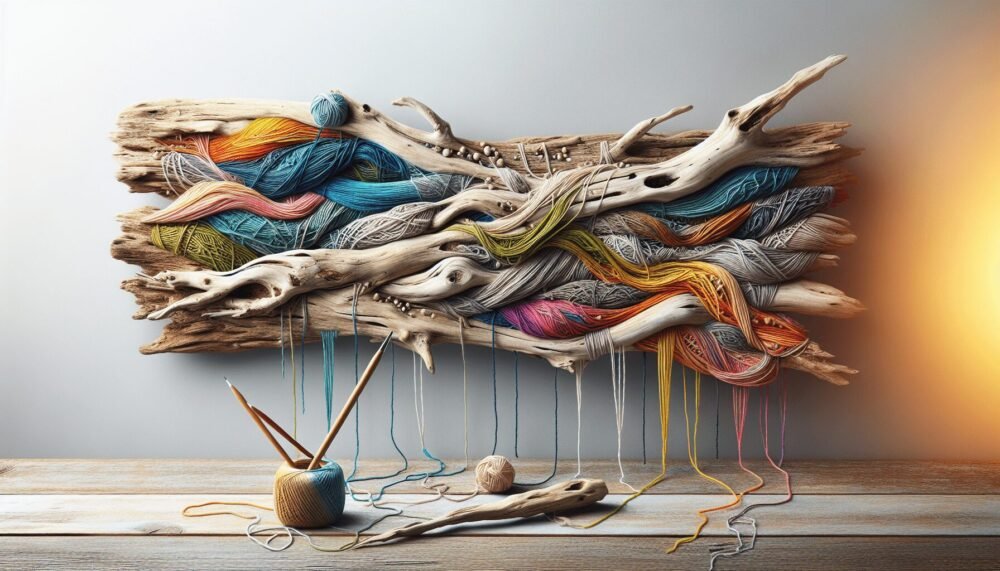
Welcome to the wonderful world of driftwood yarn wall art! In this article, you’ll discover the beauty and charm of creating your own unique pieces using driftwood and colorful yarn. Whether you’re a beginner looking for a fun new DIY project or an experienced crafter seeking inspiration, this creative and easy-to-follow tutorial will guide you through the steps to create stunning pieces that will add a touch of whimsy and style to any room in your home. Let’s get started on this crafty adventure together!
Have you ever considered creating driftwood yarn wall art?
Welcome to the world of driftwood yarn wall art! This creative and unique form of art combines natural elements with soft, vibrant yarn to create stunning pieces that are perfect for adding a touch of bohemian charm to any space. In this article, we will guide you through the process of creating your own driftwood yarn wall art, from selecting the perfect pieces of driftwood to choosing the right yarn colors and patterns to bring your vision to life.
Finding the perfect pieces of driftwood
The key to creating beautiful driftwood yarn wall art is starting with the right pieces of driftwood. When selecting driftwood, look for pieces that are weathered and have interesting shapes and textures. Depending on the size of the wall art you plan to create, you may need to gather several pieces of driftwood to create a cohesive design.

A guide to choosing the right yarn colors and textures
Once you have selected your driftwood pieces, it’s time to choose the perfect yarn colors and textures to complement them. Consider the overall color scheme of the room where you plan to display your driftwood yarn wall art, as well as your personal style preferences. Soft, neutral colors can create a calming, minimalist look, while bright, bold colors can add a pop of excitement to your space.
Mixing and matching yarn textures
Mixing different yarn textures is a great way to add visual interest and dimension to your driftwood yarn wall art. Consider combining smooth, silky yarn with chunky, textured yarn to create a one-of-a-kind piece that will stand out in any room.
Preparing your driftwood and yarn
Before you begin creating your driftwood yarn wall art, it’s important to prepare your materials. Clean your driftwood pieces by gently scrubbing them with a brush and warm, soapy water to remove any dirt or debris. Allow the driftwood to dry completely before moving on to the next step.
Untangling and organizing your yarn
To make the process of creating your driftwood yarn wall art as smooth as possible, take the time to untangle and organize your yarn before you begin. This will save you time and frustration later on, ensuring that you can focus on bringing your vision to life without any unnecessary interruptions.

Creating the base for your driftwood yarn wall art
To create the base for your driftwood yarn wall art, you will need a sturdy piece of string or twine that is slightly longer than the length of your driftwood pieces. Lay your driftwood pieces side by side on a flat surface, leaving a small gap between each piece.
Attaching the yarn to the driftwood
Cut a length of yarn that is approximately double the length of your driftwood pieces. Tie one end of the yarn to the top of one of the driftwood pieces, leaving a small loop at the top to hang your wall art from. Thread the yarn through the gap between the driftwood pieces, wrapping it around each piece as you go to create a secure base.
Adding yarn to your driftwood pieces
Now comes the fun part – adding yarn to your driftwood pieces to create a unique and eye-catching design. Start by choosing a yarn color and texture that complements your driftwood pieces and overall color scheme.
Wrapping yarn around the driftwood
To add yarn to your driftwood pieces, simply start by wrapping the yarn around the driftwood in whichever pattern or design you choose. You can create stripes, zigzags, or any other pattern that inspires you. Experiment with different wrapping techniques and yarn colors to create a one-of-a-kind piece that reflects your personal style.

Finish and display your driftwood yarn wall art
Once you have finished adding yarn to your driftwood pieces, take a step back and admire your handiwork. Trim any excess yarn and secure the ends to the driftwood to ensure that your wall art will not come undone over time.
Hanging your driftwood yarn wall art
To hang your driftwood yarn wall art, simply attach a small nail or hook to the wall where you plan to display it, and hang the loop at the top of your wall art from the nail or hook. You can hang your driftwood yarn wall art alone as a statement piece, or group several pieces together to create a stunning gallery wall.
Get creative with your driftwood yarn wall art
The beauty of driftwood yarn wall art is that the possibilities are endless. Experiment with different driftwood shapes and sizes, yarn colors and textures, and wrapping techniques to create a piece that is truly unique to you. Let your creativity run wild and have fun with the process – the end result will be a stunning work of art that you can be proud to display in your home.
