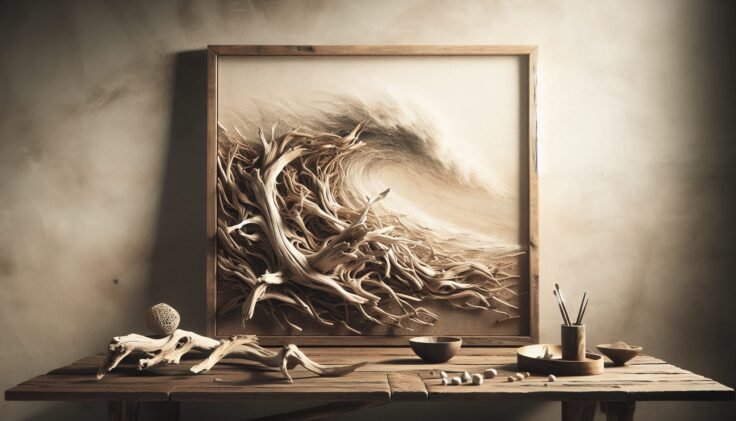
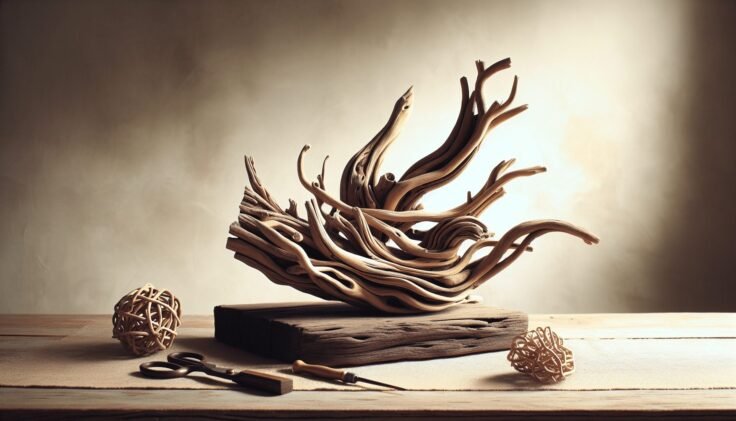
Have you ever strolled along a beach and noticed the unique, weathered pieces of driftwood dotting the shore? These natural treasures are not only beautiful but also an invitation to unleash your creativity through DIY driftwood art. Crafting something with your own hands can be both rewarding and therapeutic. Plus, driftwood offers a perfect canvas—it’s rustic, durable, and each piece tells a tale of its journey through the waters.
If the thought of creating driftwood art has piqued your interest, you’re in the right place! Let’s embark on a friendly and thoroughly enjoyable journey into the world of DIY driftwood art. You’ll discover the endless possibilities that lie within those twisted, sun-bleached pieces of wood. Whether you’re a seasoned artisan or new to crafting, this guide will offer tips, ideas, and step-by-step instructions for transforming driftwood into artful masterpieces.

Understanding Driftwood
Driftwood is essentially wood that has been washed onto a shore or beach by weathering, waves, and tides. As the wood takes a journey through the water, it undergoes a physical transformation. This naturally alters its appearance, providing unique textures and shapes cherished by artists and decorators alike.
The Allure of Driftwood
The charm of driftwood lies in its uniqueness. Every piece has a distinct character, molded by its travels through the elements. This natural artistry makes driftwood highly desirable in crafting and home décor. Its neutral tones and organic lines complement a variety of decorative styles, from minimalist to rustic.
Using Found Driftwood Responsibly
While collecting driftwood can be exciting, it’s important to do so responsibly. Ensure you adhere to local guidelines, especially in protected areas or parks where removing natural artifacts might be prohibited. Also, be mindful of the ecosystem—driftwood plays a role in the habitat of coastal species.
Preparing Driftwood for Crafting
Before you can begin your driftwood art project, it’s essential to properly prepare the wood. This ensures that your artwork is safe, clean, and long-lasting.
Cleaning Your Driftwood
To clean driftwood, start by rinsing it thoroughly with fresh water to remove sand, salt, and any debris. You might need to use a brush to get rid of stubborn particles.
Basic Cleaning Steps:
- Rinse: Use a hose or a bucket of fresh water.
- Scrub: Gently scrub using a soft brush.
- Soak: Submerge in water for a few days to remove salt and contaminants.
- Dry: Allow it to dry completely in the sun.
Sanitizing Driftwood
Sanitization is necessary to eliminate any potential bacteria or insects. This can be done by soaking the driftwood in a mixture of water and vinegar. Using a ratio of 1 part vinegar to 5 parts water should suffice.
Sanitizing Steps:
- Soak: Submerge the driftwood in the vinegar solution for 24-48 hours.
- Rinse: Rinse thoroughly with fresh water to remove vinegar.
- Dry Again: Leave the driftwood out in the sun to ensure it’s completely dry before usage.
Treating and Sealing**
If you plan to use driftwood indoors or for furniture, applying a sealant can enhance its durability and appearance.
- Sand: Lightly sand to remove any rough edges.
- Seal: Apply a clear wood sealant or varnish.
- Dry: Allow the sealant to cure as per the manufacturer’s instructions.
Crafting Your Driftwood Art
With your driftwood prepped and ready, it’s time to let your creativity flow. The possibilities are as endless as your imagination. Here are some ideas to get you started on your artistic journey.
Driftwood Wall Art
Creating wall art out of driftwood can bring a naturalistic vibe to any room. You might arrange smaller pieces into a collage or utilize a larger piece as a centerpiece.
Step-by-Step Guide:
- Design Layout: Arrange pieces on the floor to find the composition you enjoy.
- Attach Pieces: Fix pieces together using glue or screws.
- Mounting: Attach wall mounts or a backing to support the structure.
- Installation: Secure to the wall using proper anchors.
Driftwood Sculptures
Sculptures made from driftwood are remarkable both indoors and outdoors. Their organic form and texture make them stand out pieces.
Basic Steps:
- Select Base Pieces: Choose foundational pieces to form the sculpture’s framework.
- Build Structure: Use wire, glue, or screws to attach smaller pieces.
- Balance: Ensure the sculpture can stand or hang securely.
- Finishing Touches: Sand rough edges, if necessary, for a smoother appearance.
Driftwood Furniture
If you are feeling adventurous, create functional art by crafting furniture. Driftwood tables, shelves, and garden benches can be stunning additions to your home.
Creating a Driftwood Table:
- Find a Sturdy Base: Choose large, thick pieces for the legs.
- Construct Surface: Secure additional driftwood or a glass top.
- Fasten Together: Use brackets or wooden dowels for stability.
- Finish: Sand, seal, and ensure all pieces are secure.
Driftwood Mirrors
Combine form and function by framing mirrors with driftwood. This project can enhance the light in any space and make the room appear larger.
Steps to Make a Driftwood Mirror:
- Select a Mirror: Choose the appropriate size for your space.
- Arrange Pieces: Lay driftwood around the mirror to find the desired pattern.
- Attach to Frame: Secure pieces using a strong adhesive.
- Hang with Care: Ensure proper hanging hardware is used to support the mirror’s weight.
Maintaining Driftwood Art
Once your driftwood art project is complete, you’ll want it to last. Maintaining driftwood art requires minimal effort but ensures longevity.
Regular Cleaning
Keep your driftwood art dust-free with regular cleaning. Use a soft, dry cloth to gently wipe away any dust or dirt. For more thorough cleaning, a slightly damp cloth will do the trick.
Avoiding Sunlight Exposure
Direct sunlight can alter the color and condition of your driftwood. If possible, place your art piece away from windows or in areas with filtered light to maintain its natural appearance.
Re-sealing
For driftwood furniture or art that is heavily handled, consider re-sealing every couple of years. Follow the same sealing process you used initially to keep the wood protected.

Benefits of Crafting with Driftwood
Creating driftwood art isn’t just about the final product; the process itself offers numerous benefits.
Therapeutic and Relaxing
Working with your hands is a fantastic way to relieve stress. The tactile nature of crafting with driftwood is meditative and allows you to disconnect from the digital world.
Boosting Creativity
Driftwood’s unique shapes and textures challenge you to think creatively. This artistic exploration can enhance problem-solving skills and inspire innovation in other areas of life.
Eco-Friendly Crafting
Using driftwood is a sustainable practice, repurposing natural material that might otherwise be overlooked as waste. This aligns with eco-friendly and minimalist lifestyles.
Exploring Driftwood Art Communities
Consider joining online and local driftwood art communities. These groups are fantastic resources for inspiration, sharing tips, and showcasing your work with an appreciative audience.
Online Platforms
Websites like Pinterest or Instagram allow you to explore endless driftwood art ideas. Join groups or follow hashtags to stay connected with fellow driftwood aficionados.
Workshops and Classes
Local arts and crafts stores may offer classes in driftwood art. These sessions provide hands-on experience and the opportunity to meet other enthusiasts.
Art Exhibitions
Attend exhibitions focusing on natural or reclaimed materials. These events can provide new perspectives and spark ideas for future projects.
Final Thoughts
Creating DIY driftwood art is an incredibly rewarding pursuit. It encourages a deep connection with nature and offers an opportunity for personal expression. From simple wall hangings to intricate sculptures, driftwood allows for artistic freedom and innovation.
As you embark on your driftwood crafting journey, remember that each piece of art you create is unique—much like the driftwood itself. So let your intuition, imagination, and inspiration guide you, and enjoy the process of bringing a bit of the beach’s natural beauty into your home.