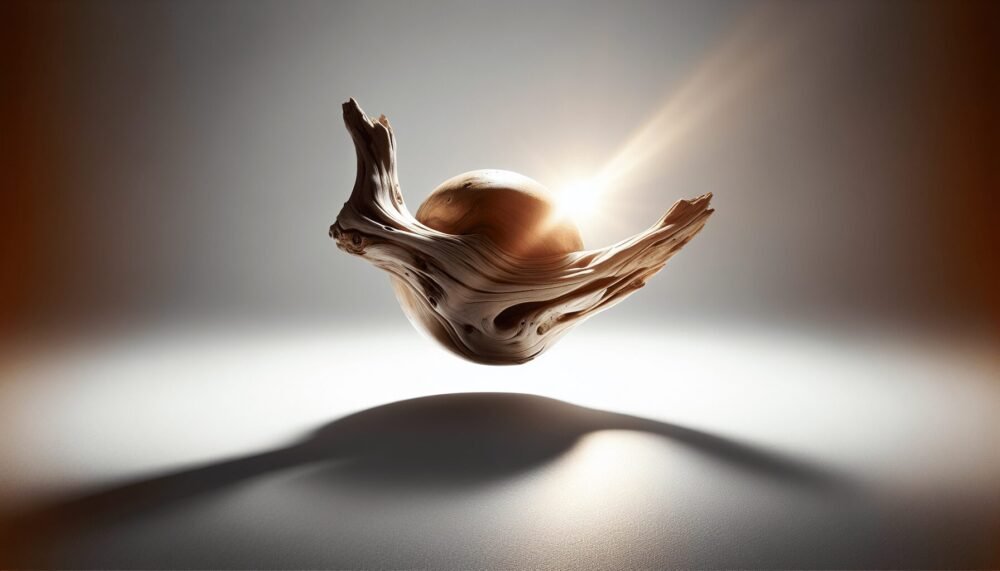
Imagine transforming a piece of driftwood into a stunning work of art that catches the eye and sparks conversations. Enter the world of Epoxy Driftwood Art, where the beauty of nature meets the creativity of human hands. With the enchanting combination of epoxy resin and weathered wood, this unique form of art brings life back to forgotten pieces of driftwood, unveiling their hidden potential. From intricate sculptures to mesmerizing wall decorations, prepare to be captivated by the ethereal beauty that arises when the rawness of nature intertwines with the artistry of epoxy.
Materials Needed
To create your own epoxy driftwood art, you will need the following materials:
Epoxy Resin
Epoxy resin is the main ingredient in this art form. It is a two-part mixture that, when combined, creates a durable and glossy finish. Make sure to choose a high-quality epoxy resin for the best results.
Driftwood
Driftwood is the key element of your artwork. Collect various pieces of driftwood in different sizes and shapes to create a visually appealing design. Look for unique and interesting pieces that will add character to your artwork.
Gloves
Working with epoxy resin can be messy, so it’s important to protect your hands. Wear gloves to prevent any allergic reactions or skin irritation. Additionally, gloves will help to keep your artwork clean and free from fingerprints.
Mixing Cups
You will need mixing cups to accurately measure and mix the epoxy resin. Use disposable cups for easy cleanup.
Mixing Sticks
Mixing sticks are necessary for blending the epoxy resin components together. They ensure a thorough and even mixture.
Preparation
Before starting your epoxy driftwood art project, it’s important to prepare your materials and workspace.
Cleaning the Driftwood
Begin by cleaning the driftwood to remove any dirt, sand, or debris. Use a soft brush or cloth to gently scrub the surface. If needed, you can also rinse the driftwood with water. Allow it to dry completely before proceeding.
Sanding the Driftwood
To achieve a smooth and polished finish, sand the driftwood with fine-grit sandpaper. This step will remove any rough edges, splinters, or imperfections. Sanding also helps the epoxy resin adhere better to the wood.
Choosing a Workspace
Select a well-ventilated area where you can work comfortably for an extended period. Ensure you have enough space to lay out your materials and accommodate the size of your artwork. Cover the work surface with a plastic sheet or wax paper to protect it from any spills or drips.

This image is property of images.unsplash.com.
Creating the Design
The design is where your creativity comes into play. Take some time to plan and experiment with different layouts before committing to a final arrangement.
Planning the Design
Consider the size and shape of your artwork and how the driftwood pieces will fit together. Think about the desired composition and any color schemes or themes you want to incorporate. Sketch out your ideas or create a digital mock-up to help visualize the final design.
Experimenting with Layout
Layout experimentation is an exciting part of the creative process. Arrange the driftwood pieces on your workspace to find the most appealing configuration. Play with different arrangements, angles, and overlaps to achieve balance and visual interest. Take photos of each layout to compare and choose the one that you like the most.
Mixing and Pouring Epoxy Resin
Now that you have your design in mind, it’s time to mix and pour the epoxy resin.
Measuring and Mixing the Resin
Follow the manufacturer’s instructions to measure the epoxy resin and hardener in the correct ratio. Use separate mixing cups for each component. Pour the resin into one cup and the hardener into another. Then, slowly combine the two parts and stir thoroughly for several minutes until the mixture is well blended.
Pouring the Base Layer
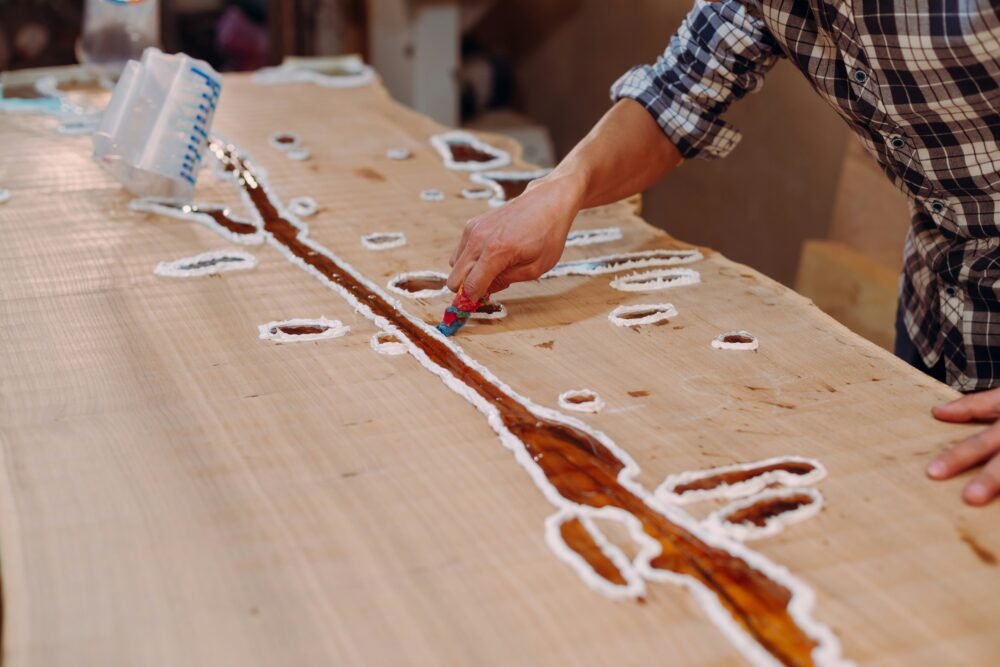
To create a solid foundation for your artwork, start by pouring a base layer of epoxy resin onto your prepared workspace. Use a mixing stick to spread the resin evenly, ensuring it covers the entire area. This base layer will act as an adhesive for the driftwood pieces.
Adding Color or Pigments
If desired, you can add color or pigments to the epoxy resin. Mix in a small amount of resin-safe dye or pigment to achieve the desired hue. Experiment with different colors to match your design or create a unique effect. Remember, a little goes a long way, so start with a small amount and gradually add more if needed.
This image is property of images.unsplash.com.
Embedding Driftwood
Now it’s time to embed the driftwood pieces into the epoxy resin base layer.
Arranging the Driftwood Pieces
Using the layout you decided on earlier, carefully arrange the driftwood pieces onto the wet epoxy resin base. Press them gently into the resin to ensure they adhere properly. Pay attention to the composition and spacing between the pieces to create an aesthetically pleasing arrangement.
Securing the Driftwood
To prevent the driftwood from shifting or floating to the surface, use a mixing stick or a small tool to push the pieces slightly into the resin. This will help secure them in place and ensure they stay embedded during the curing process.
Pouring Additional Epoxy
Once the driftwood pieces are arranged to your satisfaction, pour additional epoxy resin over the artwork. Slowly pour the resin to cover the driftwood completely, allowing it to flow and settle naturally. Use a mixing stick to spread the resin evenly and fill any gaps or voids.
Curing and Finishing
After pouring the epoxy resin, you will need to allow it to cure before proceeding to the finishing touches.
Allowing the Resin to Cure
The curing time for epoxy resin can vary depending on the brand and environmental conditions. Follow the manufacturer’s instructions regarding the curing time. It is essential to be patient and avoid disturbing the artwork during this process to achieve the best results.
Sanding and Polishing
Once the resin has fully cured, you can sand the surface to smooth out any imperfections or rough edges. Begin with a lower grit sandpaper and gradually move to higher grits for a smoother finish. Take your time and be gentle to avoid damaging the artwork. After sanding, wipe away any dust with a clean cloth.
Applying a Protective Finish
To enhance the shine and durability of your epoxy driftwood art, apply a protective finish. Select a clear, non-yellowing epoxy or varnish specifically designed for use on epoxy resin. Follow the application instructions provided by the manufacturer, and allow the finish to dry completely before handling or displaying your artwork.
This image is property of images.unsplash.com.
Display and Presentation
Now that your epoxy driftwood art is complete, it’s time to think about how you want to display and present it.
Choosing a Display Method
Consider the size and shape of your artwork when choosing a display method. Options include placing it on a tabletop or shelf, hanging it on a wall, or incorporating it into a larger installation. Think about the overall aesthetic you want to achieve and choose a display method that best suits your vision.
Mounting or Framing the Artwork
If you want to add an extra touch of elegance, you can mount or frame your epoxy driftwood art. Select a frame or mounting board that complements the colors and style of your artwork. Ensure that the chosen method securely holds the artwork in place without distracting from the beauty of the piece.
Adding Hanging Hardware
If you plan to hang your artwork, attach suitable hanging hardware to the back. Choose hardware that is sturdy enough to support the weight of the artwork and follow the manufacturer’s guidelines for proper installation. Consider using multiple hooks for larger pieces to distribute the weight evenly.
Maintenance and Care
To keep your epoxy driftwood art looking its best, proper maintenance and care are essential.
Cleaning and Dusting
Regularly dust your artwork with a soft, lint-free cloth to remove any surface dust or debris. If needed, you can also use a mild soap and water solution to gently clean the surface. Avoid using abrasive cleaners or rough materials that could scratch the epoxy resin.
Avoiding Direct Sunlight
To prevent fading or discoloration, avoid placing your artwork in direct sunlight or exposing it to excessive heat. Prolonged exposure to sunlight can cause the epoxy resin to yellow or become brittle over time. Instead, choose a location where your artwork will be shielded from direct sunlight.
Repairing Any Damages
In the event of any accidental damages or scratches, you can repair minor imperfections in your epoxy driftwood art. Follow the manufacturer’s instructions for epoxy resin repair kits or consult a professional if needed. Taking prompt action and addressing any damages will help preserve the longevity and beauty of your artwork.
Further Inspiration and Techniques
If you’re looking to expand your creativity and explore new techniques, there are endless possibilities to consider.
Exploring Different Designs
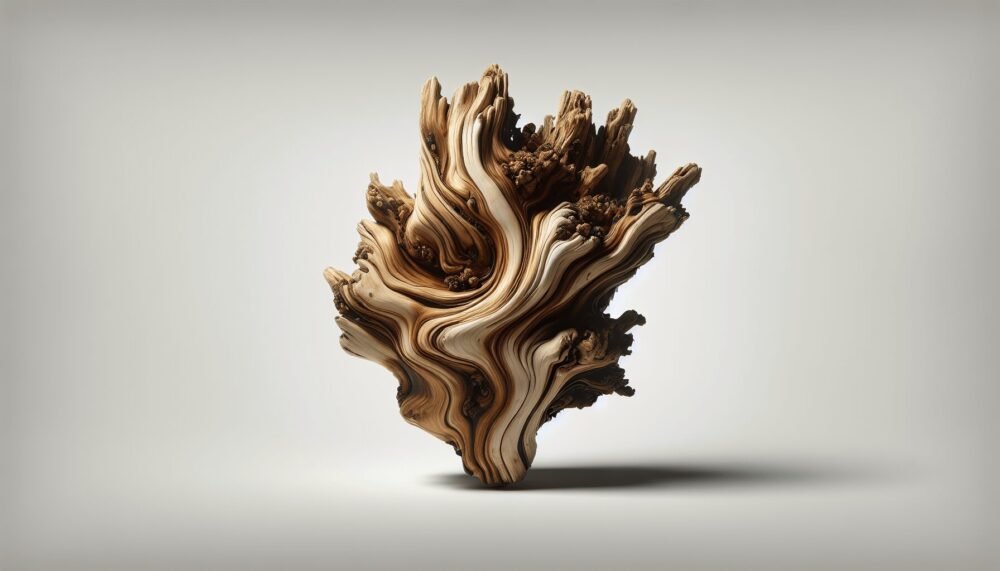
Experiment with different designs and patterns to create unique and visually captivating epoxy driftwood art. Branch out from traditional layouts and explore asymmetry, geometric shapes, or even abstract compositions. Let your imagination guide you and don’t be afraid to push the boundaries of your creativity.
Incorporating Other Materials
Don’t limit yourself to just driftwood. Explore the use of other materials, such as seashells, stones, or even metals, to add texture and depth to your artwork. These additional elements can complement the natural beauty of the driftwood and create a more dynamic and visually striking piece.
Experimenting with Dye Techniques
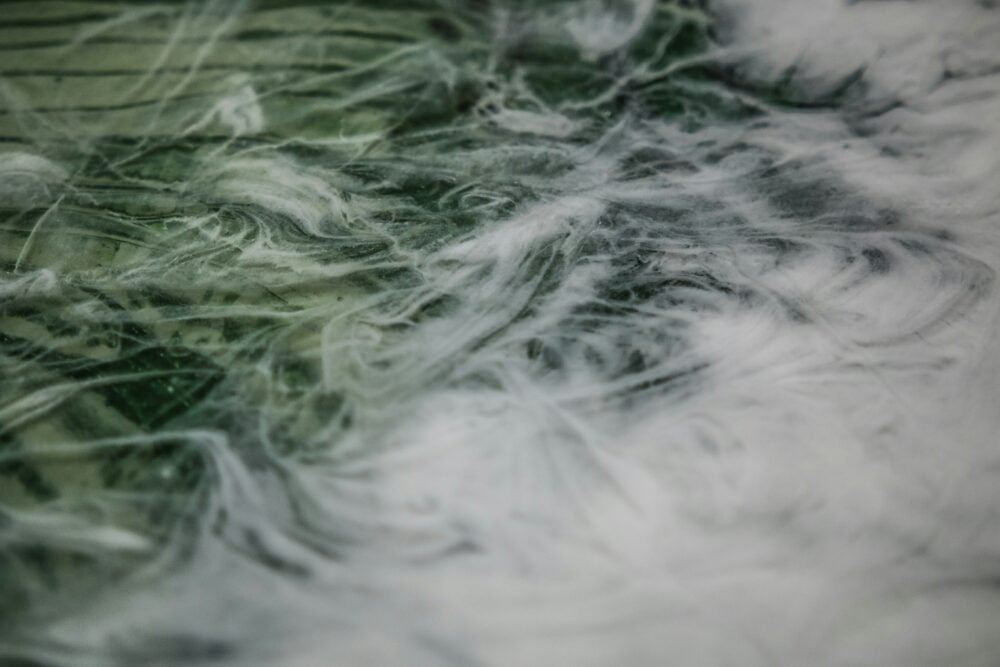
Epoxy resin offers endless possibilities when it comes to color and texture. Experiment with various dye techniques, such as marbling, layering, or even creating gradients. These techniques can add depth and dimension to your artwork, making it even more captivating and eye-catching.
Safety Considerations
While creating epoxy driftwood art is an enjoyable and rewarding process, it’s important to prioritize your safety throughout each step.
Using Epoxy Resin in a Well-Ventilated Area
Epoxy resin emits fumes that can be harmful if inhaled in large quantities. Always work in a well-ventilated area, such as an open garage or outdoor space, to minimize exposure to these fumes. Consider using a respirator or wearing a mask if necessary to further protect your respiratory system.
Wearing Protective Gear
Protective gear, including gloves, safety glasses, and a long-sleeved shirt, should be worn when working with epoxy resin. This will help protect your skin and eyes from potential allergic reactions or irritation. Additionally, it will prevent any resin from accidentally coming into contact with your skin, which can be difficult to remove once cured.
Properly Storing and Disposing of Epoxy Resin
After completing your artwork, ensure any leftover epoxy resin or mixed materials are properly stored. Follow the manufacturer’s guidelines for storing epoxy resin to maintain its quality and prevent hardening. When disposing of unused or expired epoxy resin, consult your local waste management facility for proper disposal methods to minimize environmental impact.
Creating epoxy driftwood art is a fascinating and fulfilling artistic endeavor. By following these steps and guidelines, you can create stunning and unique pieces that showcase the beauty of nature and your artistic vision. So gather your materials, unleash your creativity, and embark on this exciting artistic journey today!
