French Cleat System Folding Desk Diy
Why have a desk that only does one thing when it could be the heart of a wall-wide ecosystem? A desk in isolation is just a surface. A desk integrated into a French cleat wall is a command center. Move it, swap it, or fold it away—make your furniture work together.
Most home offices and workshops suffer from the same problem. They are static. You buy a desk, push it against a wall, and that is where it stays until you move houses. But your needs change throughout the day. Maybe you need a clear floor for a project in the morning and a laptop station in the afternoon. A modular folding desk solves this by turning your wall into a structural grid.
This approach transforms the way you think about floor space. Instead of a heavy piece of furniture claiming territory, you have a sleek, functional unit that exists only when you need it. Let’s dive into how you can build this ultimate workspace upgrade.
French Cleat System Folding Desk Diy
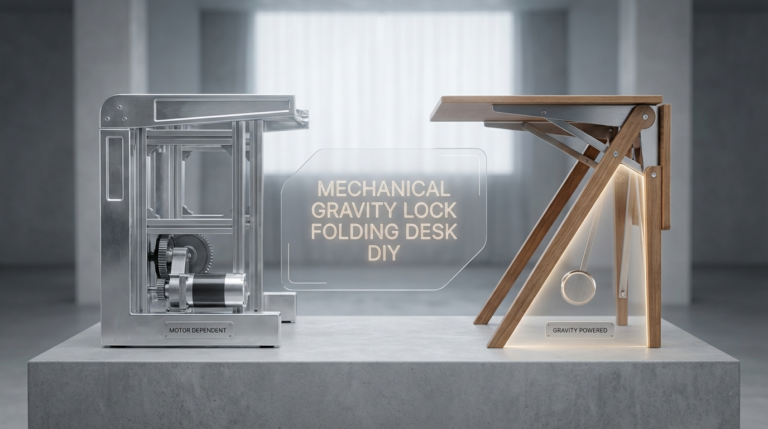
A French cleat system folding desk DIY project is a modular furniture build that combines the strength of interlocking wood strips with the space-saving utility of a collapsible surface. At its core, the French cleat is a pair of wood lengths cut at a 45-degree angle. One piece is securely mounted to the wall with the “hook” facing up. The other is attached to the back of your desk with the “hook” facing down.
When these two pieces meet, gravity locks them together. This system is traditionally used in workshops to hang heavy tool racks, but it is incredibly effective for furniture. Because the load is distributed across multiple wall studs, it provides a level of stability that standard floating shelf brackets often lack.
In a real-world scenario, imagine a garage that serves as both a woodshop and a parking space. A permanent desk would get in the way of a car. A folding French cleat desk can be unhooked and moved to a different part of the wall or simply folded flat against the cleats. It exists as a part of a larger ecosystem where every square inch of the wall is potentially productive.
How the System Works and How to Build It
Building this system requires a focus on geometry and weight distribution. Start by creating the wall cleats. Use a high-quality 3/4-inch birch plywood. Rip these strips on a table saw with the blade tilted to 45 degrees. One half becomes the wall rail, and the other becomes the mounting bracket for your desk.
Secure the wall rails directly into the wall studs using 3-inch cabinet screws. This is the most critical step. A desk creates a cantilevered load, meaning it wants to pull away from the wall at the top and push into it at the bottom. Screwing into drywall alone will result in a catastrophic failure. Always locate the center of your studs.
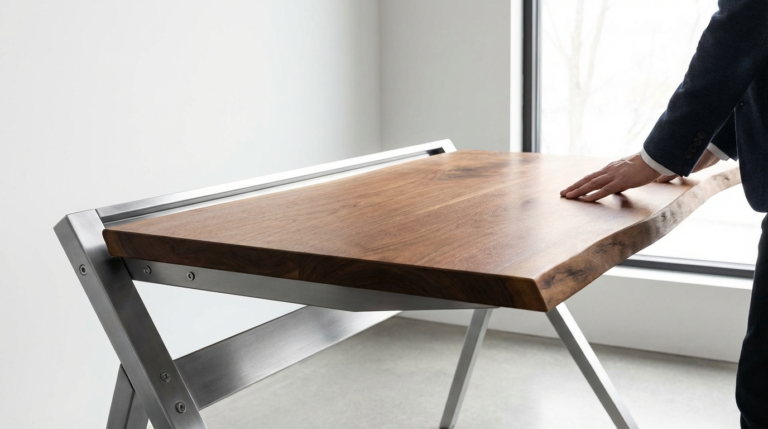
For the desk unit itself, you need a sturdy frame. Attach a matching 45-degree cleat to the top back of the desk assembly. Below that, attach a “spacer” block of the same thickness. This ensures the desk hangs perfectly vertical rather than tilting inward at the bottom. Use heavy-duty folding brackets rated for at least 200 pounds to connect the desktop to the back frame.
Benefits of the Modular Folding Approach
The most immediate advantage is total flexibility. If you decide your desk should be six inches higher so you can use it as a standing station, you simply lift it off the cleat and move it up. No new holes in the wall are required. This modularity allows your workspace to grow or shrink as your projects evolve.
Floor space remains unobstructed. Traditional desks have legs that create “dead zones” for cleaning and storage. A cleat-mounted desk leaves the floor entirely open. This is a game-changer for small apartments or crowded workshops where every foot of floor space is a premium.
Strength is another major factor. While a standard folding desk relies on the strength of its hinges and a few wall anchors, a cleat-integrated desk spreads the weight across the entire length of the wall rail. This significantly reduces the stress on any single point of the wall, making it safe for heavy monitors, sewing machines, or power tools.
Challenges and Common DIY Mistakes
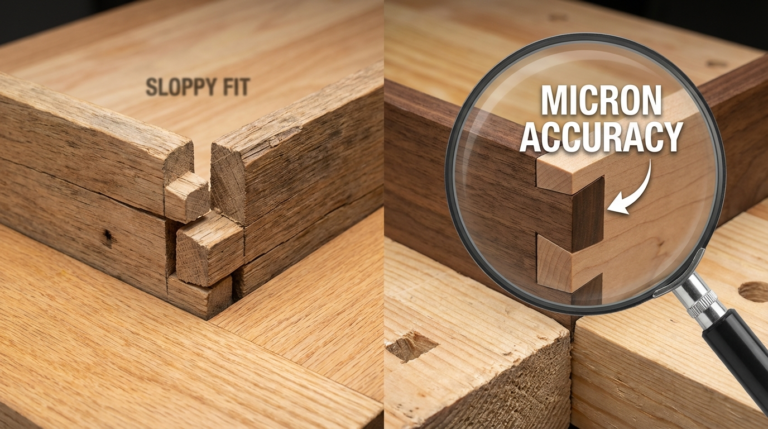
Alignment is the primary challenge. If your wall cleats are not perfectly level, the desk will wobble or sit at an awkward angle. Even a tiny discrepancy at the wall is magnified across the depth of the desk surface. Use a long spirit level or a laser level during the installation of every single rail.
Material choice is a frequent pitfall. Many beginners attempt to use MDF (Medium Density Fiberboard) for cleats because it is inexpensive. MDF lacks the long-term structural integrity and “bite” for screws needed for a load-bearing cleat. It can delaminate or crumble under the rotational stress of a desk. Stick to 7-ply or 13-ply birch plywood for the cleats.
Neglecting the “cleat lock” is a common error. Because French cleats rely on gravity, a sudden upward bump—like hitting the desk with your knees—could theoretically unseat the desk. Adding a simple turn-button or a small safety screw at the bottom of the mounting bracket prevents accidental detachment.
Limitations to Keep in Mind
This system is only as strong as the wall it is attached to. If you are working in a space with metal studs or old lath-and-plaster walls, you may need specialized fasteners or a backing board to ensure the cleats stay put. In masonry or concrete walls, you must use high-quality sleeve anchors or Tapcons.
Depth is a practical boundary. The further the desk extends from the wall, the more leverage it exerts on the cleats. Most DIY cleat desks should stay between 18 and 24 inches deep. Attempting a 36-inch deep executive desk without additional floor-based support legs will likely put too much strain on the plywood bevels.
Environmental factors like humidity can also play a role. Wood expands and contracts. In a garage with high humidity, the fit between the cleats might become tight or slightly loose. Leaving a tiny bit of “play” in the fit or sealing the wood with a high-quality polyurethane can mitigate these shifts.
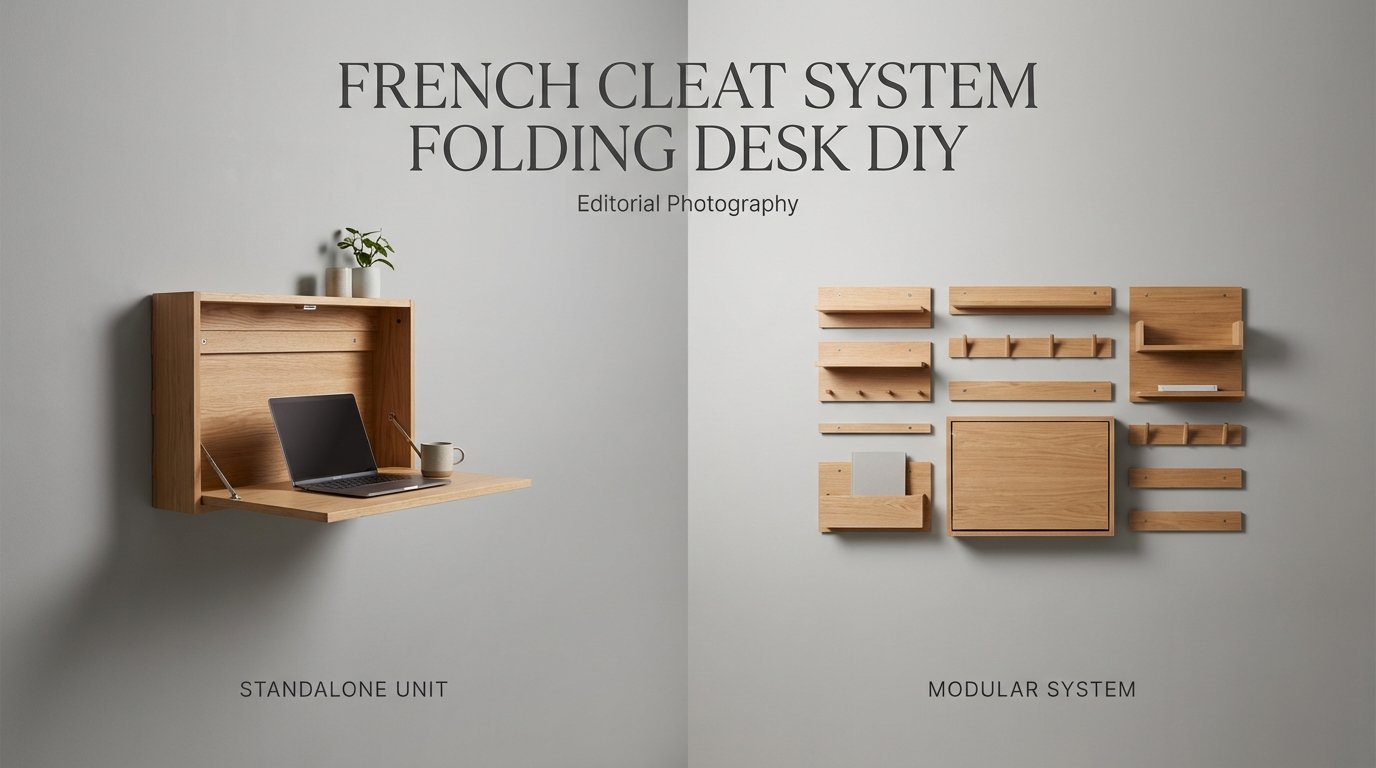
Comparison: Standalone Desk vs. Modular Cleat System
Choosing between a traditional desk and a cleat system depends on your need for permanence versus versatility.
| Feature | Standalone Desk | French Cleat Folding Desk |
|---|---|---|
| Mobility | Heavy, requires floor space. | Light, moves anywhere on the wall. |
| Installation | None (unbox and place). | Requires stud-finding and mounting. |
| Customization | Limited to height/legs. | Endless heights and locations. |
| Storage | Fixed drawers. | Modular (add bins/racks nearby). |
Practical Tips and Best Practices
Plan your cable management before you hang the desk. The gap created by the French cleat is a perfect natural channel for running wires behind the furniture. You can notch out small sections of the cleat to allow power cords to pass through without being pinched. This keeps your desktop clean and wire-free.
Edge banding makes a huge difference in the final look. Since you are likely using plywood, the exposed “pinstripe” edges can look unfinished in a home office. Apply a heat-activated wood veneer tape to the edges of the desk and the visible parts of the cleats. It gives the project a professional, high-end furniture appearance.
Consider the “double cleat” method for extra-heavy setups. Instead of one cleat at the top, use two parallel wall cleats. This doubles the surface area of the interlocking connection and significantly increases the weight capacity. It also helps stabilize the desk against side-to-side movement.
Advanced Considerations for Serious Builders
For those looking to scale this system, think about integrating power strips directly into the wall cleats. You can build “power blocks” that hang on the cleats just like the desk. This allows you to slide your power source left or right depending on where your desk is currently located.
Torsion box construction is an advanced technique for the desktop. Instead of a solid piece of heavy wood, a torsion box uses two thin layers of plywood over a light internal grid. This makes the desktop incredibly rigid but very light. Reducing the weight of the desk itself allows you to put more weight *on* the desk without exceeding the wall’s capacity.
Lighting is another area for optimization. Cleat-mounted LED bars can be moved to provide task lighting exactly where you are working. By treating the wall as a grid, you can optimize the ergonomics of your entire room, not just the desk surface.
Example Scenario: The Transformer Guest Room
Let’s look at a 10×10 guest room that needs to function as a home office. A traditional desk would make the room feel cramped and prevent a guest bed from fitting comfortably. By installing three rows of French cleats along one wall, the owner creates a modular zone.
During the work week, a 48-inch folding desk is mounted at a 30-inch height. A separate cleat-mounted shelf holds the monitor, and a small “cubby” box holds office supplies. When a guest arrives, the office supplies are moved to a high shelf, the monitor is tucked away, and the desk is folded flat. The floor is now wide open for an air mattress or a fold-out couch.
This transition takes less than two minutes. The room successfully serves two entirely different purposes without any heavy lifting or furniture moving. This is the power of a wall-wide ecosystem versus a standalone unit.
Final Thoughts
Building a French cleat system folding desk DIY project is more than just a weekend task. It is an investment in the long-term utility of your home. By taking the time to mount a secure rail system and crafting a collapsible surface, you gain the freedom to redefine your space at a moment’s notice.
The strength and modularity of the French cleat make it a superior choice for anyone who values efficiency. Whether you are a woodworker needing an assembly station or a remote worker in a small apartment, this system adapts to you. You are no longer limited by where the furniture fits; you are limited only by the length of your wall.
Start with a single desk unit and a few rails. As you get comfortable with the system, you will find yourself building matching shelves, tool racks, and organizers. Your wall will evolve from a static boundary into a dynamic tool that works as hard as you do. Apply these principles, trust your measurements, and enjoy the flexibility of a truly modular workspace.
Sources
1 youtube.com (https://www.youtube.com/watch?v=kOjlPFbMVD8) | 2 ashanging.com (https://www.ashanging.com/en_us/blog/french-cleats) | 3 obsessedwoodworking.com (https://www.obsessedwoodworking.com/blog/how-much-weight-can-a-french-cleat-hold/) | 4 kmtools.com (https://kmtools.com/blogs/news/french-cleat-basics) | 5 instructables.com (https://www.instructables.com/How-To-Build-a-French-Cleat-Organizing-System/) | 6 neatfrenchcleat.com (https://neatfrenchcleat.com/how-much-weight-can-a-french-cleat-really-hold-we-tested-it) | 7 stumpynubs.com (https://www.stumpynubs.com/shop-vlog/french-cleats) | 8 krovelmade.com (https://www.krovelmade.com/pages/how-to-install-a-french-cleat) | 9 youtube.com (https://www.youtube.com/watch?v=EiHIi_Pn7hs) | 10 reddit.com (https://www.reddit.com/r/BeginnerWoodWorking/comments/1akcadn/how_to_hang_french_cleat_on_cinder_block_wall/)