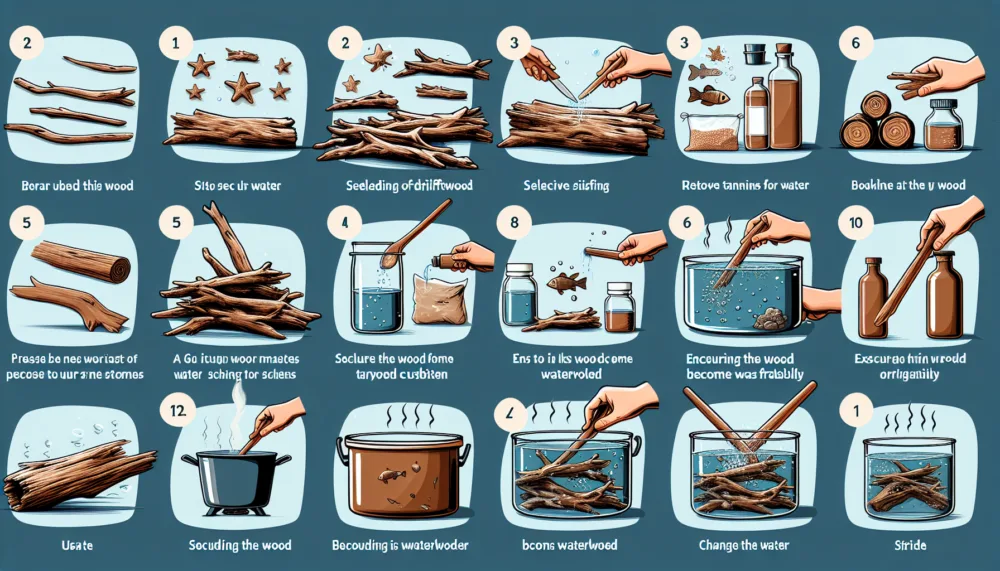
Have you ever wondered how long it takes for driftwood to fully soak? Well, wonder no more! In this article, we will explore the soaking process of driftwood and provide you with the answer you’ve been searching for. So, if you’re ready to learn more about this fascinating natural material and how to prepare it for various purposes, let’s dive right in!
Why Does Driftwood Need to Soak?
Driftwood is a beautiful and popular choice for adding a natural touch to home decor and aquariums. However, before using it, driftwood needs to be soaked to ensure its suitability and longevity. There are several reasons why driftwood needs to soak before being used.
Removing Tannins and Toxins
One of the primary reasons for soaking driftwood is to remove tannins and toxins. Tannins are naturally occurring compounds found in wood that can leach into the water, causing it to turn brown and release an earthy smell. Soaking driftwood helps to draw out these tannins and minimize their effects on the water quality. Additionally, soaking also helps to remove any potential toxins or chemicals that may be present in the wood, ensuring a safe environment for fish and other aquatic life.
Preventing Decay and Rot
Another crucial reason for soaking driftwood is to prevent decay and rot. Driftwood is often sourced from natural environments such as rivers or beaches, where it can be exposed to various factors that accelerate the decay process. Soaking the driftwood helps to hydrate it and slow down the decay process, prolonging its lifespan and ensuring it remains sturdy and durable over time. By soaking the driftwood, you create an optimal environment for the wood to absorb water and prevent it from rotting once placed in an aquarium or used as a decorative piece.
Achieving the Desired Look
Soaking driftwood not only serves practical purposes but also plays a significant role in achieving the desired look for your aquarium or home decor. The soaking process can alter the color and texture of the wood, highlighting its natural beauty and adding character to your setup. Some people prefer a weathered and aged look, while others may want a lighter or bleached appearance. Soaking gives you the opportunity to customize the look of your driftwood, allowing you to create a unique and visually appealing display.
Factors Affecting Soaking Time
The duration of the soaking process can vary depending on several factors. Understanding these factors will help you determine the appropriate soaking time for your driftwood.
Type of Wood
Different types of wood require different soaking times. Softwoods such as pine or cedar typically have a higher sap content and may release more tannins, requiring a longer soaking time. Hardwoods such as oak or maple, on the other hand, generally have a lower sap content and may require a shorter soaking time. Researching the specific type of wood you are using will give you a better idea of how long it needs to soak.
Size and Thickness
The size and thickness of the driftwood will also impact the soaking time. Smaller pieces or thin branches may require less soaking time compared to larger or thicker sections. Thicker pieces of driftwood take longer to absorb water fully and remove tannins effectively. Consider the size and thickness of your driftwood when determining the soaking duration.
Water Temperature
The temperature of the water in which you soak the driftwood can affect the soaking time. Warmer water typically helps to speed up the process, allowing the wood to absorb water more efficiently and release tannins quicker. However, keep in mind that extreme temperature changes may cause the wood to crack or warp. It is best to use room temperature water for soaking driftwood.
Water Quality
The quality of the water used for soaking can also impact the soaking time. If your water source contains chemicals, such as chlorine or heavy metals, it is essential to treat the water or use an alternative water source to ensure the safety of the wood and the aquatic environment. Using purified or dechlorinated water can help expedite the soaking process by eliminating any potential hindrances.

Methods of Soaking Driftwood
There are several methods you can use to soak your driftwood, each with its advantages and considerations. The three primary methods are the water soaking method, boiling method, and bleaching method. Let’s explore each method in detail.
Water Soaking Method
The water soaking method is one of the simplest and most common ways to prepare driftwood. Here’s a step-by-step guide on how to use this method effectively:
Choosing the Right Container
Select a container large enough to accommodate your driftwood piece(s) comfortably. It is crucial to choose a container that can hold enough water to fully submerge the wood and allow for some additional space for expansion. Avoid using metal containers as they can react with the tannins released by the wood.
Determining the Soaking Time
The soaking time can vary depending on factors such as the type of wood, size, and thickness. As a general guideline, start with soaking the driftwood for a minimum of 24 hours. If the water becomes discolored or there is a noticeable odor, continue soaking until the water remains clear and the smell dissipates. This process can take anywhere from a few days to a couple of weeks.
Boiling Method
The boiling method is an alternative way to prepare driftwood, which can help expedite the soaking process. Follow these steps to use the boiling method:
Preparing the Driftwood
Before boiling the driftwood, prepare it by removing any loose bark or debris. Rinse the wood under warm water to remove any dirt or particles that may be stuck on the surface. This step ensures that the boiling water can penetrate the wood effectively.
Boiling the Driftwood
Fill a large pot with enough water to fully submerge the driftwood. Place the pot on the stove and bring the water to a boil. Once the water is boiling, carefully add the driftwood and let it boil for at least 30 minutes. The boiling process helps to extract tannins more rapidly, reducing the overall soaking time. Once the boiling is complete, remove the driftwood using tongs and let it cool before placing it in your desired setup.

Bleaching Method
The bleaching method is an option for those looking to lighten the color of their driftwood or eliminate any potential hitchhikers. Follow these steps when using the bleaching method:
Preparing the Driftwood
Preparation is essential before bleaching driftwood. Start by removing loose bark and debris as well as giving it a thorough rinse under warm water. It is advisable to wear protective gloves and work in a well-ventilated area while handling bleach.
Mixing the Bleach Solution
Prepare a bleach solution by combining one part bleach with ten parts water. This diluted solution will be used to soak the driftwood. Make sure to use unscented bleach without any additives. Place the driftwood in a container and pour the bleach solution over it, ensuring it is fully submerged. Leave the driftwood to soak for approximately 24 hours. Keep in mind that bleach can lighten the color of the wood significantly, so this method is best suited for those seeking a bleached or lighter appearance.
Soaking the Driftwood
After the soaking time has elapsed, remove the driftwood from the bleach solution and rinse it thoroughly under running water. Make sure to rinse it multiple times to remove any residual bleach. Allow the driftwood to air dry completely before using it in your setup.
Signs That Driftwood Is Ready
There are a few signs that indicate your driftwood is ready to be used:
Change in Color and Texture
As the driftwood soaks, you may notice a change in its color and texture. The wood may become darker or lighter, depending on the type of wood and the soaking method you used. The texture may also change, becoming smoother or more aged. These changes are natural and add to the aesthetic appeal of the driftwood.
Lack of Leeching or Foul Odors
A well-soaked driftwood should not leech excess tannins or emit foul odors into the water. If you notice that the water remains clear, without any discoloration, and there are no unpleasant smells, it is a good indication that the driftwood is ready to be used. If you still observe leeching or strong odors, continue soaking the wood until these signs disappear.
Precautions When Soaking Driftwood
While soaking driftwood is generally a straightforward process, it is important to take a few precautions to ensure the best results:
Avoiding Toxic Wood Species
Certain wood species may contain toxins or chemicals that can be harmful to aquatic life or the overall environment. It is crucial to research the wood species you are using and ensure it is safe for your purposes. Avoid using driftwood from unknown or potentially toxic sources to prevent any negative impacts on your aquarium or home environment.
Protecting the Wood’s Surface
When handling driftwood, be cautious not to scratch or damage the wood’s surface. Scratches or cuts can provide entry points for bacteria or other harmful substances, leading to decay or rot. Handle the driftwood with care and avoid using sharp or abrasive tools during the preparation process.
Alternative Methods for Preparing Driftwood
In addition to soaking, there are alternative methods for preparing driftwood:
Air Drying Method
The air drying method involves allowing the driftwood to dry naturally over time. This process can take several weeks or even months, depending on the size, thickness, and environmental conditions. Air drying is suitable for those who prefer a more weathered or aged look for their driftwood.
Pressure Washing Method
For those looking for a quicker way to clean and prepare driftwood, the pressure washing method can be effective. Using a pressure washer with a gentle setting, carefully rinse the driftwood to remove dirt, loose bark, and debris. Make sure to hold the pressure washer at a safe distance to avoid damaging the wood’s surface.
Chemical Treatments
Chemical treatments are an option for those looking to accelerate the cleaning process or prepare the driftwood for specific purposes. Commercially available products, such as driftwood cleaners or treatments, can help remove tannins, sanitize the wood, or add specific colors or finishes. Always follow the manufacturer’s instructions and safety guidelines when using chemical treatments.
Conclusion
Soaking driftwood is an essential step to ensure its suitability and longevity in aquariums and home decor setups. By removing tannins and toxins, preventing decay and rot, and achieving the desired look, soaking enables driftwood to enhance the aesthetics while providing a safe environment for aquatic life. Factors such as the type of wood, size, and thickness, water temperature, and quality play a crucial role in determining the appropriate soaking time. Depending on your preferences, you can choose between the water soaking method, boiling method, or bleaching method for preparing your driftwood. Look for signs of readiness, such as a change in color and texture, as well as the absence of leeching or foul odors. Take precautions to avoid using toxic wood species and protect the wood’s surface during the preparation process. If desired, alternative methods such as air drying, pressure washing, or chemical treatments can be explored. With proper soaking, your driftwood will be ready to create a stunning and natural ambiance in your aquarium or home decor.