How To Attach Driftwood To Wall
Have you ever found yourself marveling at the effortless beauty of driftwood and pondering how you can seamlessly integrate it into your home décor? Adding driftwood to your wall can create a stunning focal point that brings the essence of the outdoors into your living space. In this guide, you will learn everything you need to know about how to attach driftwood to your wall, transforming a simple piece of wood into a captivating art installation.


Understanding Driftwood and Its Appeal
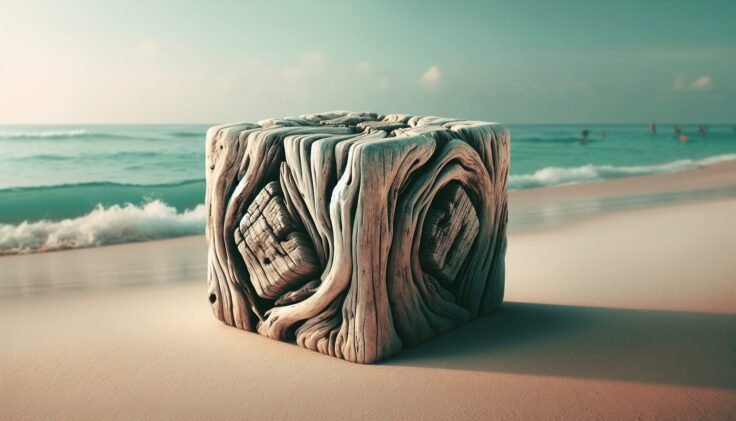
Driftwood is a type of wood that has been washed onto shore by the tides or through the water’s movement. This natural process leaves the wood uniquely textured and weathered, offering a rustic charm that’s hard to replicate. The appeal of driftwood lies in its organic lines and the warm tones it can bring to a home’s interior design. Whether you’re decorating a beach house or adding a bit of nature to an urban apartment, driftwood can fit beautifully into many aesthetics.
Why Choose Driftwood for Home Décor?
Driftwood offers versatility thanks to its natural variation and texture. It can be used in a variety of styles, from bohemian chic to modern minimalist. By incorporating driftwood into your décor, you’re not just adding something beautiful; you’re also bringing in a piece of nature that has its own story.
Finding the Perfect Piece
Before you can attach driftwood to your wall, you need to find a piece that fits your space and aesthetic. Look for driftwood that feels solid and sturdy; it should not crumble easily when handled. Each piece of driftwood is unique, so consider its size, shape, and texture, ensuring it aligns with the vision you have for your space.
Preparing Driftwood for Wall Installation
Proper preparation will not only ensure that the driftwood looks great on your wall but also that it stays secure and maintains its integrity over time.
Cleaning and Drying Driftwood
When you find a piece of driftwood, it may still be damp or contain dirt and debris. Cleaning and drying it is essential before any mounting can occur. Start by brushing off any loose sand or dirt. If needed, use a mild mixture of water and dish soap to scrub away any stubborn markings. Rinse it thoroughly, and allow it to dry completely for at least a few days to a week—drying time can vary depending on the wood’s size and moisture content.
Treating Driftwood
To preserve your driftwood and prevent decay or pests, consider treating it with a wood preservative. Products like clear sealants or varnishes can protect the driftwood’s surface while keeping its natural look intact. Follow the instructions on the preservation product you choose, applying it in a well-ventilated space.

Choosing the Right Wall and Location
Where you decide to place your driftwood can greatly impact the piece’s visibility and the overall aesthetic of your room.
Light and Visibility
Choose a wall where the driftwood will receive adequate light, enhancing its natural patterns and textures. Direct sunlight isn’t necessary, but a spot with ambient lighting can work wonders in highlighting the character of your driftwood.
Wall Material Considerations
Your wall’s material will determine the type of hardware you need to use to secure the driftwood. Common wall materials include drywall, brick, plaster, and wood paneling. Each has its considerations:
- Drywall: Ensure you hit a wall stud or use anchors.
- Brick: Use masonry screws or anchors.
- Plaster: Gentle drilling and anchors help avoid cracking.
- Wood Paneling: Wood screws provide solid support.
Tools and Materials Needed for Installation
Gathering the right tools and materials beforehand will make the installation process smoother and more efficient.
Essential Tools
- Drill: For creating holes in both your wall and the driftwood.
- Level: To ensure your driftwood hangs straight.
- Screwdriver: To drive screws into place.
- Tape Measure: For precise placement.
Mounting Hardware
The type of mounting hardware you select depends on the weight and size of the driftwood as well as the wall material. Consider these common options:
| Wall Type | Hardware Options |
|---|---|
| Drywall | Heavy-duty wall anchors, toggle bolts |
| Brick | Masonry screws, anchor system |
| Plaster | Plastic anchors, hollow wall anchors |
| Wood Paneling | Wood screws |

Attaching Driftwood: Step-by-Step Guide
With your driftwood prepped, wall chosen, and tools ready, it’s time to attach the piece to your wall.
Step 1: Determine the Placement
Hold your driftwood against the wall and move it around to find the perfect spot. Once you’re satisfied with its position, mark the corners with a pencil.
Step 2: Find Wall Studs or Mark for Anchors
Using a stud finder, locate studs within the area you marked. If studs are not available, mark where you will insert wall anchors to support the driftwood’s weight.
Step 3: Prepare the Driftwood
Drill holes into the driftwood where screws will go. It’s generally advised to use at least two points for securing; more may be necessary for larger pieces.
Step 4: Align the Driftwood
Set your level along the driftwood to ensure that it hangs evenly. Adjust your measurements on the wall if needed.
Step 5: Drill into the Wall
Drill into the marks where you’ll install anchors or directly into the studs if available. Place your chosen anchors into these holes as required.
Step 6: Securely Attach Driftwood
Hold the driftwood in place and drill screws through the driftwood into the anchors or wall studs. Ensure all screws are tight, but avoid over-tightening, which could damage the wood or wall.
Step 7: Check Stability and Alignment
Verify that the driftwood is both securely mounted and aligned as desired. Make any necessary adjustments to keep it level.
Enhancing the Driftwood Display
With your driftwood now adorning your wall, you might consider how to enhance its presentation further.
Adding Complementary Décor
Pair your driftwood with other natural elements like stones, plants, or simple artworks to enhance its natural aesthetic. Create a cohesive look by using similar textures and colors.
Lighting Effects
Proper lighting can accentuate the natural features of your driftwood. Consider using track lighting or LED strips that can be adjusted to create the perfect ambiance.
Regular Maintenance
To keep your driftwood looking its best, periodically dust it gently with a dry cloth. Avoid moisture, as it can damage the wood and any finish protecting it.
Troubleshooting Common Issues
Even with the best preparations, you might encounter challenges when attaching driftwood to your wall.
Driftwood Not Staying Secure
If your driftwood doesn’t stay firmly attached, re-evaluate the weight support. You might need additional anchors or a different type of fastener to ensure stability.
Adjusting for Wall Irregularities
Walls that are uneven or not perfectly straight can cause the driftwood to hang crookedly. You may need to adjust the positioning or use additional supports to level the piece.
Conclusion
Attaching driftwood to your wall can be a rewarding experience, as it combines both creativity and craftsmanship. By selecting the right piece, preparing it thoughtfully, and using the correct installation techniques, you can create a beautiful feature that adds warmth and character to any space. Enjoy the process and the personalized touch it brings to your home décor.