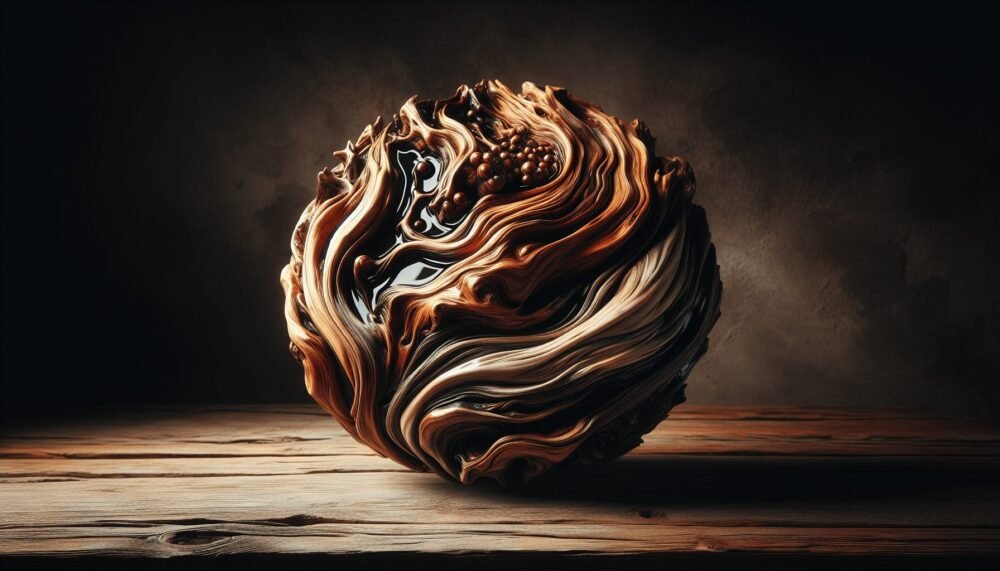
Imagine transforming a piece of ordinary driftwood into a stunning work of art that not only showcases nature’s beauty but also preserves it for years to come. In this article, you will learn the step-by-step process of how to epoxy driftwood, giving it a durable, glossy finish that enhances its natural colors and textures. Whether you’re a budding DIY enthusiast or simply someone who appreciates unique home decor, this guide will walk you through the materials needed, the techniques to achieve a flawless epoxy coating, and the final touches that will make your driftwood creation truly one-of-a-kind. Get ready to unleash your creativity and embark on an exciting journey of transforming ordinary driftwood into extraordinary artwork!
What is Epoxy Driftwood?
Epoxy driftwood refers to the process of sealing and enhancing real driftwood pieces using epoxy resin. Driftwood is a type of wood that has been washed ashore on beaches, rivers, or lakes after floating in the water for an extended period. It often features unique shapes, textures, and colors, making it a popular choice for various crafts and home decor projects. By applying epoxy resin, driftwood can be preserved, strengthened, and transformed into stunning art pieces or functional objects.
Explanation of Epoxy and Driftwood
Epoxy is a versatile and durable substance that consists of a resin and a hardener. When these two components are mixed together, a chemical reaction occurs, resulting in a hard and glossy finish. Epoxy is commonly used in various applications, such as coatings, adhesives, and fillers, due to its excellent adhesion and protective properties. On the other hand, driftwood is wood that has been weathered and shaped by natural forces like water, wind, and sun. It can be found in different sizes and shapes, offering a unique and rustic beauty that can be enhanced with the use of epoxy resin.
Benefits of Using Epoxy on Driftwood
Using epoxy on driftwood offers several benefits. Firstly, it acts as a protective layer, sealing the wood and preventing further deterioration caused by moisture or pests. The epoxy coating also enhances the natural colors and patterns of the driftwood, bringing out its beauty and uniqueness. Additionally, the epoxy resin strengthens the wood, making it more durable and less susceptible to breakage. Lastly, epoxy can be used to fill any cracks, holes, or gaps in the driftwood, allowing for a smoother surface and improving its overall aesthetic appeal.
Choosing the Right Materials
When embarking on an epoxy driftwood project, it is essential to choose the right materials to ensure the best results.
Selection of Driftwood
When selecting driftwood, look for pieces that are dry, sturdy, and free from signs of rot or decay. Consider the size and shape of the driftwood, depending on the intended use or design. Opt for pieces with interesting textures and unique features that will stand out once coated with epoxy.
Types of Epoxy Resin
There are various types of epoxy resin available, each offering different characteristics and application methods. Choose a high-quality epoxy resin specifically designed for woodworking or art projects. Consider factors such as working time, curing time, UV resistance, and level of gloss desired. It is advisable to read product reviews and follow manufacturer recommendations to ensure the best outcome.
Other Materials Needed
In addition to driftwood and epoxy resin, gather other necessary materials and tools for the project. These may include sandpaper or a sanding block for surface preparation, mixing cups and stir sticks for epoxy resin, protective gear such as gloves and a respirator, pigment or dye (optional) for adding color, and a workspace with proper ventilation and lighting.

This image is property of images.pexels.com.
Preparing the Driftwood
Before applying epoxy resin, it is crucial to properly prepare the driftwood to achieve the best adhesion and finish.
Cleaning the Driftwood
Start by cleaning the driftwood to remove any dirt, debris, or potential contaminants. Use a brush or compressed air to dislodge loose particles, and then gently wash the driftwood with mild soap and water. Rinse thoroughly to ensure the surface is clean and ready for further preparation.
Removing Any Loose Parts
Inspect the driftwood for any loose, flaky, or deteriorating parts. Carefully remove these with a chisel, sandpaper, or a rotary tool, ensuring a stable and solid base for the epoxy resin.
Sanding the Surface
To improve adhesion, sand the surface of the driftwood lightly. Start with a coarse-grit sandpaper, and gradually move to finer grits for a smooth finish. Sanding not only prepares the wood for epoxy but also helps to reveal any hidden patterns or colors within the grain.
Mixing the Epoxy Resin
Mixing epoxy resin requires precision and careful attention to detail to achieve the desired consistency and curing properties.
Measuring the Epoxy Resin and Hardener
Follow the manufacturer’s instructions to measure the correct amounts of epoxy resin and hardener. It is crucial to maintain the recommended ratios for optimal curing and performance. Using a digital scale or graduated mixing cups, carefully measure equal parts of resin and hardener.
Mixing Ratios
Once the resin and hardener are accurately measured, mix them thoroughly according to the recommended mixing time and technique. Stir slowly and evenly to prevent introducing air bubbles into the mixture. Continue stirring until the resin and hardener are fully blended and appear uniform in color and consistency.
Adding Pigments or Dyes (Optional)
For those looking to add color to their epoxy driftwood project, now is the time to incorporate pigments or dyes. Follow the manufacturer’s instructions for the proper ratio of pigment to epoxy resin. Mix the pigment thoroughly with the epoxy resin and hardener until the desired color is achieved.

This image is property of images.pexels.com.
Applying the Epoxy to Driftwood
Once the epoxy resin is mixed and ready to apply, it’s time to start transforming the driftwood into a stunning art piece or functional object.
Preparing the Workspace
Before applying epoxy to the driftwood, ensure that the workspace is clean, well-ventilated, and at the appropriate temperature. Place a drop cloth or plastic sheeting to protect the surface from any epoxy drips or spills.
Applying the First Coat of Epoxy
Using a brush or foam applicator, apply a thin and even coat of epoxy resin to the driftwood. Work in small sections, ensuring that all surfaces, edges, and crevices are covered. Avoid applying too much epoxy to prevent pooling or drips. Allow the first coat to partially cure according to the manufacturer’s instructions.
Filling Any Holes or Gaps
After the first coat has partially cured, inspect the driftwood for any holes, cracks, or gaps that may need to be filled. Mix a small amount of epoxy resin and carefully fill these imperfections using a brush or syringe. Ensure that the epoxy is level with the surrounding surface to create a smooth and seamless finish.
Applying Subsequent Coats (If Desired)
Once the filled areas have hardened, additional coats of epoxy resin can be applied to enhance the durability and depth of the finish. Follow the same process as before, applying thin and even coats and allowing each layer to partially cure before applying the next. Multiple coats may be necessary to achieve the desired thickness and glossiness.
Curing and Finishing
After applying the desired number of epoxy coats, it is crucial to allow the epoxy to fully cure before proceeding with any finishing touches.
Allowing the Epoxy to Cure
Follow the manufacturer’s instructions for the recommended curing time. This typically ranges from 24 to 72 hours, depending on the brand and type of epoxy resin used. Ensure that the curing process takes place in a dust-free and temperature-controlled environment to minimize any potential imperfections.
Sanding the Surface for Smoothness
Once the epoxy has fully cured, sand the surface lightly with fine-grit sandpaper or a sanding block. This helps to remove any imperfections or bubbles and creates a smooth and even finish. Be cautious not to apply excessive pressure and inadvertently remove too much epoxy.
Applying a Final Top Coat (Optional)
For added shine and protection, consider applying a final top coat of epoxy resin. This optional step can provide an extra layer of durability and enhance the glossiness of the driftwood. Follow the same process as before, applying a thin and even coat and allowing it to cure fully.
Polishing and Buffing
To achieve a professional and flawless finish, consider polishing and buffing the cured epoxy surface. This step can help to remove any minor scratches or blemishes and create a smooth and glossy appearance. Use a polishing compound and a soft cloth or buffer to gently buff the surface until it achieves the desired shine.

This image is property of images.pexels.com.
Displaying Epoxy Driftwood
Now that your epoxy driftwood piece is complete, it’s time to showcase it in a way that highlights its beauty and uniqueness.
Choosing the Right Display Method
Consider the size and shape of the epoxy driftwood when selecting a display method. Options could include mounting it on a wall, placing it on a shelf, or creating a decorative centerpiece. Choose a display method that complements the overall aesthetic and fits seamlessly into the desired space.
Creating a Stand or Base
If the epoxy driftwood piece requires additional support or stability, consider creating a stand or base. This can be made from various materials such as wood, metal, or acrylic, depending on the desired aesthetic and functionality. Ensure that the stand or base securely holds the driftwood while enhancing its visual appeal.
Incorporating Epoxy Driftwood into Home Decor
There are numerous ways to incorporate epoxy driftwood into home decor. It can be used as a statement piece on a mantel, a centerpiece on a dining table, or a focal point in a room. Additionally, epoxy driftwood can be incorporated into furniture, such as coffee tables or shelves, to add a touch of natural beauty to the overall design aesthetic.
Maintenance and Care
To ensure the longevity and beauty of your epoxy driftwood creation, proper maintenance and care are essential.
Cleaning and Dusting
Regularly clean and dust your epoxy driftwood using a soft cloth or duster. This helps to remove any accumulated dirt or debris and maintains its luster. Avoid using harsh chemicals or abrasive cleaning agents that may damage the epoxy surface.
Avoiding Direct Sunlight and Extreme Temperatures
To prevent any potential damage or discoloration, avoid placing epoxy driftwood in direct sunlight or exposing it to extreme temperatures. Prolonged exposure to sunlight can cause the epoxy to yellow or become brittle over time. Additionally, extreme temperature fluctuations can lead to cracking or warping of the wood.

Inspiration and Ideas
The possibilities and creative potential with epoxy driftwood are virtually limitless. Explore different styles and designs to find inspiration for your next project.
Different Styles and Designs
Epoxy driftwood can be incorporated into various styles and designs, ranging from rustic and natural to modern and avant-garde. Experiment with different epoxy colors, patterns, and techniques to create unique and personalized pieces. Consider incorporating other materials, such as metal, glass, or gemstones, to further elevate the design.
Using Epoxy Driftwood in Art and Crafts
Epoxy driftwood can be utilized in art and crafts projects, adding a distinct touch to paintings, sculptures, or mixed media creations. It can be used as a focal point or as a complementary element, adding texture and visual interest to the overall composition. Let your creativity flow and explore the endless possibilities of incorporating epoxy driftwood into your artistic endeavors.
Safety Precautions
Working with epoxy resin requires taking proper safety precautions to protect yourself and ensure a safe working environment.
Wearing Protective Gear
Always wear appropriate protective gear, including gloves, safety goggles, and a respirator, when working with epoxy resin. This helps to prevent skin irritations, eye injuries, and inhalation of harmful fumes. Follow the manufacturer’s recommendations for the specific type of epoxy resin being used.
Working in a Well-Ventilated Area
Ensure that your workspace is well-ventilated to minimize exposure to potentially harmful fumes. Work near an open window, use fans, or consider using a ventilation system specifically designed for epoxy resin applications. Adequate ventilation helps to maintain good air quality and reduces the risk of inhaling noxious vapors.
Proper Disposal of Epoxy Waste
Dispose of any excess or unused epoxy resin and related materials properly. Follow local waste disposal regulations to avoid environmental contamination. Use containers specifically designed for epoxy waste and consult local authorities for guidance on proper disposal procedures.
In conclusion, epoxy driftwood offers a fascinating and creative way to enhance the natural beauty of driftwood pieces while protecting and preserving them for years to come. By following the steps outlined above and considering safety precautions and design inspiration, you can create stunning and unique epoxy driftwood art pieces that will be a focal point in your home decor or a valuable addition to your artistic endeavors. Let your imagination run wild with endless possibilities as you embark on your epoxy driftwood journey.
