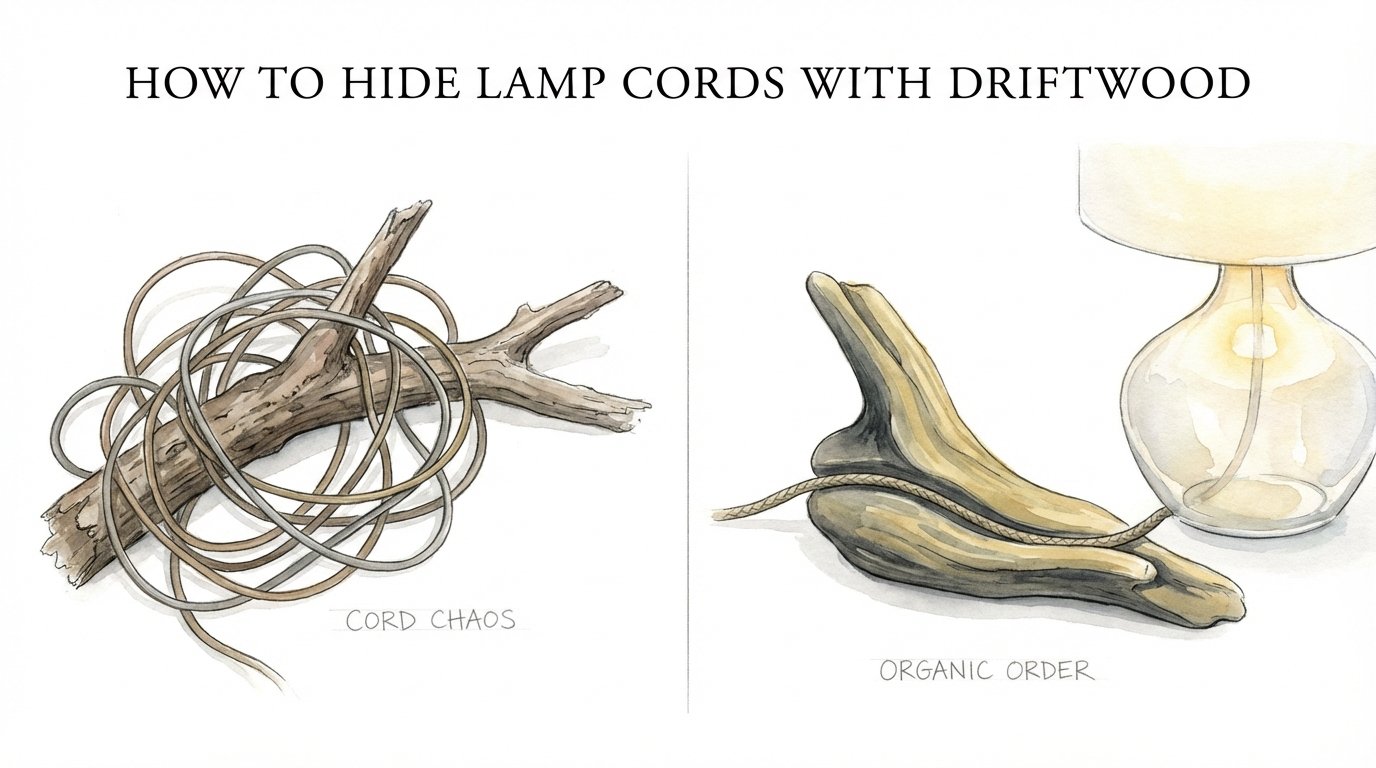
How To Hide Lamp Cords With Driftwood
A room full of wires is a stressful tech graveyard, but a driftwood conduit turns your infrastructure into a masterclass in visual peace. Technology is messy, but your sanctuary shouldn’t be. Discover how the natural cracks and grooves in sea-worn timber provide the perfect, hidden raceways for your modern lighting needs.
Every home tells a story through its lighting, but that story often gets interrupted by a tangle of plastic-coated copper. When you see a beautiful floor lamp, your eyes shouldn’t immediately drop to the floor to trace a black wire snaking toward the wall. True craftsmanship is about making the complex look effortless, and there is no material better suited for this than wood shaped by the relentless surge of the tide.
Hiding lamp cords with driftwood is more than just a decor trend; it is a return to an honest, elemental way of building. You are taking a piece of nature that has survived the elements and giving it a secondary purpose as a functional housing for your electronics. This guide will walk you through the process of turning found timber into a clean, organized lighting solution that honors the wood as much as the light.
How To Hide Lamp Cords With Driftwood
Hiding lamp cords with driftwood involves using the natural hollows, fissures, or specifically carved channels within a piece of weathered timber to act as a hidden conduit for electrical wiring. In the world of interior design, this is often called “organic cable management.” It is the practice of replacing industrial plastic raceways with a material that has texture, history, and a soul.
This technique exists because modern technology often clashes with the serene, natural environments we try to build in our homes. Driftwood is uniquely suited for this task because the sea does half the work for you. Years of exposure to saltwater and friction often create internal voids or deep exterior grooves where a wire can be tucked away with minimal effort. It is used in everything from desktop accent lights to massive 7-foot floor lamps that stand like sentinels in a living room.
Imagine a piece of cedar that has been tumbled in the Pacific for a decade. It arrives on the beach bleached white and stripped of its bark. To the untrained eye, it is just debris. To a maker, those deep, sun-baked cracks are the perfect highway for a fabric-wrapped cord. By integrating the wire into the wood’s own anatomy, you create a piece of “Organic Order” that feels like it grew directly out of the floor, powered by an invisible force.
The Process: From Shoreline to Shore Power
Turning a raw piece of driftwood into a functional lamp conduit requires patience and the right set of tools. You cannot simply pull a piece of wood out of the sand and plug it in. There is a specific order of operations to ensure the wood is safe for your home and the wiring is safe for the wood.
Step 1: Cleaning and Curing
Freshly found driftwood is often home to salt, sand, and microorganisms. You must rinse the piece thoroughly under high pressure—a garden hose with a jet nozzle or a light power wash works best. Once the surface grime is gone, soak the wood in a solution of one part bleach to ten parts water for at least five days. This kills any lingering wood-boring pests or fungus that might decide your living room is a great place to multiply.
After the soak, the wood needs to dry. This is the hardest part for most people because it takes time. Depending on the thickness of the piece, it may need to air dry in a low-humidity environment for two to three weeks. If the wood is still damp when you install the electronics, you risk a short circuit or rot from the inside out.
Step 2: Pathfinding and Routing
Examine the wood to find the most natural path for the cord. If the piece has a deep, winding crack, you can use a rotary tool with a small carving bit to deepen it just enough for the wire to sit flush. If the wood is solid and you want the wire completely internal, you will need to drill a hole through the center. For long pieces, use an electrician’s auger bit, which can reach up to 18 or 24 inches.
If you are working with a curved piece that makes drilling a straight hole impossible, use the “cheat” method: carefully cut the wood lengthwise with a thin-kerf saw, rout a channel down the middle, and glue the two halves back together. If you align the grain correctly, the seam will be virtually invisible once the wood is sanded.
Step 3: Pulling the Wire
Use a lamp kit that features a UL-listed cord. If the channel is tight, a bit of “fish tape” or even a weighted string can help you pull the wire through. Always ensure that the wire enters and exits through a smooth opening. If the edges are sharp, install a small rubber or plastic grommet to prevent the wood from chafing through the wire’s insulation over time.
Benefits of Driftwood Conduits
Choosing driftwood over traditional lighting materials offers several practical and aesthetic advantages that go beyond simple “looks.” It is a choice that favors longevity and character over mass-produced convenience.
- Visual Peace: By eliminating visible plastic cords, you remove the “tech graveyard” feeling from your room. The focus remains on the light and the texture of the wood.
- One-of-a-Kind Design: No two pieces of driftwood are identical. Your lamp and its internal conduit system will be a singular piece of art that cannot be replicated.
- Structural Durability: Sea-weathered wood like oak or cedar is incredibly dense and stable once dried. It provides a sturdy housing that protects the internal wiring from being pinched or stepped on.
- Sustainable Materials: Using driftwood is the ultimate form of upcycling. You are taking a waste product of the ocean and turning it into a high-end functional object.
Challenges and Common Mistakes
Building an organic conduit isn’t without its pitfalls. Most beginners stumble when they underestimate the physics of the wood or the requirements of electrical safety. Wood is a natural insulator, but it can also be a fire hazard if not treated with respect.
The most frequent error is failing to dry the wood completely. Trapped moisture inside a sealed channel can lead to “arcing” if the wire insulation is compromised, or it can cause the wood to warp and crack as it eventually dries in the heat of your home. Another common mistake is using a drill bit that is too small. You need enough “wiggle room” so the wire isn’t under constant tension, which can lead to internal heat buildup.
Many makers also forget to consider the “exit point.” If the cord comes out of the side of the wood at the bottom, the lamp will be wobbly. You must carve a small recessed “escape hatch” on the underside of the base so the cord can exit smoothly while the lamp remains perfectly level on the floor or table.
Limitations: When Driftwood May Not Be Ideal
While driftwood is versatile, it isn’t the solution for every lighting problem. There are realistic constraints that may make a different material a better choice for certain projects. You must be honest about the limitations of found timber before you invest hours of labor into a piece.
Size is the most obvious constraint. If you are trying to hide a heavy-gauge extension cord or a multi-wire harness for a complex smart-home setup, most driftwood pieces won’t have the structural integrity to support a channel that large. Removing too much material from the center of the wood can make it brittle and prone to snapping.
Environmental conditions also play a role. Driftwood in a high-humidity bathroom may swell and contract, which can stress the wire connections inside. In these cases, a traditional metal or plastic conduit hidden inside a waterproof housing is safer and more reliable. Finally, consider the weight; a large driftwood floor lamp is significantly heavier than a modern aluminum equivalent, making it harder to move and potentially dangerous if you have small children or pets who might knock it over.
Organic Order vs. Cord Chaos
To understand why a driftwood conduit is worth the effort, it helps to compare it to the standard alternatives. Most people settle for plastic raceways or simply let the wires hang. The following table highlights the differences between these approaches.
| Factor | Plastic Cord Covers | Driftwood Conduit |
|---|---|---|
| Aesthetic | Industrial, rigid, “office-like” | Warm, organic, sculptural |
| Customization | Limited to paint and standard lengths | Infinite shapes and textures |
| Complexity | Low (peel and stick) | High (requires tools and prep) |
| Durability | Can peel or crack over time | Improves with age and oiling |
| Material Cost | $10 – $30 | Free (if found) to $50 (if purchased) |
Practical Tips and Best Practices
If you are ready to start your first project, keep these best practices in mind. They represent the “pioneer-grit” approach to making—working with the material rather than fighting against it.
- Use LED Bulbs: Driftwood is dry and flammable. Always use low-heat LED bulbs to ensure the wood never gets hot to the touch. This significantly reduces the risk of fire and prevents the wood from drying out further and cracking.
- Fabric-Wrapped Cords: Instead of standard plastic wires, use a high-quality fabric-wrapped cord. If a small part of the cord is visible in a natural crevice, the fabric texture will blend in perfectly with the wood grain.
- Seal the Wood: Once the lamp is wired, apply a coat of tung oil or beeswax. This preserves the “driftwood look” while adding a protective layer that keeps dust out of the crevices where your wires are hidden.
- Strain Relief: Always tie an “underwriter’s knot” inside the lamp socket or use a cord grip. This ensures that if someone trips on the cord, the tension isn’t transferred to the electrical terminals.
Advanced Considerations for Serious Makers
For those who have mastered the basics, there are ways to take a driftwood lamp to the next level. You can integrate modern technology into these ancient pieces of wood without ruining the aesthetic. One advanced technique is the installation of a touch-sensitive dimmer. By mounting a small metal plate or even a specific screw into the wood that connects to a touch-module inside, you can turn the lamp on and off just by touching the timber itself.
Another consideration is weighting. A tall, thin piece of driftwood makes for a beautiful lamp but is often top-heavy once you add the socket, harp, and shade. Serious practitioners will often “bottom-load” the piece. This involves hollowing out a cavity in the base of the wood and filling it with lead shot or a steel plate, then sealing it with a felt bottom. This lowers the center of gravity and ensures your masterpiece stays upright.
Example Scenario: The Coastal Pillar Floor Lamp
Let’s look at a practical application. A maker finds a 5-foot piece of driftwood on a beach in Maine. The wood is thick, roughly 6 inches in diameter, with a slight “S” curve. To turn this into a lamp, the maker decides that a single straight hole is impossible. Instead, they identify a deep natural fissure that runs nearly the entire length of the back.
Using a Dremel with a carving bit, the maker deepens the fissure to exactly 3/8 of an inch. They then feed a 12-foot, jute-wrapped cord through the channel. To keep the cord in place without using ugly staples, they use small dabs of clear silicone every 6 inches. Once the silicone is dry, they pack the remaining space in the fissure with a mixture of sawdust from the same wood and wood glue. After a quick sanding and a coat of oil, the wire is completely encased and invisible, appearing as just another natural shadow in the wood’s grain.
Final Thoughts
Mastering the art of the driftwood conduit is about more than just hiding a wire; it is about respecting the tools and the timber. It requires a shift in mindset from “how do I fix this mess” to “how do I integrate this infrastructure into the natural world.” When you take the time to clean, carve, and wire a piece of sea-worn wood, you are building something that bridges the gap between the modern world and the elemental one.
The result is a piece of furniture that brings a sense of calm to any room. You no longer see the “tech graveyard” of tangled wires; instead, you see the “Organic Order” of a well-crafted home. This process takes effort and grit, but the visual peace it provides is a reward that lasts as long as the wood itself. Do not be afraid to fail on your first piece—the ocean will always provide more material, and every mistake is just a lesson in how to build a better sanctuary.
If you find yourself inspired by this blend of nature and utility, consider looking into other ways to use organic materials in your home infrastructure. From stone-weighted bases to hand-forged copper accents, the possibilities for creating a grounded, peaceful living space are as endless as the tides that brought the wood to your feet in the first place.
Sources
1 scavengerchic.com (https://scavengerchic.com/2018/07/25/maine-driftwood-lamp-diy/) | 2 youtube.com (https://www.youtube.com/watch?v=c5SvkAeYNhA) | 3 hawk-hill.com (https://www.hawk-hill.com/how-to-clean-driftwood/) | 4 wikihow.com (https://www.wikihow.com/Preserve-Driftwood) | 5 youtube.com (https://www.youtube.com/watch?v=hYChsveTXgs) | 6 furnituremargate.co.za (https://furnituremargate.co.za/how-to-clean-driftwood/) | 7 hirosarts.com (https://hirosarts.com/blog/ideas-for-how-to-hide-a-lamp-cord/) | 8 youtube.com (https://www.youtube.com/watch?v=eJ87ZiE984Q) | 9 stackexchange.com (https://diy.stackexchange.com/questions/82969/how-do-i-drill-a-long-hole-lengthwise-all-the-way-through-a-post-to-make-a-stand) | 10 woodbarter.com (https://woodbarter.com/threads/cutting-groove-in-driftwood.49039/) | 11 dksstores.com (https://vertexaisearch.cloud.google.com/grounding-api-redirect/AUZIYQETt7nGkVgIpGCnJzXeVBc8tHEoAIvbewjXRwghcy1Bmi0IepSFLJ6VBakXGvL1-aH4KZx-SuJwKCWLXQkxTs2c_LqqcxBBL9xj0JM8eGZuUkEriBkiSQOXY7jJ7WU=) | 12 aprettyfix.com (https://aprettyfix.com/disinfect-driftwood/) | 13 instructables.com (https://www.instructables.com/1-How-to-Make-a-Driftwood-Light-Fitting-Using-Frui/) | 14 diydriftwood.com (https://diydriftwood.com/how-to-create-a-driftwood-lamp/)