How to Make Driftwood Art – DIY Hanging Driftwood Art Project With Marbles and Paint.


Instagram: https://www.instagram.com/chongolio
Make a hanging painted driftwood art project decorated with marbles, shells, beads, wire and paint. http://www.chongolio.com/hanging-driftwood-art-vlog-18/
For more pointers, techniques and methods to assist launch your imagination and inner artist come check out my site at
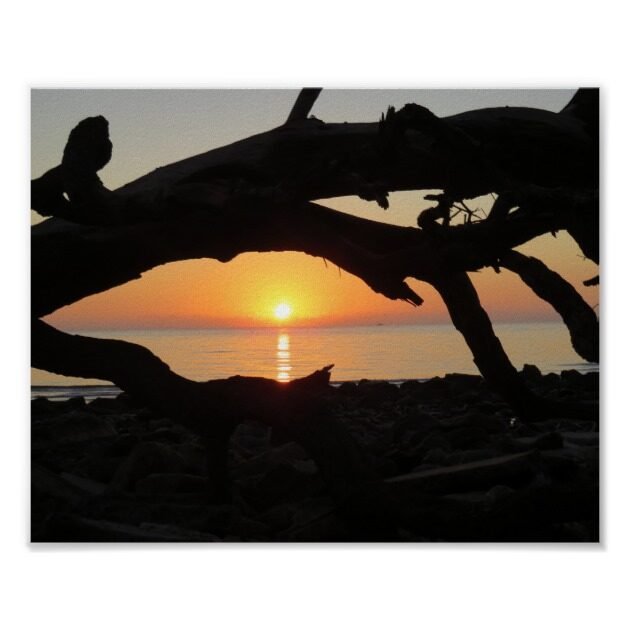
Hey Chongolio here combing the beach
for driftwood to use in an innovative task I want to share
with you. So begin your shoes and come dig VLOG 18.
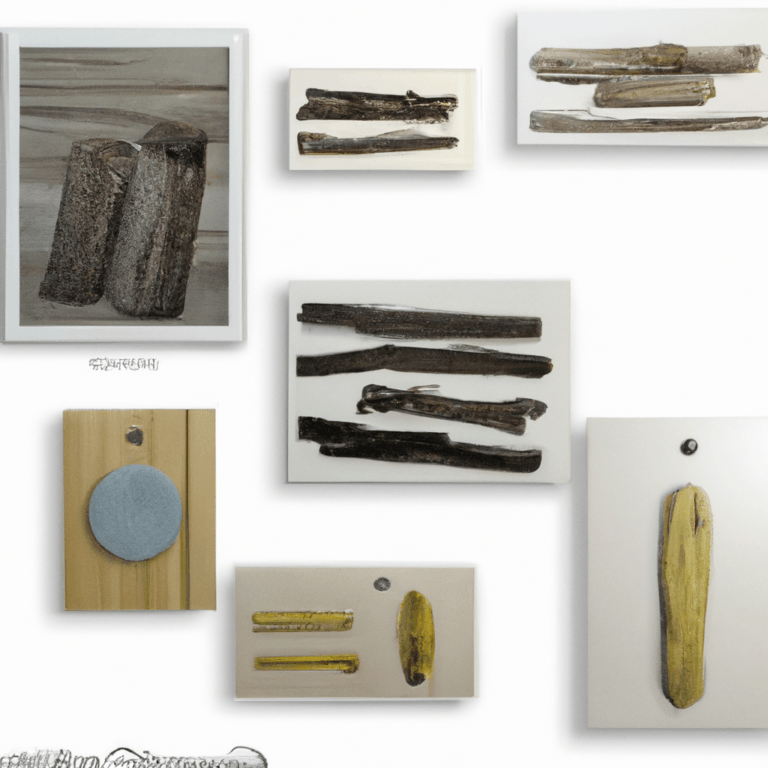
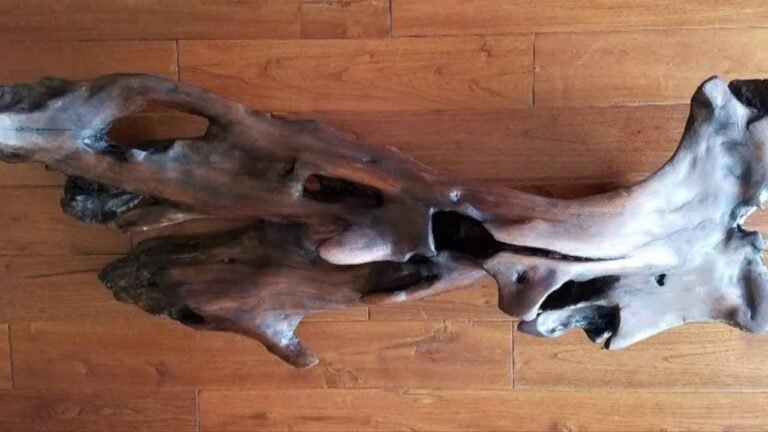
Prior to we begin here is a fast peek at the ended up
driftwood art that I am going to be working on in this video episode.
Here is the driftwood that’ll be utilizing for this found art job.
I left it outside for a couple of days to dry in the sun and eliminate any bugs
that may have been calling at home. Now that the pieces are dry, I’m going to use a stiff bristle brush to additional clean the nooks and crannies and remove any dirt and sand.
A spray bottle filled with a solution of bleach and water is likewise excellent to utilize to help exterminate any funky germs and exactly what not.
If you have any rubber gloves, you may wan na put them on for this step. Now that are wood is great and tidy. let’s drill some holes, stick some marbles in and thread wire through.
For the marble holes, I’m utilizing a half inch bit and utilizing a circular movement to help bore out the holes.
Evaluate the holes for size as you continue to bore them out till the
marbles fit comfortably.
Driftwood can be vulnerable to chipping, but a piece of medium grit sandpaper can help ravel the holes.
On the opposite side of the wood and at a 90 degree angle to the marble holes, I will drill some more hole using a 3/16 inch drill bit
which will be used to run wire through.
To attach the pieces to the garage base, you are likewise going to require to put some holes into the piece of wood that you want to use for your base.
Or you might just avoid using a base and hang your driftwood as specific tasks. Now let’s get to the designing and embellishing.
With some fundamental white acrylic paint, I’m gon na paint the pointers of the wood where I drilled the marble holes.
You can paint the whole stick if you like however I want to keep some of the wood exposed for natural contrast to the color of the paint. it’s all as much as you so simply proceed and do exactly what your creativity tells you.
Usage different paint colors to add stripes, dots and patterns. Do not fret about making a perfect line, part of the appeal lies in the flaws.
Among the important things that I am most drawn in to about this style of painting and imagination is the primitive and tribal look that these pieces imbue.
After the painting is done and it readies and dry, I will put on a couple of coats of Delta Ceramcoat polyurethane to help safeguard and keep the paint from flaking and chipping.
When the polyurethane varnish was dry, I used these metal markers over the top to add an eye zinging touch to these sticks.
They work much better over the varnish, that way the acrylic paint won’t gum up the suggestions and they don’t lose their metal finish.
Some Alene’s tacky glue along the inside the bigger holes assist
protect the marble snugly in place.
A damp Q-tip was likewise practical to clean up off the marbles of any excess glue.
To add some shell embellishments, I broke out the ol’ glue weapon, filled the shells up with hot glue and stuck them to the ends of the wall mount’s base. These included shells make this stick appearance like it’s got a face!
Another technique I used was decoupaging with Mod Podge. I drew some eyeballs on some scrap paper and glued them above the marble holes to create even more stick faces.
I spread a dab of mod podge over the top to assist seal and safeguard the decoupaged paper.
To attach the sticks to the base, I am going to utilize some colored wire scavenged from an unused Ethernet cable television.
I am likewise going to use a colored wood bead to wrap the wire around to keep from slipping through the holes in the base.
With one end of the wire twisted around the bead I’m going to thread the other end through the base and through the stick, back up to the base and wrap the other end of the wire around the bead once again.
I utilize wire cutters to snip the wire and cover the loose end around itself listed below the bead.
A little hot glue around the holes in the base, will assist keep the sticks dealing with the ideal direction.
The last step is to run one more piece of wire through the center hole of the base and make a loop so that this developments is all set for hanging.
And there you have it a cool, amusing faced hanging driftwood art in a tree.
I hope this video assisted motivate you to utilize your imagination and make your own discovered art development with the important things you discover.
If you do, make certain to let me know about it on Facebook or Twitter. I’ll catch you next time. Aloha!