How To Make Driftwood Xmas Tree
Have you ever thought about creating your own unique holiday decorations this year? One fun and creative project is making a driftwood Christmas tree. This charming, rustic decoration not only brings a bit of the beach to your winter home but also allows you to get crafty and spend less on store-bought items.


Understanding Driftwood Xmas Trees
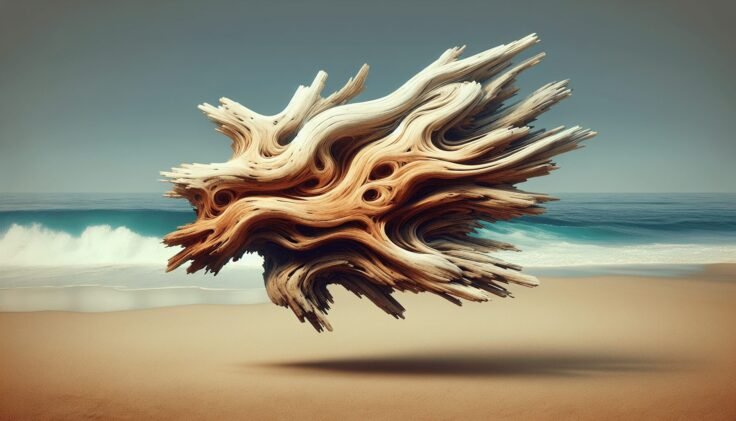
Driftwood Christmas trees are created using pieces of weathered wood that have been shaped and smoothed by water. These trees can range from small, tabletop versions to large, statement-making pieces. They’re perfect for anyone looking to add a natural, minimalist touch to their holiday décor.
Why Choose Driftwood for Your Christmas Tree?
Driftwood offers a multitude of benefits for crafting. It is sustainable, eco-friendly, and full of character. Every piece of driftwood is unique, adding a distinctive touch to your decorations. Plus, the neutral color palette of the wood makes it easy to match with your existing holiday decorations.
Gathering Your Materials
Before starting your project, it’s essential to gather all the necessary materials. Here’s a list of what you’ll need:
| Item | Description |
|---|---|
| Driftwood | Various sizes for branches and the trunk |
| Wood or metal rod | To serve as the tree’s backbone |
| Base | A sturdy piece of wood or driftwood to support the tree |
| Drill and drill bits | To make holes for the rod and branches |
| Saw | For cutting the driftwood to size |
| Sandpaper | To smooth any rough edges |
| Wood glue or screws | To attach the driftwood branches to the rod |
| Decorations | Lights, ornaments, ribbons, or any personal touches you’d like |
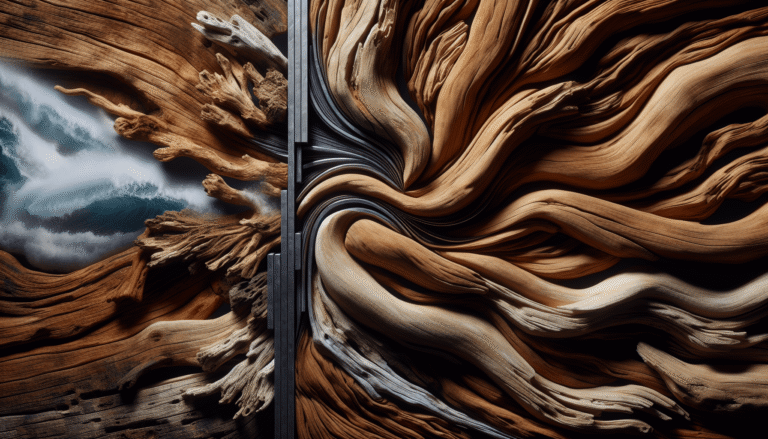
Choosing the Right Driftwood
Selecting the right pieces of driftwood is critical. You’ll want a variety of lengths and diameters to create a balanced look. It’s often best to have a vision of your desired tree size before you search for driftwood, so you can collect the proper pieces accordingly.
Preparing Your Driftwood
Once you’ve gathered your driftwood, it’s essential to clean and prepare it. Driftwood found on beaches can have sand, salt, and other debris. Here’s how to get it ready:
Cleaning the Driftwood
- Rinse Thoroughly: Use water to rinse off sand and surface debris.
- Scrub: With a stiff brush, scrub the wood to remove remaining particles.
- Soak: Soak the driftwood in a mixture of water and bleach (1 part bleach to 9 parts water) for 24 hours to remove any remaining dirt and kill mold or bacteria.
- Dry: Let the pieces dry completely, which can take several days.
Sanding
Sanding helps smooth rough areas and prepares the wood for assembly. Use different grits of sandpaper, starting with a coarser grit and moving to a finer one to get a smooth finish.
Assembling the Tree
The assembly of your driftwood Christmas tree requires a bit of planning and patience. However, the result is well worth the effort!
Creating the Base and Rod
- Base: Choose a sturdy piece of driftwood or other wood for the base. It should be heavy enough to support the entire tree.
- Drill: Drill a hole in the center of the base to accommodate the rod.
- Insert Rod: Securely fix the rod into the hole with wood glue or screws.
Drilling Holes for the Branches
- Measure and Mark: Measure and mark where each driftwood branch will go on the rod. Start larger at the bottom and gradually decrease the size toward the top.
- Drill Holes: Use a drill to create holes in the rod at each marked spot.
Attaching the Branches
- Size and Cut: Cut your driftwood to the desired lengths.
- Drill Holes: Drill holes in the driftwood pieces to slide onto the rod.
- Slide on Branches: Slide each driftwood piece onto the rod, angling them as you go to create a balanced tree shape.

Decorating Your Driftwood Xmas Tree
The beauty of a driftwood Christmas tree is in its natural simplicity, but adding decorations can make it even more festive.
Lights and Ornaments
- Lights: String LED fairy lights around the tree for a warm glow.
- Ornaments: Use lightweight ornaments to avoid tipping over the branches. Seashells, small stars, or other beach-themed decorations work well.
- Ribbons: Add ribbons for a pop of color and texture.
Topping the Tree
Choose a tree topper that complements the rustic look. Consider using a starfish, small driftwood star, or even a simple bow made from natural fibers.
Tips for Customization
Your driftwood Christmas tree can be customized in countless ways to fit your personal style and home décor.
Painted Driftwood
Some prefer the natural look of driftwood, while others may enjoy adding a splash of color. Paint your driftwood branches with white for a snowy effect or choose various colors for a more vibrant tree.
Adding Textures
Incorporate different textures by tying on pieces of fabric, lace, or burlap. These added textures can give your tree a unique and cozy feel.
Maintaining Your Driftwood Xmas Tree
Taking care of your driftwood Christmas tree ensures it lasts for many seasons. Here’s how:
Storing
When the holiday season is over, carefully disassemble your tree. Wrap the driftwood pieces individually in paper or bubble wrap to prevent them from chipping or breaking. Store in a dry place to avoid moisture damage.
Handling
Handle your tree with care, especially when moving it. Driftwood can be brittle and might snap if it is handled too roughly.
Conclusion
Crafting a driftwood Christmas tree is a rewarding project that offers endless possibilities for customization. It combines the beauty of nature with festive joy, making it a standout piece in your holiday décor. Whether you decide to leave it natural or add colorful ornaments, this unique tree is sure to become a cherished part of your seasonal celebrations. So gather your materials, tap into your creativity, and enjoy the process of bringing a bit of the beach into your winter wonderland. Happy crafting!