Live Edge Wood Folding Desk Tutorial
Bringing the forest into your home office changes more than just the scenery—it changes your focus. Linear furniture is a human invention. Nature doesn’t work in 90-degree angles. This live-edge folding desk brings organic flow back into the rigid urban workspace.
Working in a concrete jungle often leaves us starved for tactile connection. Most modern desks are flat, laminated, and soul-crushing. They serve a purpose, but they don’t inspire. A live edge slab serves as a reminder of the world outside your window.
Every knot and curve tells a story. This isn’t just a surface for your laptop. It is a piece of art that you happen to work on. Best of all, it disappears when you are done. Small apartments and shared living spaces need this versatility without sacrificing high-end aesthetics.
Industrial cold meets organic warmth in this project. You get the heavy-duty reliability of steel folding brackets paired with the raw, unrefined beauty of a tree’s natural silhouette. It is the ultimate workspace upgrade for the modern professional.
Live Edge Wood Folding Desk Tutorial
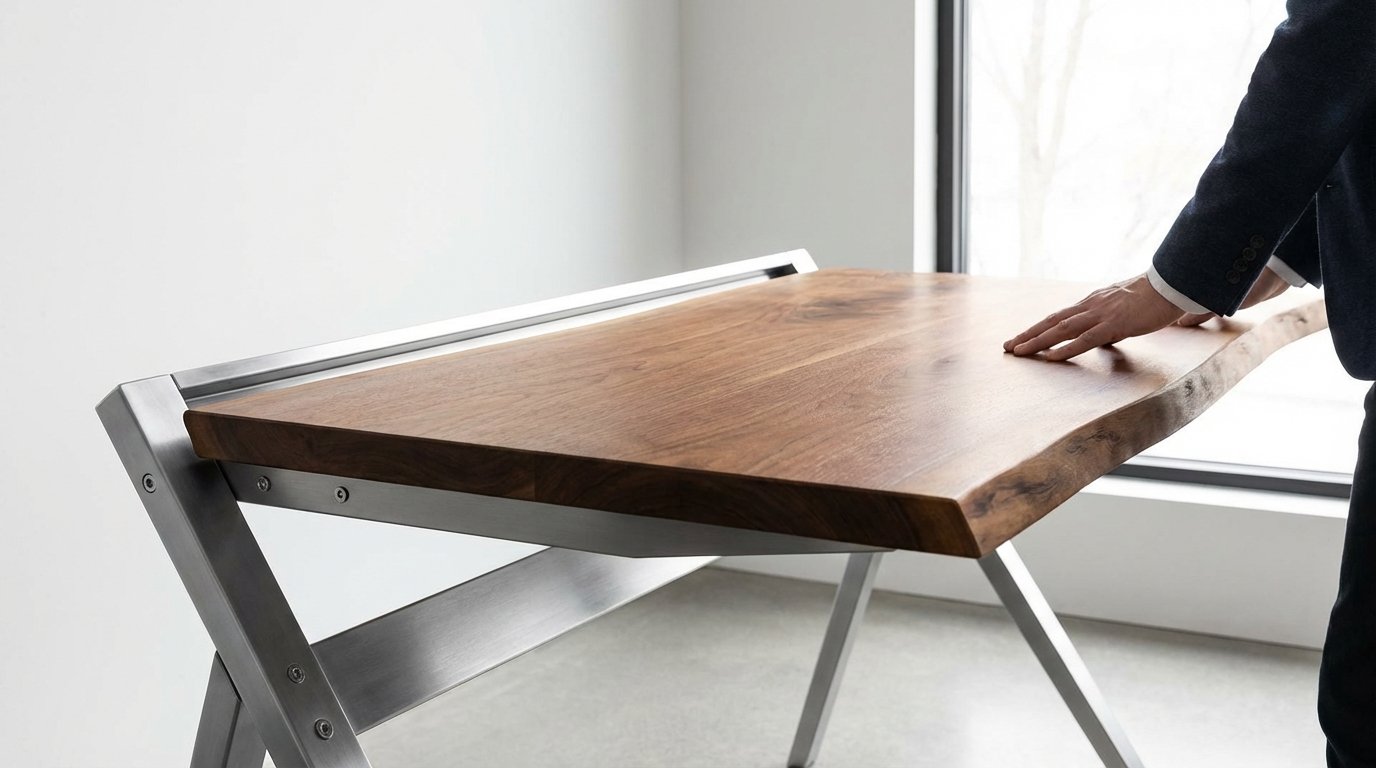
A live edge folding desk is a wall-mounted workstation crafted from a solid wood slab that retains the natural edge of the tree. Unlike traditional lumber that is milled into perfect rectangles, live edge pieces keep the “living” shape of the trunk. This includes the bends, burls, and sometimes even traces of the bark.
The “folding” aspect comes from specialized heavy-duty hardware. These brackets allow the slab to lock securely at a 90-degree angle for work and drop flat against the wall when the day is over. It is the perfect marriage of biophilic design and space-saving engineering.
You see these used in tiny homes, urban lofts, and multi-purpose guest rooms. In a world where the home office is often just a corner of the bedroom, having a desk that “goes away” is a mental health game-changer. It helps you draw a hard line between work time and rest time.
Think of it as a functional sculpture. When folded down, the slab looks like a piece of wall art. When folded up, it provides a sturdy, expansive surface that feels significantly more premium than any particle-board alternative. This project is about bringing quality back into the “temporary” workspace.
The Master Plan: Sourcing and Prepping Your Slab
Selecting the right wood is the most critical step. Not every piece of wood is destined to be a desk. You need a slab that is stable, dry, and thick enough to handle the leverage of a wall mount. Aim for a thickness between 1.5 inches and 2 inches for the best balance of strength and weight.
Choosing the Right Species
Black Walnut is the king of the home office. It offers deep chocolate tones and incredible stability. If you want something brighter, look at White Oak or Hard Maple. These species are dense and resist the “denting” that happens when you drop a heavy stapler or a metal coffee mug.
Avoid softwoods like Pine or Cedar for a primary desk surface. They look beautiful but they are too soft. You will find yourself carving unintentional “notes” into the wood every time you write on a single sheet of paper. Stick to hardwoods to ensure the desk lasts a lifetime.
The Moisture Mission
Kiln-dried wood is non-negotiable. Freshly cut “green” wood contains a massive amount of water. As that water evaporates in your climate-controlled home, the wood will twist, cup, and crack. You want a moisture content between 7% and 9% before you even think about applying a finish.
Buy a moisture meter if you are sourcing from a local sawmill. If the wood is still sitting at 15% or higher, you need to let it acclimate. Stack it in your workspace with “stickers” (small wood spacers) between the slab and the floor to allow airflow. Patience here prevents a warped desk later.
Step-by-Step Construction Guide
Building this desk requires a mix of brute force and delicate finesse. You will move from heavy debarking to surgical epoxy fills. Follow this sequence to ensure a professional result that looks like it came from a high-end boutique.
Step 1: Debarking and Cleaning the Edge
Bark is beautiful, but it is rarely permanent. Over time, the bark will dry out and fall off, leaving a mess on your carpet. Use a drawknife or a sturdy chisel to peel the bark away. Focus on the cambium layer—the soft material between the bark and the hard wood.
Once the big chunks are gone, use a nylon wire brush on a drill to clean the nooks and crannies. You want to preserve the natural “valleys” of the edge without flattening them. This is what gives the desk its character. Sand the edge gently with 120-grit paper to remove any splinters.
Step 2: Flattening and Sanding
Slabs are rarely perfectly flat. If yours has a significant “cup” or “bow,” you may need to use a router sled to plane it down. For most high-quality slabs, a heavy-duty belt sander starting at 80-grit will do the trick. Move slowly and check your progress with a straight edge frequently.
Progress through the grits: 80, 120, 150, 180, and finally 220. Do not skip a step. Each grit removes the scratches from the previous one. Between each grit, wipe the slab down with a damp cloth to “raise the grain.” This ensures the wood stays smooth even after you apply your liquid finish.
Step 3: Stabilizing Cracks with Epoxy
Natural slabs often have “checks” or small cracks at the ends. Instead of cutting them off, fill them. Use a slow-cure deep-pour epoxy. You can leave it clear for a “ghost” look or tint it black to make it look like a natural feature of the wood.
Seal the bottom of the cracks with high-quality Tuck Tape to prevent the resin from leaking through. Pour the epoxy slightly higher than the wood surface. After it cures for 24-48 hours, sand it flush. This stabilizes the wood fibers and prevents the cracks from spreading further over time.
Step 4: Applying the Finish
Finish both sides. This is the most important rule in woodworking. If you only finish the top, the bottom will absorb moisture differently, causing the slab to warp. Use a hard-wax oil like Rubio Monocoat or Odie’s Oil for a matte, natural feel. These finishes bond to the wood fibers rather than sitting on top like plastic.
Apply the oil with a white abrasive pad, let it sit for a few minutes, and buff off every bit of excess. The wood will look rich and vibrant without feeling “sticky.” For a more durable, waterproof surface, a wipe-on polyurethane is a great alternative, though it adds a bit more shine.
Benefits of a Live Edge Folding Workspace
Switching to a live edge setup isn’t just about looks. There are tangible benefits to integrating natural materials into your daily routine. Biophilic design has been shown to reduce stress and increase productivity in high-pressure environments.
- Space Efficiency: You regain your floor space. When the desk is folded, it sticks out less than 3 inches from the wall.
- Ergonomic Customization: Unlike pre-built desks, you decide the exact height. You can mount it for a perfect seated position or at elbow height for a custom standing desk.
- Tactile Comfort: Real wood is warmer to the touch than metal or laminate. It provides a more comfortable surface for your forearms during long typing sessions.
- Resale Value: A custom live edge piece is an heirloom. It holds its value far better than mass-produced office furniture.
Challenges and Common Mistakes
Working with live edge wood is more complex than assembling flat-pack furniture. The organic nature of the material means it wants to move. If you don’t account for the wood’s “desires,” the project will fail within the first year.
Mounting to drywall alone is the most frequent error. A 2-inch thick walnut slab can weigh 40 to 60 pounds. When you add the weight of your arms and a monitor, you are putting massive leverage on the wall. You must secure the brackets into wall studs. Do not trust anchors.
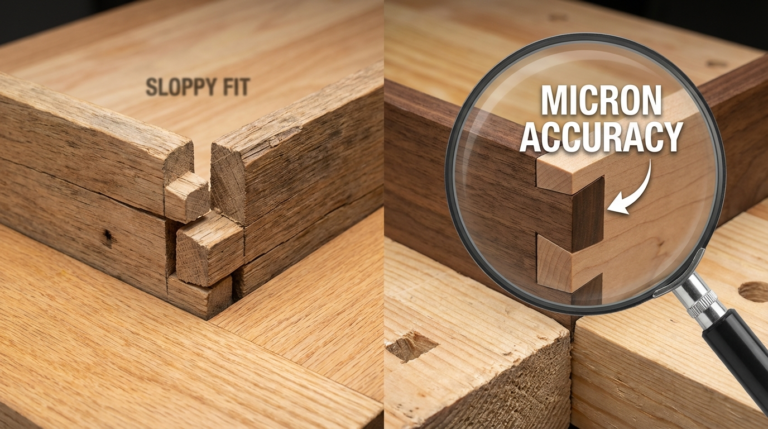
Ignoring wood movement is another pitfall. Wood expands and contracts across the grain. If you screw the brackets too tightly into the wood without allowing for a bit of “wiggle room,” the slab may crack. Use “slotted” holes in your brackets to let the wood breathe through the seasons.
Limitations: When This May Not Be Ideal
While beautiful, a folding live edge desk isn’t the right solution for everyone. You need to consider your specific hardware needs. If you use a dual-monitor setup with heavy mounting arms, a folding desk might struggle with the weight distribution.
Constant movement is also a factor. If you need to open and close the desk ten times a day, the weight of a solid slab might become a chore. It is a heavy lift compared to a lightweight plywood version. Ensure your physical ability matches the weight of the slab you choose.
Cable management is notoriously difficult on folding desks. You cannot easily hide wires when the desk is constantly changing positions. You will need to invest in flexible cable sleeves or “umbilical” cord organizers to keep your setup looking clean in both the up and down positions.
Comparison: Live Edge Slab vs. Industrial Laminate
| Feature | Live Edge Slab | Industrial Laminate |
|---|---|---|
| Aesthetic | Unique, Organic, Premium | Uniform, Sterile, Modern |
| Durability | High (Can be refinished) | Medium (Peels over time) |
| Maintenance | Occasional oiling required | Wipe and go |
| Weight | Heavy (40-70 lbs) | Light (15-25 lbs) |
| Cost | $$$ | $ |
Practical Tips and Best Practices
Maximize the lifespan of your desk by following a few simple maintenance rules. Real wood is a living material, and it responds to its environment. Small adjustments in your home can make a massive difference in how the wood ages.
Keep a consistent humidity level. Drastic swings between a humid summer and a dry, heated winter are the primary cause of cracking. Aim for a 40% to 50% humidity range. Your skin and your desk will both thank you.
Use coasters. Even the best finishes can be damaged by a sweating glass of ice water. Hard-wax oils are water-resistant but not waterproof. If you do get a ring, the beauty of wood is that you can lightly sand and re-oil just that specific spot.
Check your bracket tension monthly. The vibrations of daily use can slowly loosen screws in the wall studs. A quick turn of the screwdriver ensures the desk remains rock-solid and safe. Safety is paramount when dealing with heavy overhead loads.
Advanced Considerations: Butterfly Keys
If your slab has a large, deep crack that threatens its structural integrity, you may need to install butterfly keys (also known as bowties). These are small, hourglass-shaped pieces of wood that are inlaid across a crack. They act as a mechanical lock that prevents the crack from opening further.
Choose a contrasting wood species for the keys to make them a design feature. A dark walnut slab with light maple butterfly keys looks incredible. This requires a steady hand with a router and a sharp chisel, but it elevates the piece to “master-level” craftsmanship.
For those looking for a modern twist, you can even use brass or aluminum butterfly keys. Metal inlays provide a sharp, industrial contrast to the rough organic edge. This is a great way to tie the desk in with the steel folding brackets on the wall.
Example Scenario: The Urban Studio Transformation
Imagine a 400-square-foot studio apartment in Seattle. The resident, Alex, works as a software developer. There is no room for a dedicated office, and working from the kitchen table is ruining Alex’s posture and focus.
Alex sources a 48-inch Black Walnut slab. It is 1.75 inches thick and has a beautiful sweeping curve on the front edge. After debarking and sanding to 220-grit, Alex applies two coats of a plant-based oil finish. The grain pops with a deep, rich luster.
Using a stud finder, Alex locates two studs 32 inches apart. He mounts heavy-duty 16-inch folding brackets at 29 inches from the floor. The slab is secured with lag bolts into the studs and shorter wood screws into the slab. WhenAlex finishes work at 6:00 PM, the desk drops down, revealing a stunning piece of walnut “wall art,” and the room immediately feels like a home again.
Final Thoughts
Creating a live edge folding desk is a project that pays dividends every single morning. You start your day by touching something real, something that grew over decades before finding a place in your home. This connection to the natural world is a powerful antidote to the digital fatigue we all face.
Don’t be intimidated by the weight of the wood or the complexity of the finish. Take your time with the sanding. Be meticulous with your stud finding. The result is a workspace that doesn’t just hold your computer—it supports your well-being.
Experiment with different wood species and bracket styles. Once you master the basics of slab preparation and wall-mounting, you can apply these skills to floating shelves, breakfast bars, or even headboards. The forest belongs in your home. It’s time to bring it inside.
Sources
1 ashdeco.com (https://ashdeco.com/blogs/wood-knowledge/live-edge-desk-how-to-pick) | 2 youtube.com (https://www.youtube.com/watch?v=Xr8A439Z048) | 3 lancasterliveedge.com (https://lancasterliveedge.com/blog/live-edge-slabs-rated-by-hardness/) | 4 woodslabs.ca (https://www.woodslabs.ca/5-essential-tips-for-making-better-live-edge-furniture/) | 5 woodpeck.com (https://www.woodpeck.com/blog/beginner-tips-for-working-with-live-edge-slabs.html) | 6 woodslabs.com (https://www.woodslabs.com/p-2940-finishing-a-live-edge-wood-slab-isnt-so-difficult.aspx) | 7 lancasterliveedge.com (https://lancasterliveedge.com/blog/common-issues-with-live-edge-slabs/) | 8 seawavetable.com (https://seawavetable.com/blogs/news/how-to-prevent-live-edge-table-warping-and-cracking) | 9 twinoakmill.com (https://twinoakmill.com/7-mistakes-youre-making-with-live-edge-slabs-and-how-to-fix-them/)