Strategic Sourcing For Driftwood Lamps
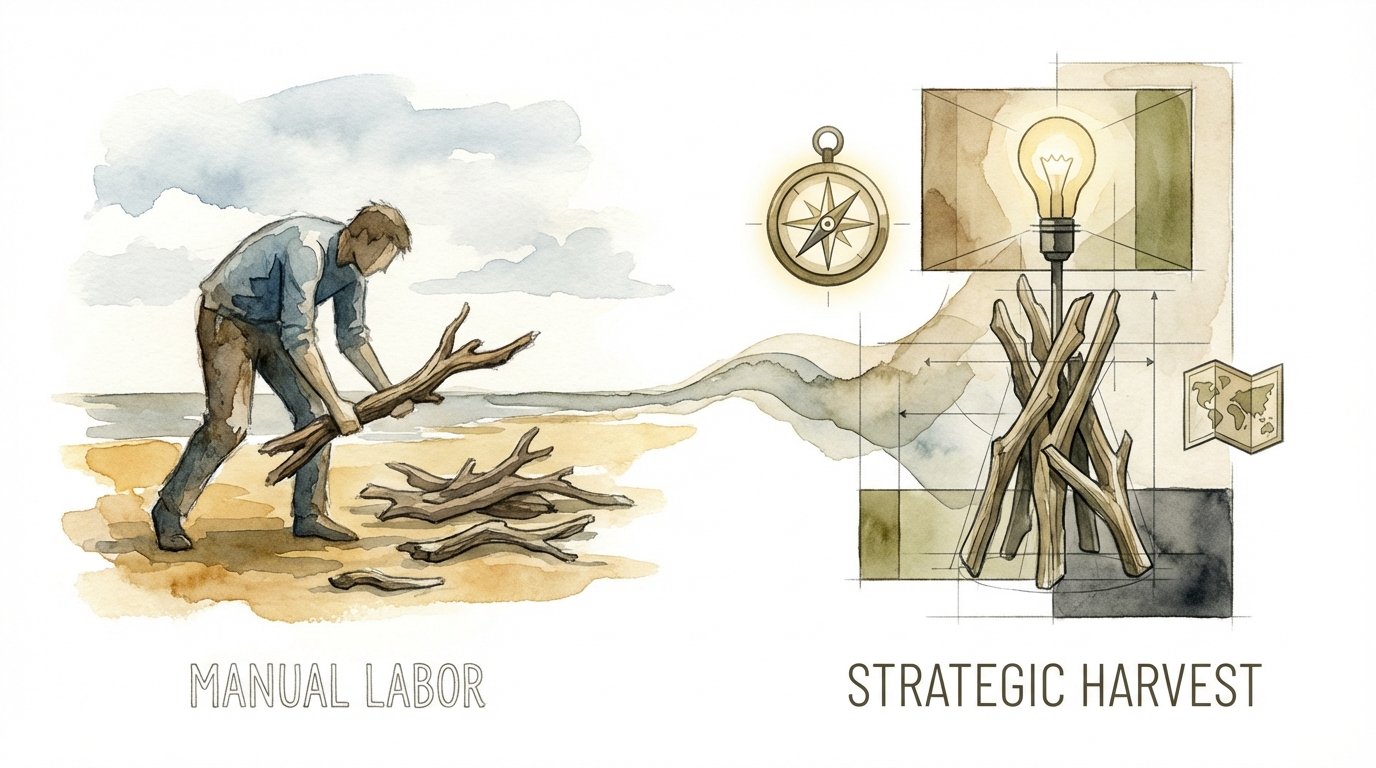
Why spend hours in a dusty workshop trying to mimic nature when the ocean has already done the heavy lifting for you? Hard work is overrated when you have the Pacific Ocean as your primary sculptor. You can spend days sanding and shaping fresh timber, or you can strategically walk the shoreline after a storm to find the perfect, pre-finished base for your next lamp. Work with the tide, not against the grain. The best light fixtures aren’t made; they are discovered.
Building a driftwood lamp is more than just a weekend craft. It is an exercise in patience and a partnership with the elements. You are taking something that was once a nuisance on a beach and turning it into a focal point for a living room. This process allows you to skip the grueling stages of debarking and rough-shaping that come with standard woodworking. Instead, you focus on the technical assembly and the artistic placement of light.
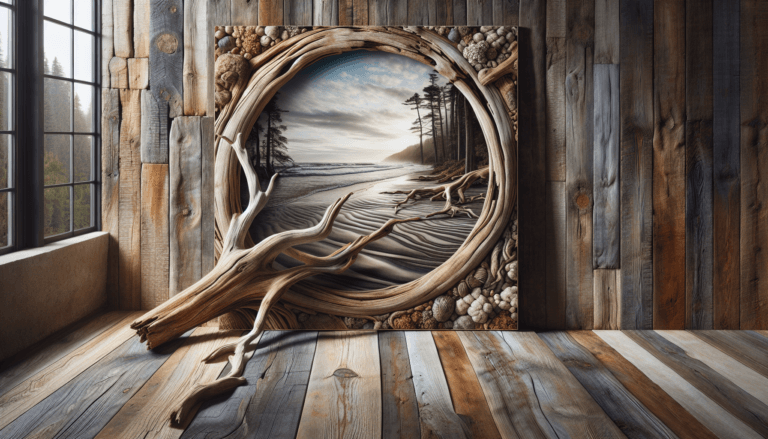
Nature has a way of weathering wood that no machine can replicate. The tumbling action of the waves, the bleaching power of the sun, and the abrasive quality of the sand create textures that feel ancient and grounded. When you bring these pieces into your home, you aren’t just adding a lamp. You are bringing in a story of survival and transformation.
In this guide, we will walk through the entire lifecycle of a driftwood lamp. We will cover where to find the best wood, how to ensure it is safe for indoor use, and the technical steps to wire it correctly. Whether you are a seasoned woodworker or a curious beginner, the goal is the same: to let the wood speak while you provide the spark.
Strategic Sourcing For Driftwood Lamps
Strategic sourcing is the art of finding the highest-quality materials with the least amount of wasted effort. In the world of coastal decor, this means understanding the rhythm of the water. You aren’t just looking for any piece of wood. You are looking for structural integrity, unique curvature, and a density that can withstand being drilled and wired.
Coastal regions, riverbanks, and lake shores are the primary hunting grounds for these treasures. The best time to go is immediately after a major storm or during an exceptionally high tide. The water acts as a delivery service, pushing deep-sea debris onto the shore. Look for “gray gold”—pieces that have been sun-bleached and salt-cured until they are bone-dry and lightweight.
Different regions offer different types of wood character. The Pacific Northwest provides rugged, massive cedar and fir roots that make for imposing floor lamps. The Atlantic coast often yields smoother, smaller branches of oak or pine, perfect for bedside lighting. Even inland river driftwood has its charm, often showing more “bite” from rocks and currents than ocean-tumbled wood.
You must always consider the legal landscape of your harvest. Many state parks in Florida, for instance, strictly prohibit the removal of any natural materials, including driftwood. In contrast, places like Alaska often allow for personal, non-commercial collection. Always verify local regulations before you start hauling timber to your truck to avoid heavy fines or citations.
How to Build Your Masterpiece: Step-by-Step
The process of turning a beach find into a functioning light fixture requires a blend of sanitation, structural engineering, and electrical work. You cannot simply pull a piece of wood from the sand and stick a bulb on it. There are invisible inhabitants and physical weaknesses that must be addressed first.
Step 1: Sanitation and Deep Cleaning
Freshly found driftwood is often home to insects, bacteria, and salt. You must start by pressure washing the wood to remove loose sand and organic matter. Avoid using wire brushes, as they can tear the delicate, weathered fibers and ruin the natural patina. A stiff nylon brush is usually enough to get into the deep crevices.
To kill off any boring insects or fungal spores, soak the wood in a bleach solution. A ratio of one part bleach to ten parts water is standard. Submerge the wood for at least 24 hours. If the wood floats, use a heavy stone to keep it under. This step is non-negotiable if you want to avoid bringing “hitchhikers” like sand gnats or wood borers into your home.
Step 2: The Drying Phase
Patience is your greatest tool during the drying stage. Depending on the thickness of the wood, it can take anywhere from a few days to several weeks to dry completely. Set the wood in a sunny, well-ventilated area. If you live in a damp climate, you might need to use a dehumidifier or a low-heat kiln setup.
Never attempt to wire a piece of wood that is still damp. Moisture trapped inside can cause the wood to rot from the inside out once you seal it. It also poses a significant risk for electrical shorts. The wood is ready when it feels surprisingly light for its size and has a resonant “clink” when tapped.
Step 3: Leveling and Structural Integrity
Once dry, you need to decide how the lamp will stand. Most driftwood pieces are irregular and top-heavy. You may need to use a chop saw to create a flat, level base at the bottom. If the piece is particularly spindly, consider mounting it to a secondary base made of stone, heavy timber, or even a metal plate.
Test the stability by simulating the weight of a lampshade. If it wobbles, you have two choices: remove more material from the bottom or add a counterweight. Stability is a safety requirement. A falling lamp is a fire hazard and a danger to pets or children.
Step 4: Drilling the Wire Path
This is the most technical part of the build. You need to create a path for the electrical cord to travel from the base to the top socket. For short table lamps, a standard 12-inch drill bit might suffice. For larger floor lamps, you may need a long lamp auger or an electrician’s “fish” bit.
Drill slowly and clear the shavings frequently. If the wood is very curved, you might not be able to drill a straight line through the center. In these cases, you can drill in sections and meet in the middle, or carve a subtle channel along the back of the wood that can be covered later with a matching wood filler or left exposed as a design choice.
Step 5: Wiring the Components
Purchase a UL-listed lamp kit. These typically include a socket, a threaded pipe (usually 1/8 IP), a cord, and a plug. Secure the threaded pipe into the top of your driftwood using a strong epoxy or subfloor adhesive like PL400. This pipe provides the “bone” that holds the socket and the weight of the lampshade.
When wiring the socket, remember the rule of polarity. The smooth wire (the hot wire) connects to the gold screw. The ribbed wire (the neutral wire) connects to the silver screw. Ensure the wire is wrapped clockwise around the screw so that tightening the screw pulls the wire tighter rather than pushing it out.
Benefits of the Driftwood Approach
Choosing driftwood over standard lumber offers a distinct set of advantages for the modern maker. The most obvious is the cost. While high-end hardwood can cost fifty dollars a board foot, the ocean provides its materials for the price of a tank of gas and a walk on the beach.
The environmental impact is another significant factor. By using driftwood, you are repurposing material that would otherwise slowly decompose or be burned during beach cleanups. There is no carbon footprint associated with logging, milling, or transporting your base material. You are effectively “upcycling” nature’s waste.
From an aesthetic standpoint, no two driftwood lamps are ever identical. Mass-produced furniture lacks the “soul” that comes from a piece of wood that has survived a thousand miles of ocean travel. This uniqueness makes your work more valuable. Custom driftwood floor lamps can often sell for hundreds or even thousands of dollars in high-end galleries.
Challenges and Common Mistakes
The biggest mistake beginners make is rushing the drying process. Wet wood shrinks as it dries, which can cause the internal electrical pipe to loosen or the wood itself to crack around your mounting points. If the wood develops large “checks” or splits after you have finished it, the structural integrity could be compromised.
Another common pitfall is ignoring the “borer” problem. Some driftwood contains tiny marine organisms that live deep within the wood. If you don’t use a bleach soak or a heat treatment, these creatures can remain dormant and emerge months later inside your home. Look for tiny pinholes in the wood; if you see them, be extra diligent with your sanitation.
Electrical safety is the final hurdle.  . Many DIYers use thin, unrated cords or fail to secure the socket properly.
 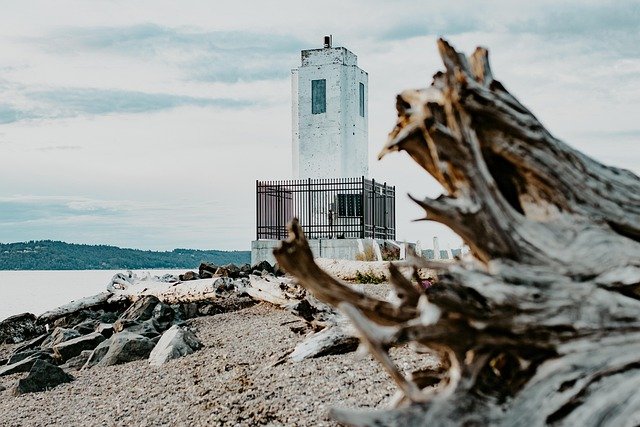 . A loose socket can lead to frayed wires and potential fires. Always use a proper lamp harp to keep the shade away from the bulb, and never exceed the wattage rating of your socket.
Limitations of the Tide
Driftwood has its boundaries. It is often more fragile than kiln-dried lumber because the salt and water have broken down some of the lignocellulose. You cannot treat a thin piece of driftwood with the same structural expectations you would have for a solid oak 4×4. It is prone to snapping if subjected to lateral pressure.
The size of your project is also limited by what you can physically transport and find. While the ocean occasionally throws up massive logs, the logistical challenge of moving a 200-pound piece of wet wood off a remote beach is significant. Most makers are limited to what they can carry in a backpack or haul a short distance to a vehicle.
Additionally, the “salt factor” means that any metal hardware you use must be high-quality. Salt residue inside the wood can corrode cheap steel screws over time. It is better to use brass, stainless steel, or coated subfloor screws to ensure your lamp doesn’t literally fall apart in a decade.
Driftwood vs. Fresh Timber Comparison
Understanding the differences between found wood and harvested wood will help you decide which material fits your specific project needs.
| Feature | Driftwood (Strategic Harvest) | Fresh Timber (Manual Labor) |
|---|---|---|
| Material Cost | Zero (Found) | High (Market Price) |
| Initial Prep | Deep Cleaning/Sanitizing | Debarking/Milling |
| Drying Time | Days to Weeks | Months to Years (Air Dry) |
| Uniqueness | Infinite (Natural Erosion) | Standardized Grains |
| Skill Required | Moderate (Technical Assembly) | High (Joinery/Shaping) |
Practical Tips for Best Results
When you are ready to assemble, use a “fish tape” or a stiff wire to pull your electrical cord through the wood. If your drill path has sharp turns, this is often the only way to get the cord through without stripping the insulation. Applying a small amount of dish soap to the cord can also help it slide through tight spots.
Always choose LED bulbs for driftwood lamps. 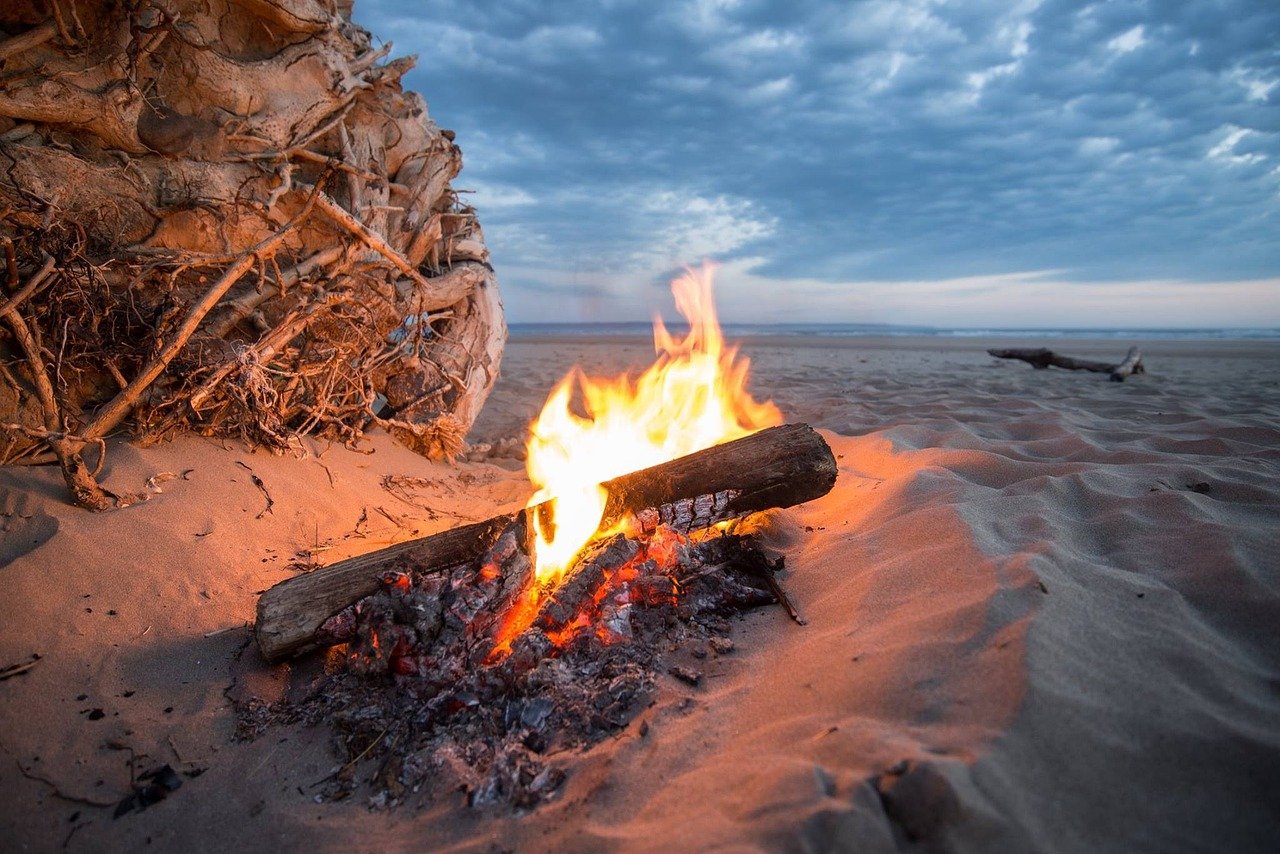 . Driftwood can be very dry and more flammable than other materials. LED bulbs produce significantly less heat than traditional incandescent bulbs, reducing the risk of scorching the wood or the lampshade. They also last longer, meaning you won’t have to disturb the fragile assembly as often.
Finish your wood with a light coat of beeswax or linseed oil. This protects the wood from humidity changes and brings out the subtle colors hidden in the gray patina. Avoid heavy polyurethane or high-gloss finishes. These “plastic” coatings often ruin the rustic, natural feel that makes driftwood so appealing in the first place.
Advanced Considerations for Serious Makers
If you want to take your work to a professional level, consider the “split and route” method for wiring. This involves carefully splitting the wood along its natural grain, routing a precise channel for the wire, and then gluing the pieces back together. When done correctly, the seam is invisible, and you can hide the wire perfectly inside even the most twisted branches.
Weighted bases are another hallmark of high-quality work. Instead of just bolting the wood to a piece of plywood, use a custom-poured concrete base or a heavy iron plate. This lowers the center of gravity and prevents the “tippy” feel common in DIY lamps. A heavy lamp feels like furniture; a light lamp feels like a craft.
Consider the “third-party” lighting style, where the light source is not at the top of the wood but hidden within the branches. This creates a silhouette effect that highlights the texture of the wood rather than just using it as a pedestal. Using dimmable LED strips or puck lights can transform the lamp into a piece of mood-setting sculpture.
Example Scenario: The Coastal Reading Lamp
Imagine you have found a three-foot piece of weather-beaten juniper on a beach in Oregon. It has a beautiful, sun-bleached silver color and a natural “Y” shape. You decide to turn this into a floor lamp for a reading nook. After a week of soaking and drying, the wood has lost nearly 30% of its weight.
You decide to mount the juniper onto a 12-inch circular steel plate to provide a modern contrast to the organic wood. You drill a 3/8-inch hole through the main trunk and use a 48-inch lamp pipe to reach the top. To complement the cool tones of the wood, you choose a navy blue linen shade. The final result is a lamp that looks like it belongs in a coastal boutique, yet it cost you less than fifty dollars in parts.
The satisfying “click” of the switch for the first time is the moment everything comes together. The light catches the ridges and valleys of the wood, casting long, dramatic shadows across the room. You have successfully taken a piece of ocean debris and elevated it into a functional piece of art.
Final Thoughts
The journey from a sandy shoreline to a finished driftwood lamp is one of the most rewarding paths a maker can take. It forces you to slow down and work with what the environment provides. You aren’t forcing the wood to be something it isn’t; you are simply providing the structure for its natural beauty to shine.
By focusing on strategic sourcing and disciplined preparation, you can create professional-grade lighting that rivals expensive designer pieces. The key is to respect the material—clean it properly, dry it thoroughly, and wire it safely. When you do, you aren’t just building a lamp; you are preserving a piece of the world’s most powerful sculptor.
Go out after the next storm. Walk the tide lines and look for the shapes that speak to you. The Pacific is waiting to provide your next masterpiece. All you have to do is find it.
Sources
1 dksstores.com (https://vertexaisearch.cloud.google.com/grounding-api-redirect/AUZIYQEBUt7ruujLnd8njmK-BRypibkbsAyysqr7xdt85iNNheu9OIVZFdOre3Y4kMAhdk-K4j7RS1tNwEpqHuP11FOkyJ8QDE9S7-Ng6Efuxd26EzN7d4lcO0GxbmLAIw==) | 2 darhlene.com (https://darhlene.com/2017/02/20/harvesting-driftwood-101/) | 3 reddit.com (https://www.reddit.com/r/alaska/comments/cl8ce5/driftwood_rules/) | 4 ashdeco.com (https://ashdeco.com/blogs/room-ideas/wood-floor-lamp-styles-guide) | 5 aawforum.org (https://www.aawforum.org/community/threads/lamp-augers-and-lamp-technique.16094/) | 6 hawk-hill.com (https://www.hawk-hill.com/how-to-clean-driftwood/) | 7 youtube.com (https://www.youtube.com/watch?v=hYChsveTXgs) | 8 sunmory.com (https://www.sunmory.com/blogs/resources/how-to-make-driftwood-floor-lamp) | 9 wikihow.com (https://www.wikihow.com/Clean-Driftwood) | 10 diydriftwood.com (https://diydriftwood.com/how-to-create-a-driftwood-lamp/) | 11 familywoodworking.org (https://familywoodworking.org/forums/index.php?threads/drilling-a-lamp.19349/) | 12 timberframehq.com (https://timberframehq.com/green-vs-dried-timbers/)