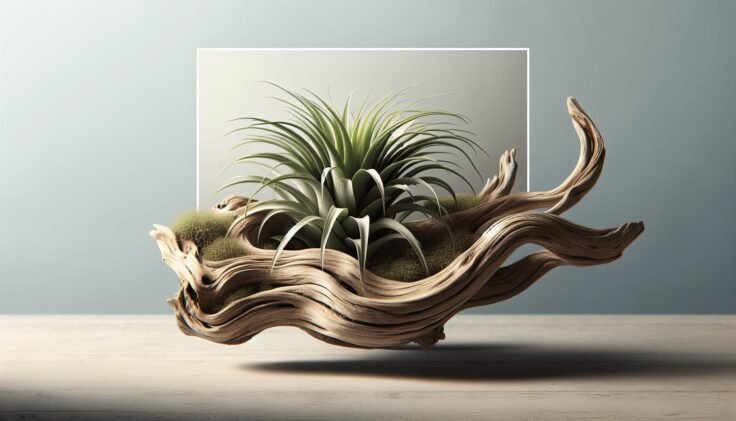
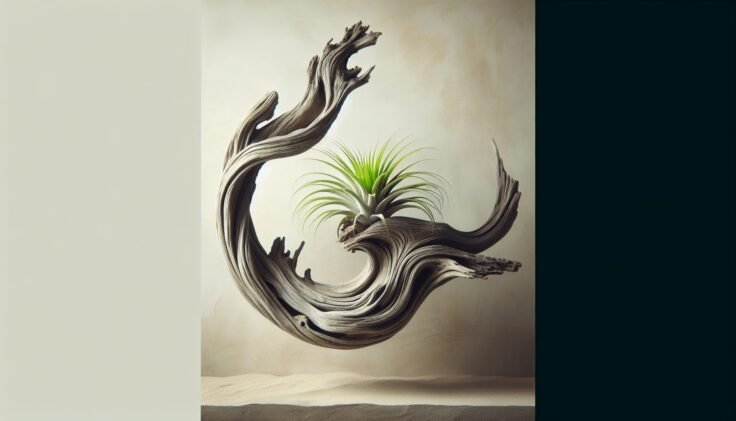
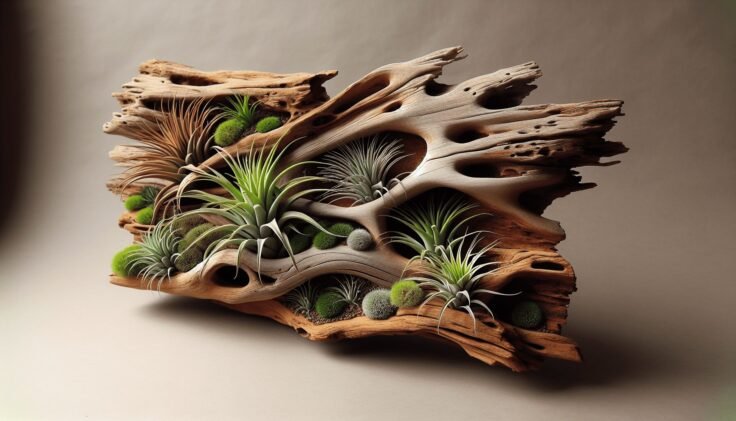
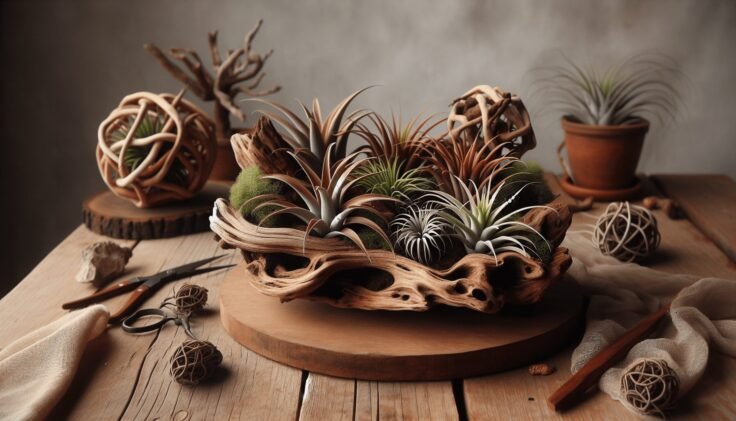
Have you ever admired the whimsical beauty of air plants attached to driftwood and wondered how you could replicate that stunning display in your own space? You’re in the right place! Creating a captivating combination of natural elements doesn’t require a green thumb; just a little guidance and creativity. In this article, you’ll learn the steps for attaching air plants to driftwood, transforming an ordinary piece into a magical showcase of nature’s artistry.
Understanding Air Plants
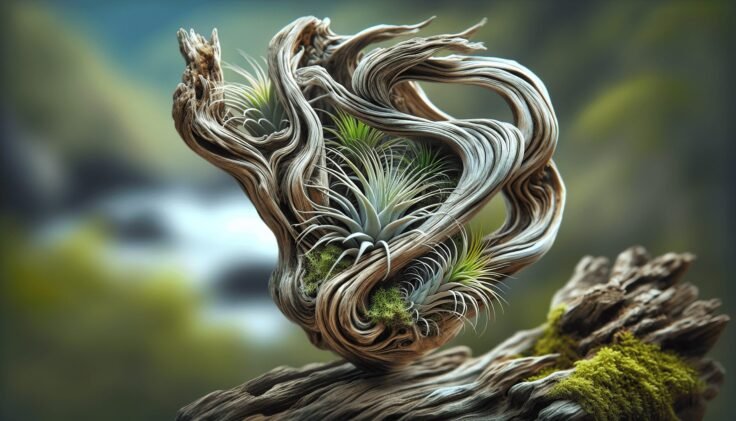
Before diving into the process, it’s important to understand a bit about air plants, also known as Tillandsias. These unique plants are part of the bromeliad family and are native to forests, mountains, and deserts in Central and South America, and some regions of the southern United States. They’re called air plants because they draw nutrients and moisture not from soil but from the air. This fascinating ability allows them to thrive in environments where other plants cannot.
Care and Requirements
While air plants are pretty independent, understanding their basic needs will help ensure your driftwood display remains vibrant and healthy. Air plants require:
- Light: Bright, indirect sunlight is ideal. Avoid harsh direct sunlight as it can scorch the leaves.
- Water: Mist your air plants 2-3 times a week or soak them in water for about 20-30 minutes once a week. Adjust this routine according to the humidity levels in your area.
- Air Circulation: Good air circulation is key to preventing mold and rotting. Ensure they have plenty of space around them to promote airflow.
Selecting the Ideal Driftwood
Choosing the right piece of driftwood is an essential step in crafting your display. Driftwood tells its own unique story with each piece bringing individual character and texture.
Types of Driftwood
There are various types of driftwood you might consider:
- Softwood: Generally lighter and can have interesting knot patterns. However, be aware it may deteriorate faster than hardwood.
- Hardwood: Denser and more robust, making it a durable choice. It can support several air plants while maintaining its integrity over time.
When picking your driftwood, consider its shape, size, and the natural crevices that can cradle your air plants. These nooks not only provide stability but also enhance the aesthetic appeal of your arrangement.
Tools and Materials Needed
Embarking on this project requires a few simple tools and materials. These will ensure a secure attachment of your air plants to the driftwood and help you present your artwork beautifully. Here is a list of essentials:
| Tool/Material | Purpose |
|---|---|
| Driftwood | The base structure for your arrangement |
| Air Plants | The main feature, select varying sizes for dimension |
| Waterproof Adhesive | Secures the air plant to the driftwood (e.g., clear silicone glue) |
| Wire | An alternative to glue, offers a natural look with added stability |
| Scissors | Used to trim excess wire or roots from the plants |
| Fishing Line | Useful if you want to create a hanging display |
Preparing Your Driftwood and Air Plants
Now that you’ve gathered your materials, it’s time to prepare your driftwood and air plants for assembly. Proper preparation ensures the longevity and health of your display.
Cleaning the Driftwood
While driftwood can come with charming imperfections, it’s important to clean it before use:
- Rinse Thoroughly: Use fresh water to rinse any salt, sand, or organic matter.
- Disinfect: Soak the driftwood in a bleach solution (1 part bleach to 9 parts water) for 24 hours to eliminate any potential pests or bacteria.
- Dry Completely: Allow the driftwood to dry fully, preferably in the sun, to ensure all moisture is removed which could otherwise lead to decay.
Air Plant Preparation
Your air plants also need a little pampering before they take their place on the driftwood:
- Remove Damaged Leaves: Trim away any brown or dead leaves using scissors.
- Water Them: Give the air plants a good soak for about 20-30 minutes, as they should be well-hydrated before attaching them.
Attaching Air Plants to Driftwood
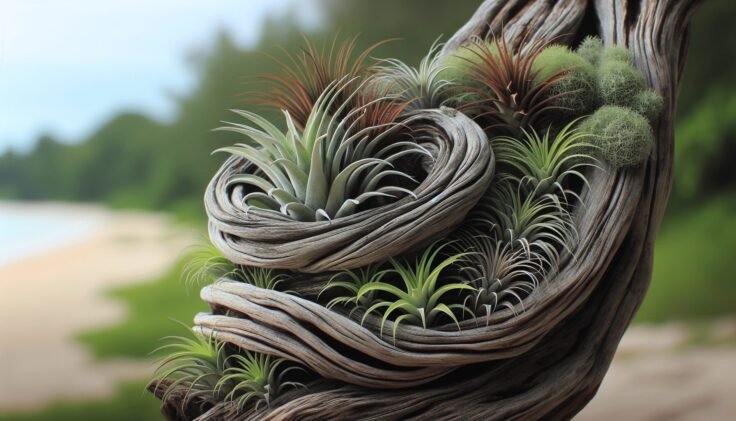
With everything prepared, you can move on to the fun part: attaching the air plants to your driftwood. This is where your creativity really comes into play as you design your living art piece.
Placement and Design
Consider the visual balance:
- Grouping: Create groups of air plants in different sections of the driftwood for a lush, full appearance.
- Height: Vary the heights of each plant group to add dimension and depth to your arrangement.
- Symmetry vs. Asymmetry: Decide on a symmetrical look for a more formal arrangement, or go for asymmetry for a more natural, organic feel.
Methods of Attachment
- Using Adhesive: Apply a small amount of waterproof adhesive to the base of each air plant. Press it gently into position on the driftwood, holding it for a few minutes as the adhesive sets.
- Using Wire: Wrap thin wire around the base of the air plant and secure it to the driftwood. This method might require a bit more finesse but can offer a more natural look.
Whichever method you choose, ensure the plants are securely attached but not crushed.
Maintenance Tips for Lasting Beauty
Your air plant and driftwood display will need ongoing care to keep it looking its best. Here are some tips to maintain your masterpiece:
Regular Watering
Mist your air plants regularly or submerge them in water as needed. Always allow them to dry upside-down to prevent water from collecting in their bases, which can lead to rot.
Adjust Lighting
Monitor the lighting conditions and adjust the placement of your driftwood display if necessary. Ensure your plants are getting enough indirect light without being exposed to direct sunlight.
Inspect for Pests
Occasionally check your air plants for signs of pests like mealybugs. If you find any, they can often be removed with a gentle spray of water or with houseplant-specific pest control products.
Creating Beautiful Displays
With your newfound skill, consider experimenting with different display ideas to showcase your air plants and driftwood arrangement. Whether they remain a centerpiece on a table, hang from the ceiling, or complement a shelf, your options are endless.
Tabletop Displays
A large piece of driftwood can serve as a striking centerpiece on your dining or coffee table. Pair it with smaller decorative items like candles or stones to enhance the natural beauty.
Hanging Displays
Utilizing fishing lines, you can hang your driftwood in front of a window to catch the light. Consider using different lengths of line to create a tiered effect, adding an extra layer of interest.
Wall-Mounted Art
Transform your driftwood and air plants into wall art by securing it onto a frame or mounting it directly on the wall, bringing nature indoors in a sophisticated way.
Troubleshooting Common Problems
Sometimes, even with the best care, issues can arise. But don’t worry, most can be resolved with a little patience and know-how.
Browning Tips
If you notice the tips of your air plants turning brown, it might be a sign of insufficient watering or too much direct sunlight. Adjust your watering routine and monitor the lighting conditions.
Mold or Rot
Mold or rot may occur if air plants do not dry properly. Ensure there is ample air circulation and allow the plants to dry upside-down after watering.
Poor Growth
Slow growth can be attributed to low light levels. If your air plants seem stagnant, consider moving them to a brighter location with indirect sunlight.
Conclusion
Attaching air plants to driftwood is a delightful blend of nature and design that can elevate any space. By understanding the basics of air plant care, selecting the perfect driftwood, and creatively attaching your plants, you can create a beautiful, living art piece that sparks joy and conversation. As you nurture this display, you’ll enjoy the satisfaction of watching your creation thrive and transform over time. So, with these tips at your disposal, take on the challenge with confidence and let your creativity flourish!


