Driftwood Roots Art
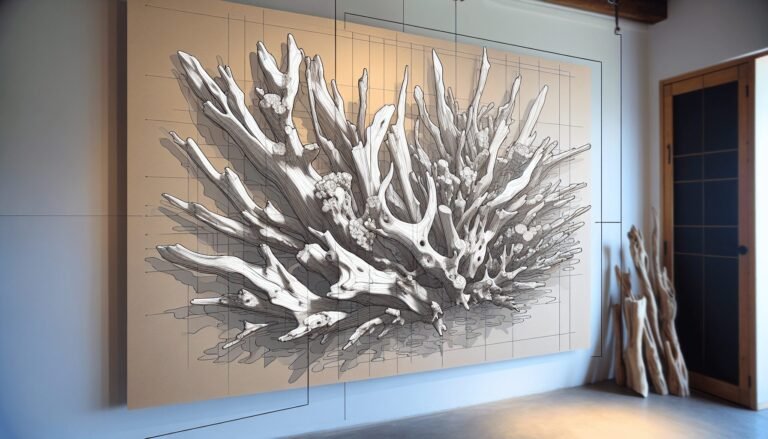
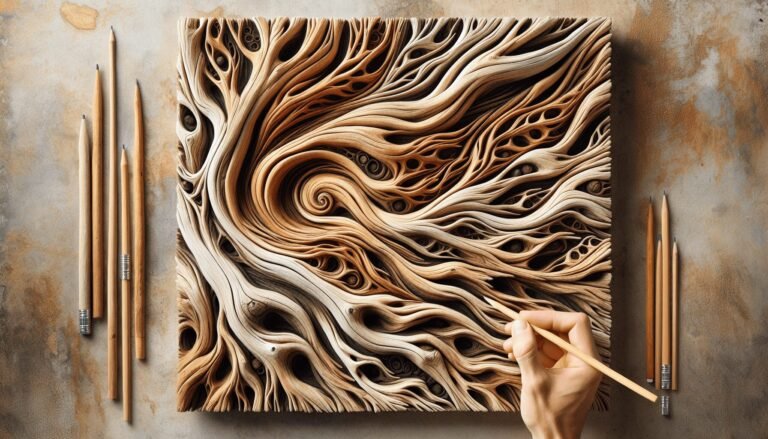
Discover the mesmerizing beauty of Driftwood Roots Art, where nature’s elegance meets captivating creations. Find out everything you need to know about this unique art form in our comprehensive guide.
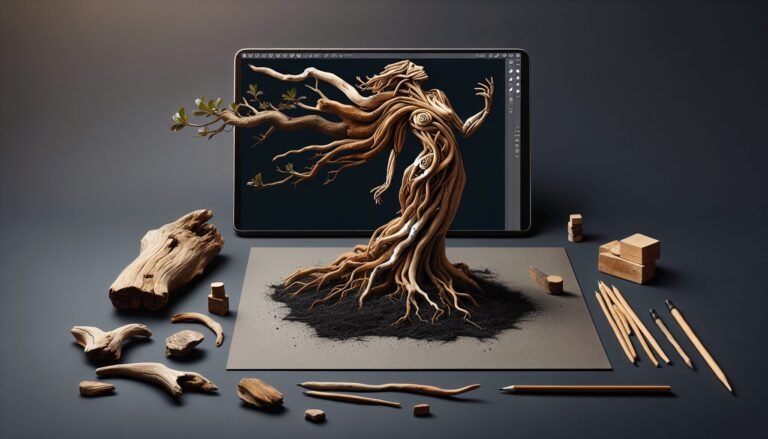
Discover the mesmerizing beauty of Driftwood Roots Art, where nature’s elegance meets captivating creations. Find out everything you need to know about this unique art form in our comprehensive guide.
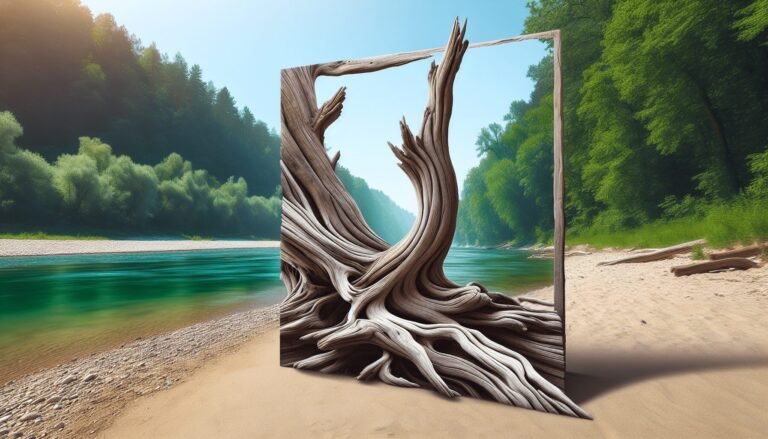
Discover the captivating world of River Driftwood Art, where discarded wood becomes enchanting masterpieces. Appreciate the harmony between man and nature.
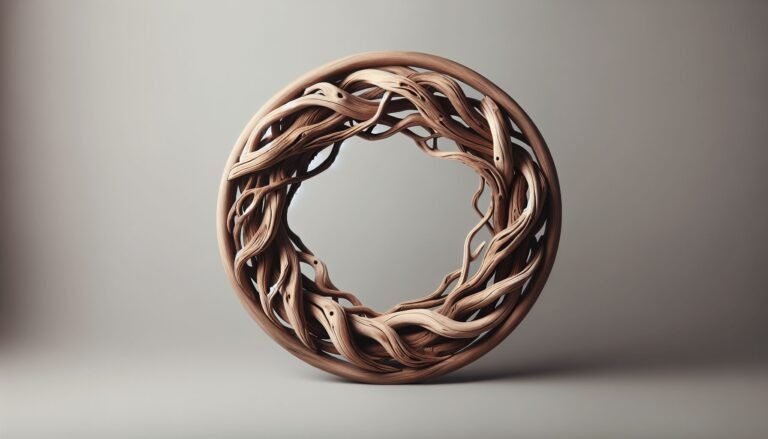
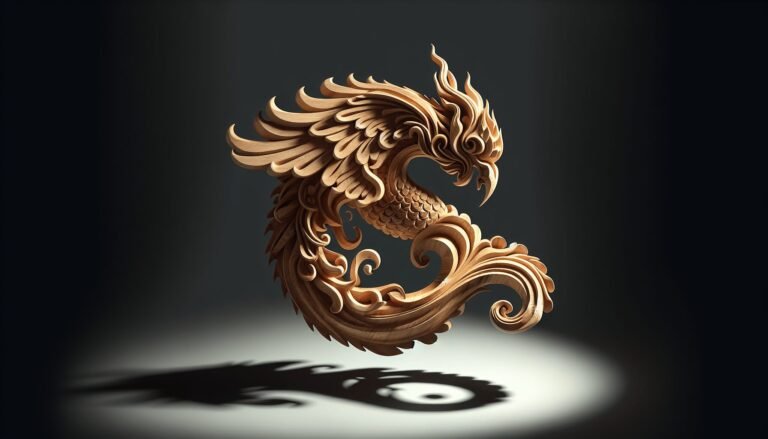
Discover the captivating world of round driftwood art. From wall hangings to sculptures, explore the endless possibilities of this organic and elegant art form.
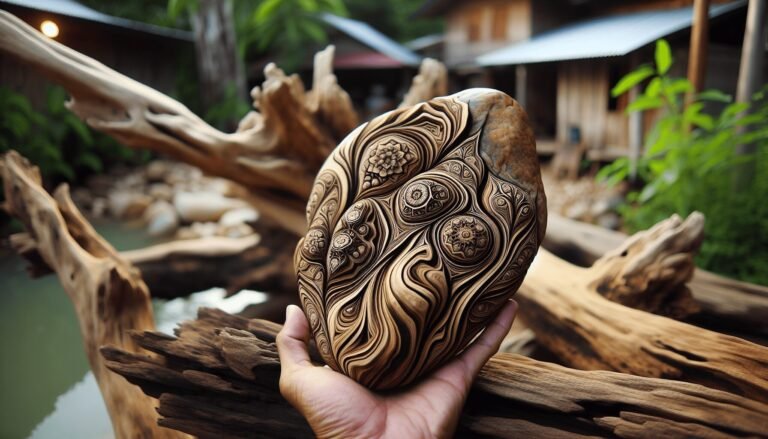
Discover the captivating world of driftwood rock art! Explore the origins, techniques, and themes of this unique artistic expression.
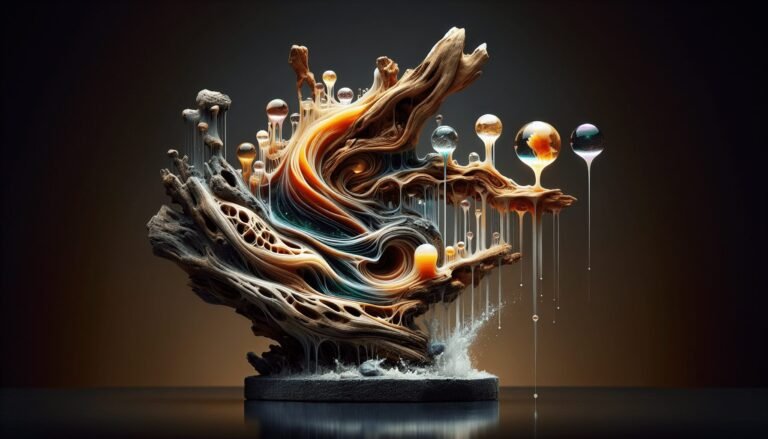
Discover the enchanting world of driftwood and resin art! Learn the definition, process, materials, and create your own stunning pieces. Dive in now!
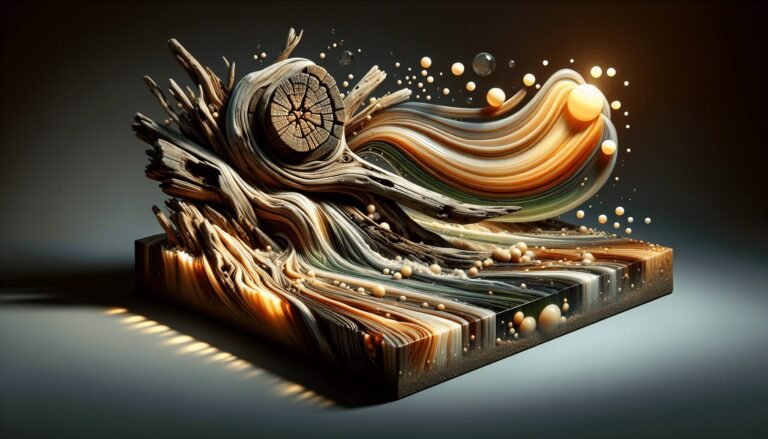
Discover the captivating world of Driftwood Resin Art, where nature and art intertwine. Explore the process, materials, and design ideas behind this mesmerizing form of creative expression. A must-see for art enthusiasts and beach lovers.
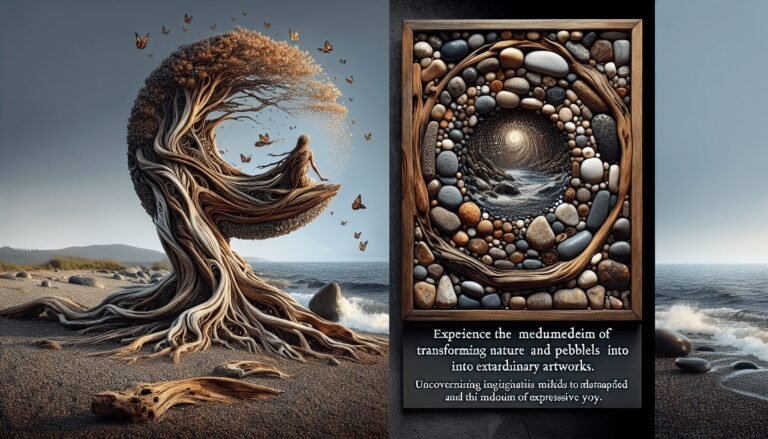
Discover the enchanting world of Driftwood and Pebble Art, a captivating form of expression that combines nature’s beauty into stunning creations. Learn how to create driftwood and pebble art, explore different techniques, and get inspired with unique ideas. Find out how to combine driftwood and pebbles to create visually striking pieces. Plus, explore a gallery showcasing captivating driftwood and pebble art creations. Finally, explore opportunities for selling your own driftwood and pebble art.
Discover the captivating world of Otis Driftwood Art. Explore vibrant colors, intricate brushstrokes, and surrealism. Embark on a visual journey like no other.
Transform your plain walls into captivating works of art with driftwood. Express your artistic flair and bring the outdoors inside with rustic charm.
Discover the captivating world of Driftwood Art On Canvas. Immerse yourself in nature’s creativity as weathered driftwood is transformed into stunning works of art. Explore the beauty and raw beauty of this unique form of artistic expression.