Creating a Stunning Driftwood Xmas Tree
Create a unique and eco-friendly holiday decoration with our guide on crafting a stunning driftwood Christmas tree. Perfect for adding coastal charm!

Create a unique and eco-friendly holiday decoration with our guide on crafting a stunning driftwood Christmas tree. Perfect for adding coastal charm!
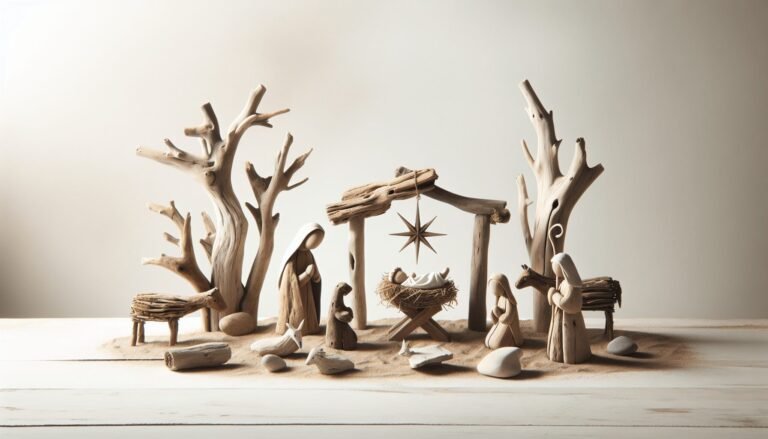
Create a unique and natural holiday decoration with a Driftwood Nativity. Learn to gather, prepare, and assemble driftwood for a rustic and meaningful festive centerpiece.
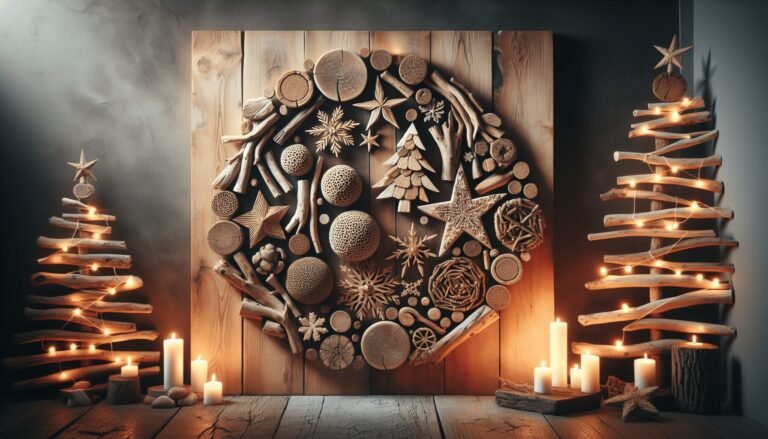
Create festive and eco-friendly Christmas decorations with driftwood! Discover unique ideas, materials, and step-by-step guides to craft stunning wall art for your home.