Driftwood Nursery
Discover the unique allure of Driftwood Nursery! Learn how sustainable plant care and nature-inspired designs make these nurseries a haven for gardening enthusiasts.
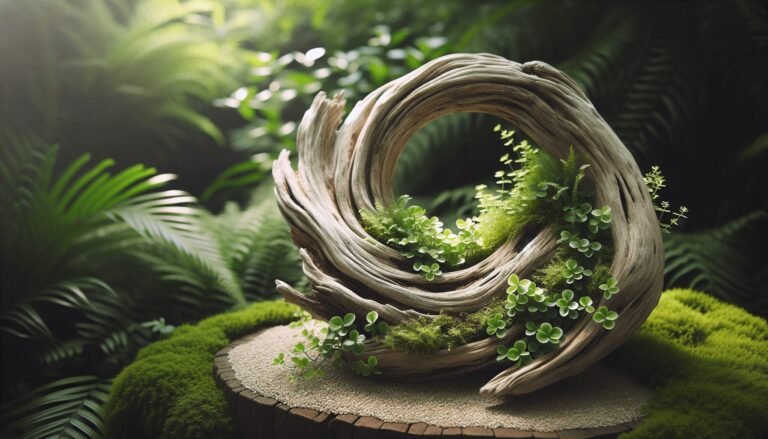
Discover the unique allure of Driftwood Nursery! Learn how sustainable plant care and nature-inspired designs make these nurseries a haven for gardening enthusiasts.
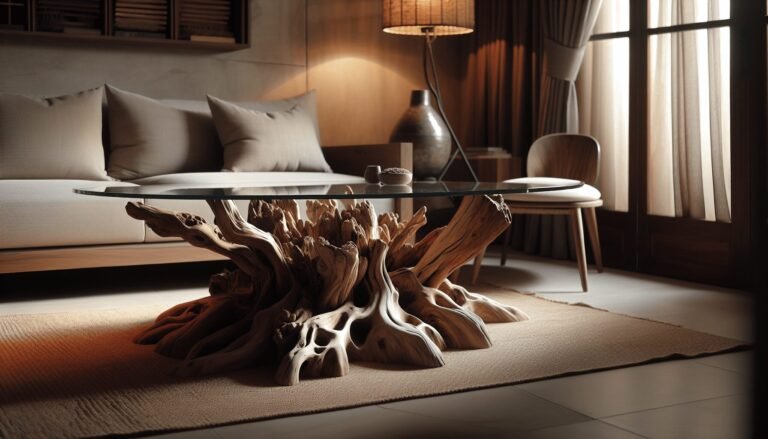
Discover the charm and elegance of driftwood glass coffee tables. Explore unique designs, benefits, and tips to integrate this stylish, eco-friendly piece into your home.
Discover the unique tale and stunning design behind Driftwood New Balance. Learn about its history, key features, and styling tips for these nature-inspired sneakers.
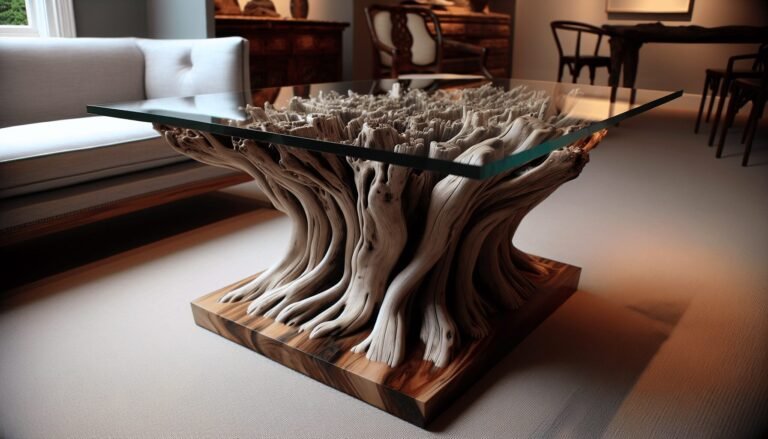
Elevate your home with a driftwood glass table! Unique and eco-friendly, this stunning piece blends natural beauty and modern elegance to fit any décor style seamlessly.
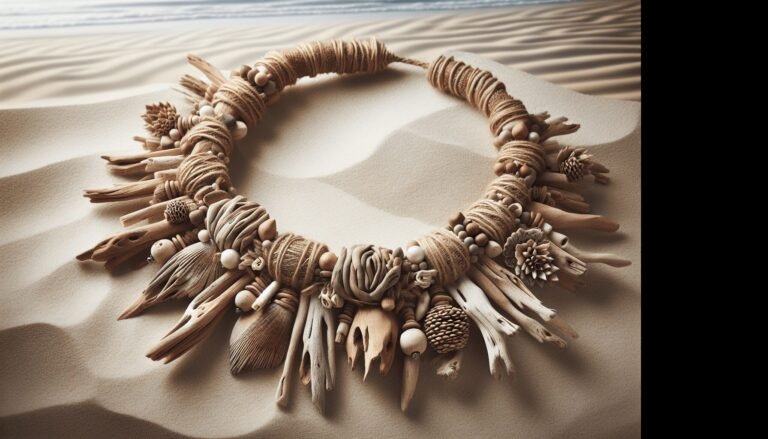
Discover the rustic charm of driftwood necklaces: unique, eco-friendly pieces that bring a touch of the ocean’s serenity and natural beauty to your everyday style.
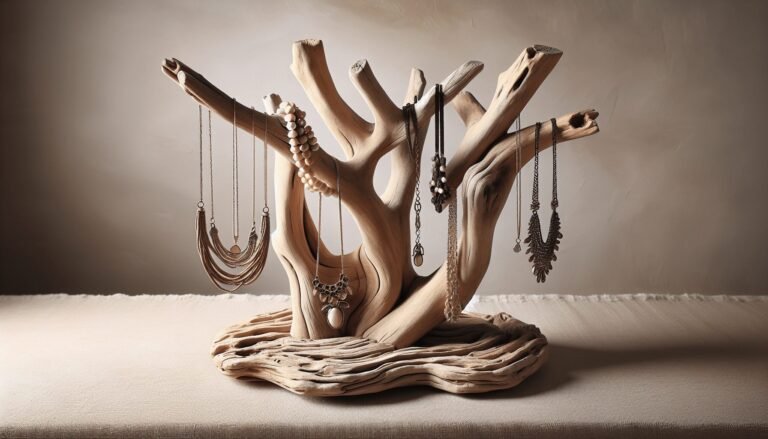
Create a stylish and eco-friendly driftwood necklace holder with our step-by-step guide. Organize your jewelry while adding rustic charm to your space. Read more!
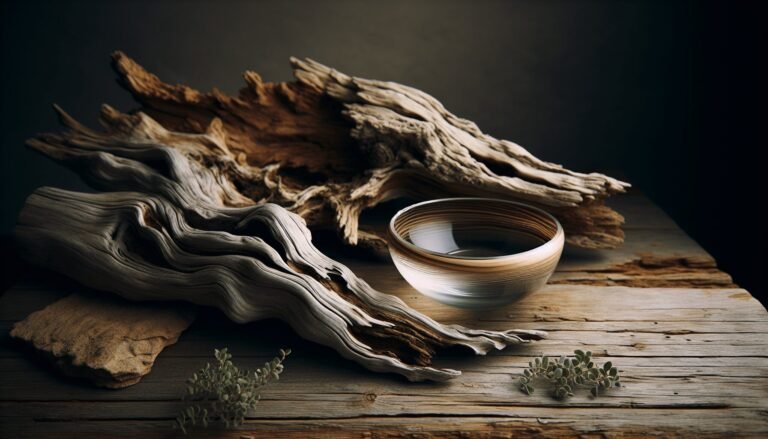
Discover the captivating Driftwood Glass Bowl: an exquisite blend of rustic driftwood and elegant hand-blown glass, each piece uniquely crafted to harmonize nature and art.
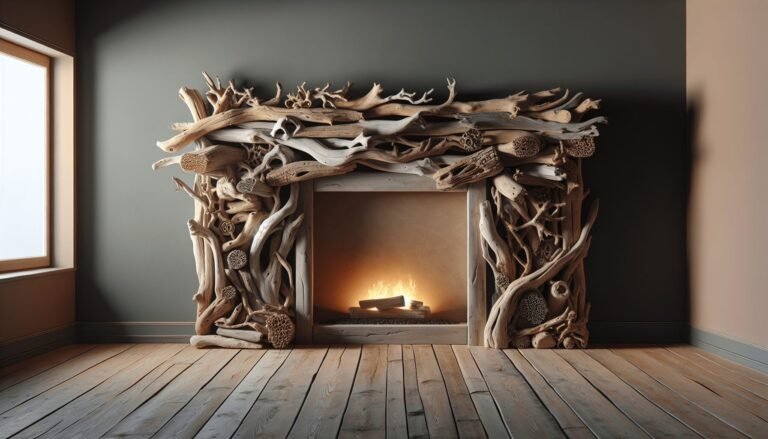
Discover the charm of driftwood mantle fireplaces! Transform your living space with nature-inspired, eco-friendly décor that adds unique character and warmth to any home.
Create a unique, eco-friendly driftwood mirror with our step-by-step DIY guide. Transform collected driftwood into a coastal chic home décor piece. Get started now!
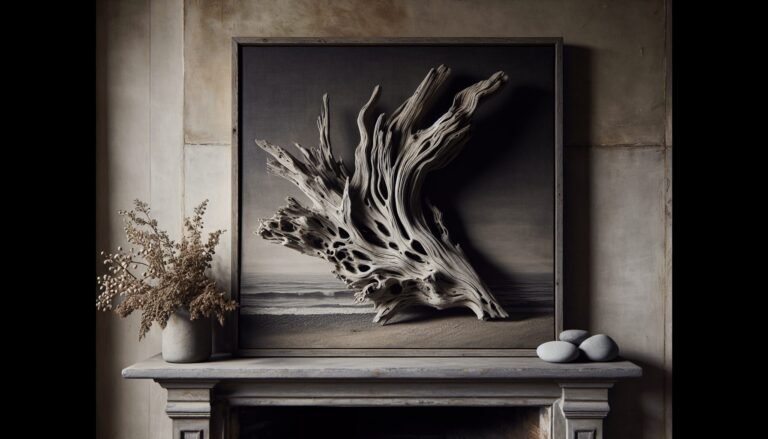
Driftwood mantles add rustic elegance to home decor. Uncover their charm, eco-friendliness, and how to source, prepare, and design with unique, natural pieces.