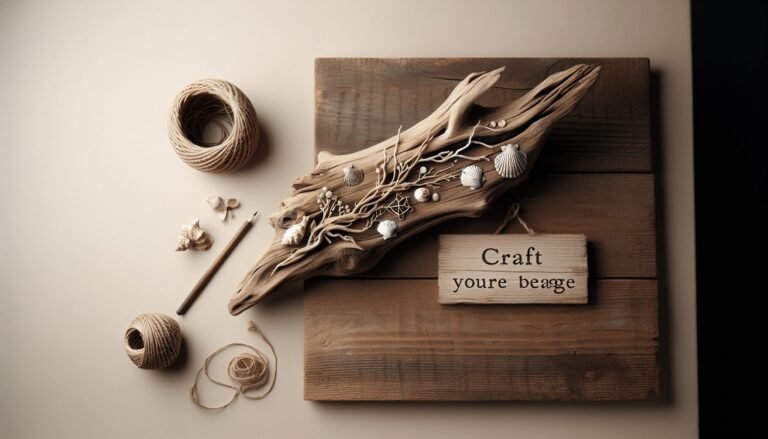
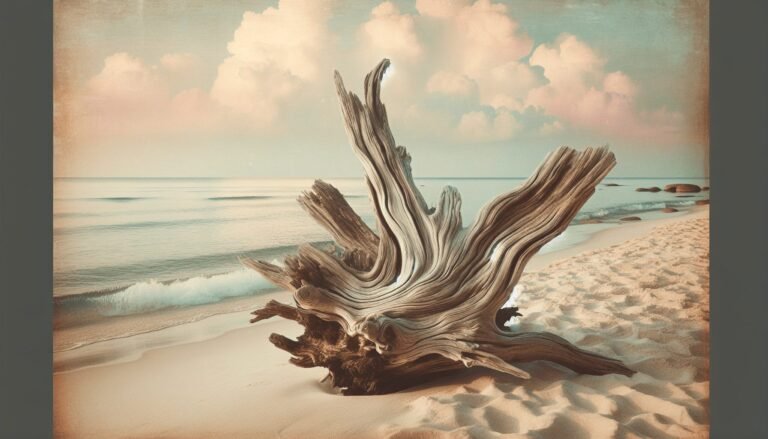
Driftwood Wall Art Diy
Transform beach treasures into stunning decor! Discover step-by-step techniques to create driftwood wall art, adding coastal charm and unique beauty to your home.
Transform beach treasures into stunning decor! Discover step-by-step techniques to create driftwood wall art, adding coastal charm and unique beauty to your home.
Discover creative ways to transform driftwood into stunning home decor with our DIY projects guide. Perfect for beachcombers and crafters alike! Dive in now.
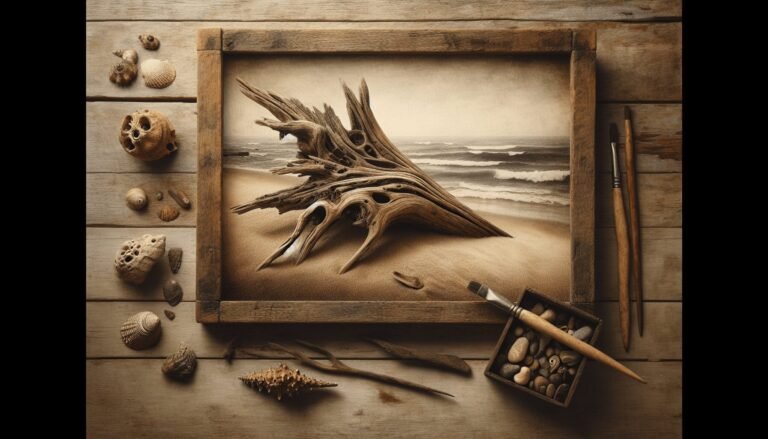
Explore the beauty of crafting with driftwood in “Projects With Driftwood.” Transform natural pieces into stunning home décor with step-by-step guides perfect for all crafters.
Transform your garden with driftwood! Discover creative ways to incorporate this natural element for rustic paths, artistic focal points, and more. Explore now!
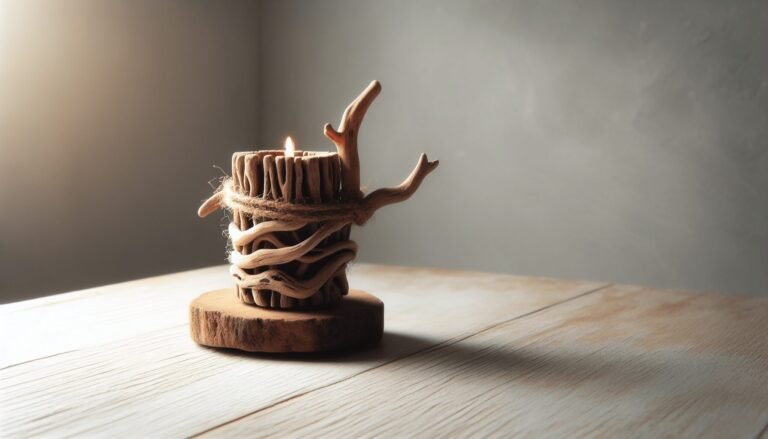
Transform ordinary driftwood into stunning home decor with “Simple Driftwood Projects.” Get step-by-step guides for frames, candle holders, and more. Dive in now!
Discover charming DIY crafts with ‘Small Driftwood Projects.’ Turn beach finds into beautiful home decor with simple, delightful projects. Get inspired and start creating!
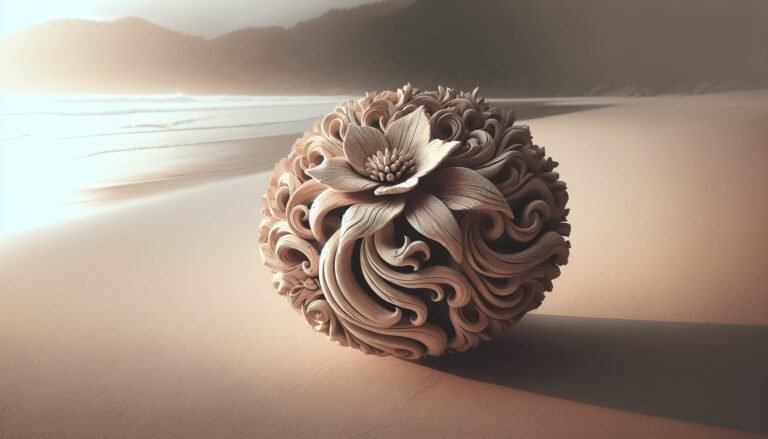
Discover how to transform driftwood into stunning DIY sculptures & statues. This guide offers tips, techniques, and inspiration for creating unique, eco-friendly art.

Discover the benefits of using driftwood to enhance your orchid’s growth. Learn how to select, prepare, and mount driftwood for a thriving, beautiful orchid display.
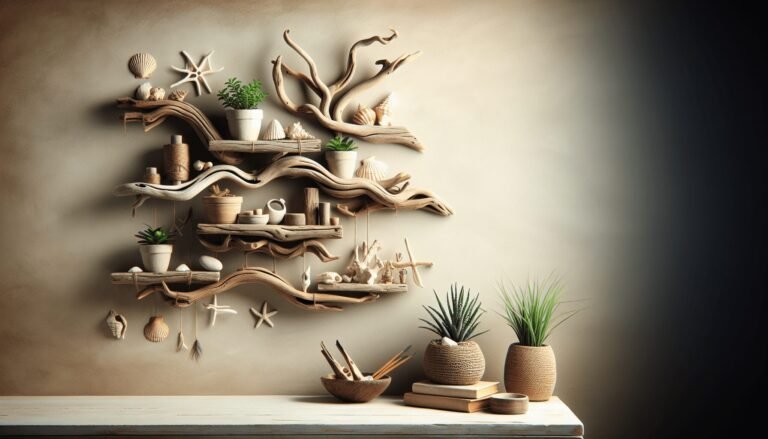
Discover unique driftwood projects to transform your home with rustic elegance. Get creative with nature’s beauty through DIY art, furniture, lighting, and decor ideas.

Explore DIY Driftwood Projects and transform beach finds into unique home décor. From rustic frames to elegant furniture, unleash your creativity with nature’s bounty.