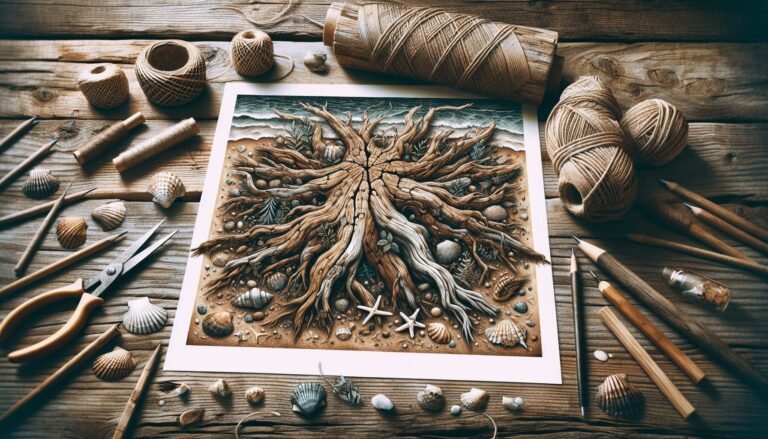
Diy Driftwood Projects Ideas
Transform ordinary driftwood into stunning decor and practical items. From rustic furniture to unique art, spark your creativity with our DIY Driftwood Projects Ideas guide.
Transform ordinary driftwood into stunning decor and practical items. From rustic furniture to unique art, spark your creativity with our DIY Driftwood Projects Ideas guide.
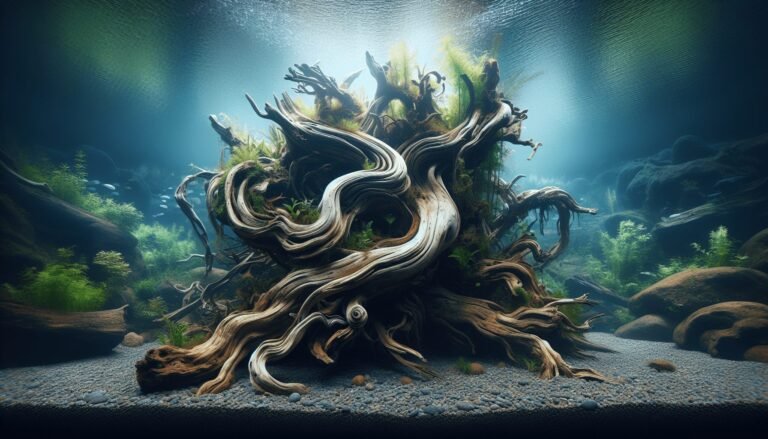
Discover the benefits of driftwood for aquariums. Learn how it enhances beauty and provides a natural habitat for fish. Make your aquarium stunning and serene!
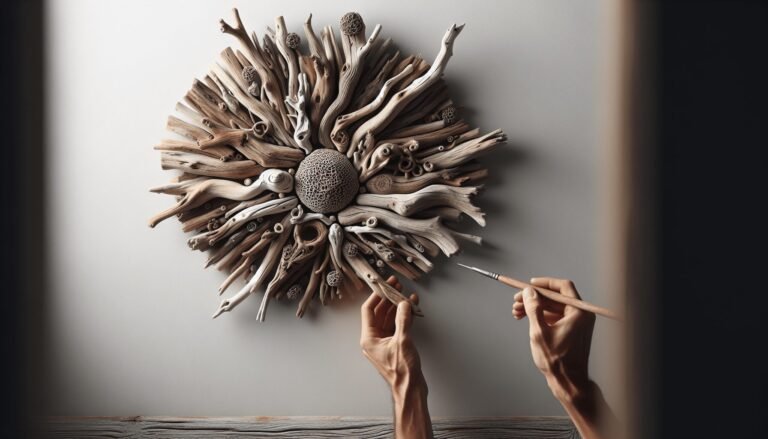
Discover creative ways to transform driftwood into stunning decor. Learn step-by-step guides for making rustic frames, candle holders, and more. Unleash your creativity!
Transform your home into a cozy sanctuary with driftwood decor. Dive into our guide for creative DIY projects that bring rustic charm and ocean tranquility indoors.
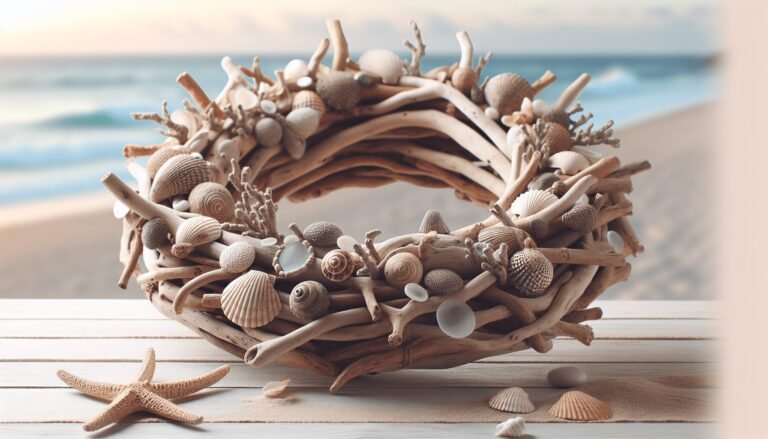
Transform beachside treasures into coastal décor with our guide to DIY Driftwood Projects! Create stunning wreaths & garlands with step-by-step instructions & tips. Get crafty!
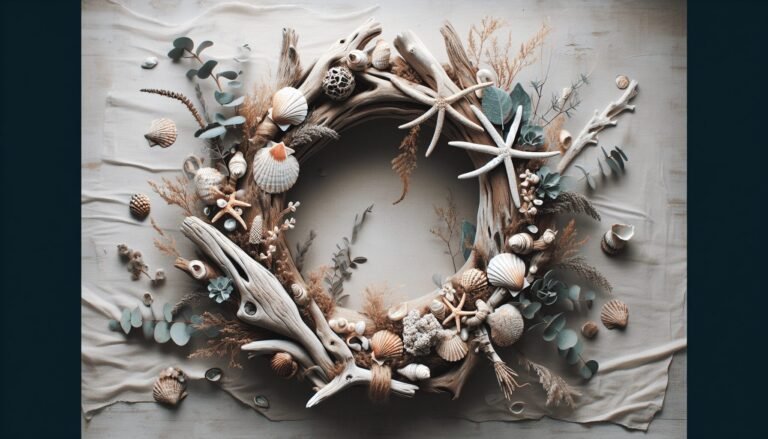
Discover the art of transforming humble driftwood into stunning wreaths and garlands. Add a touch of rustic elegance to your décor with these unique, eco-friendly DIY projects.
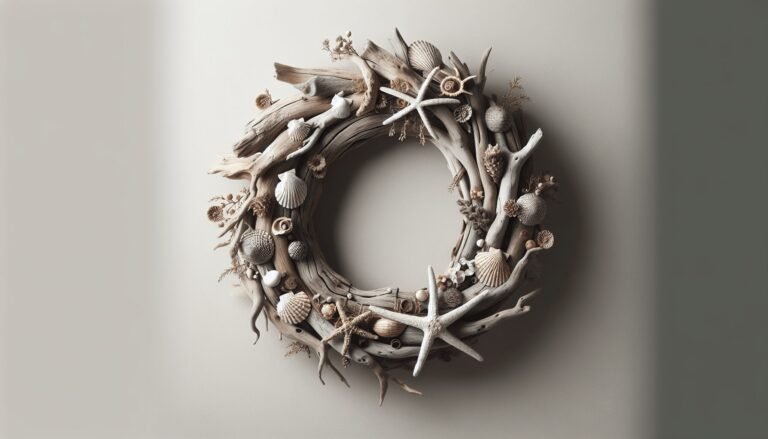
Dive into “Driftwood Projects Unique Wreaths & Garlands” to craft stunning, eco-friendly decor! Learn to transform driftwood into beautiful wreaths and garlands.
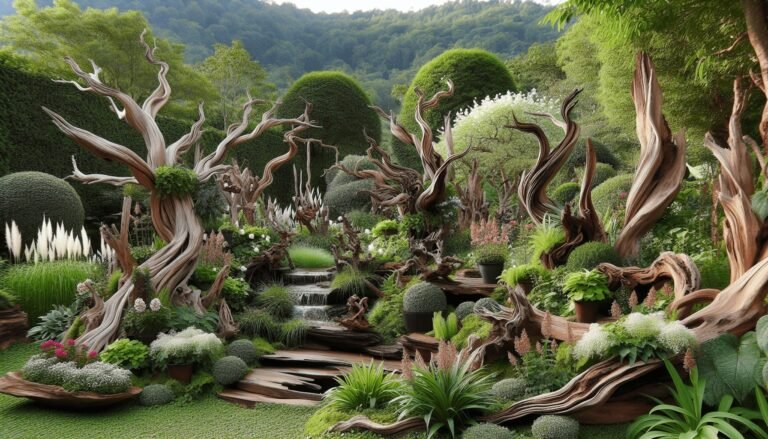
Discover how to transform driftwood into unique garden art. Create planters, sculptures, and pathways that enhance your garden’s charm and eco-friendly appeal!
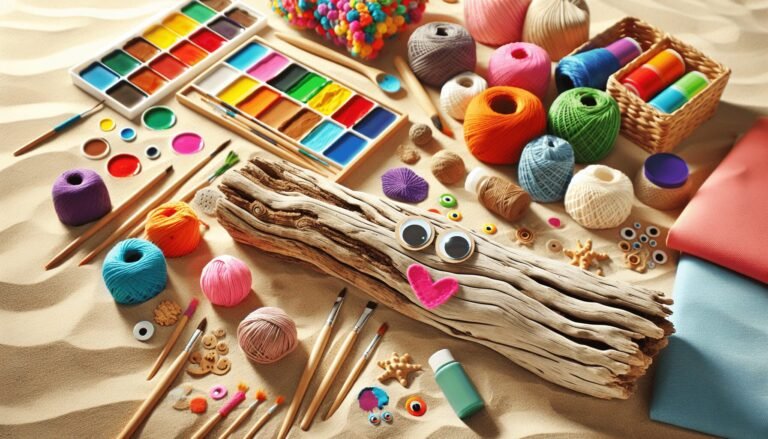
Fun DIY driftwood projects for kids! Learn how to make art, toys, and decor while teaching creativity and sustainability. Perfect for family bonding time.
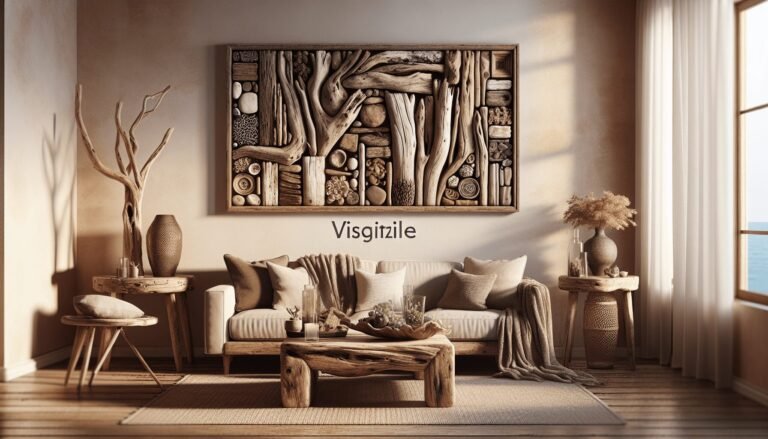
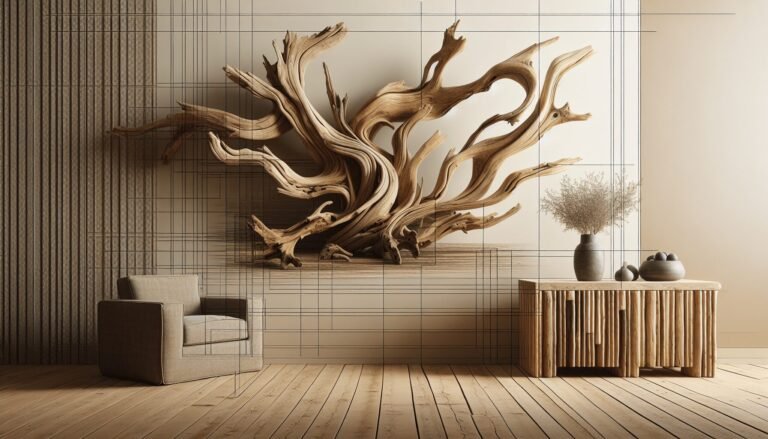
Transform your home with stunning driftwood furniture DIY projects! Follow our easy instructions and creative ideas from sourcing to assembling unique, rustic decor pieces.