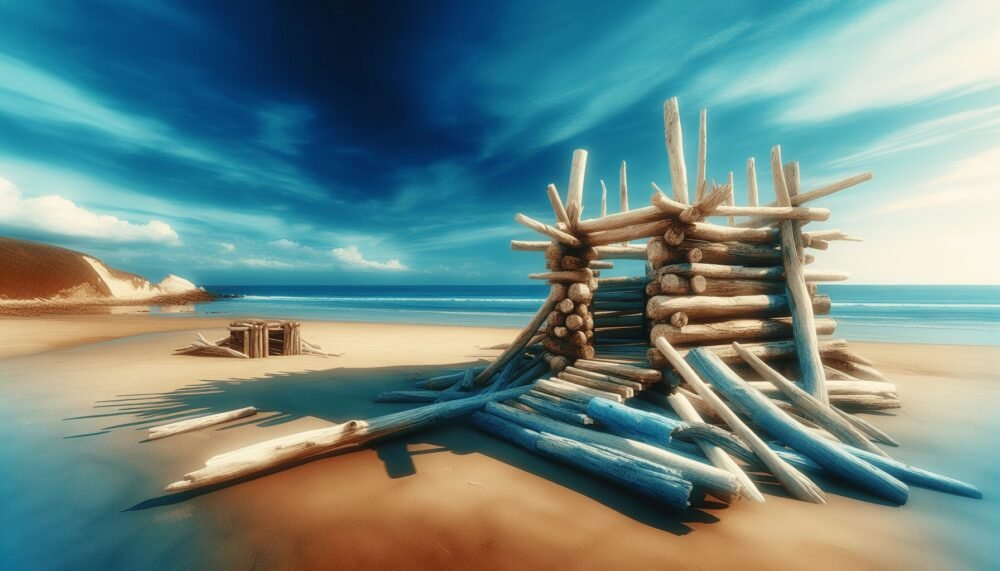
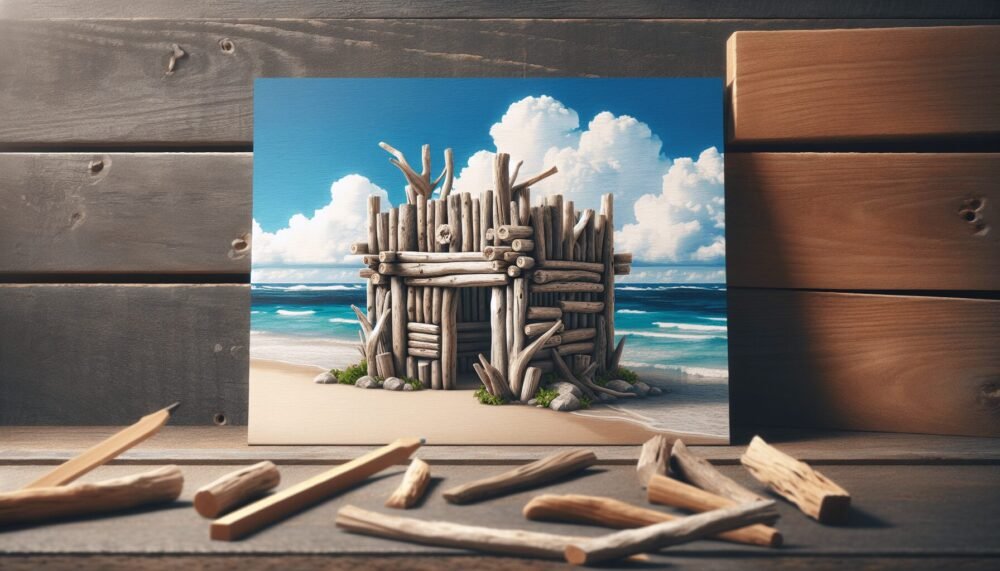
In “Driftwood Fort,” you’ll embark on a whimsical adventure where creativity and nature blend seamlessly. Picture yourself by the shore, surrounded by sun-bleached pieces of driftwood, each one holding endless potential. You’ll discover the joys and challenges of building your very own fort, a haven crafted from the gifts of the ocean. From selecting the perfect pieces to assembling them into a sturdy shelter, every step offers a fun and rewarding experience. By the story’s end, you’ll find yourself with not just a unique structure but also a heartfelt connection to the natural world around you.
Driftwood Fort
Have You Ever Dreamed of Building Your Own Driftwood Fort?
Imagine a warm sunny day at the beach, the soothing sounds of waves crashing against the shore, and the delightful possibility of creating your very own driftwood fort. If you’ve ever yearned for an outlet for creativity and play by the seaside, building a driftwood fort could be your perfect seaside adventure. Let’s dive into everything you need to know to build, enjoy, and care for a driftwood fort!
What is a Driftwood Fort?
A driftwood fort is a structure created using pieces of wood washed ashore by the waves. These wooden pieces, known as driftwood, have usually been polished and smoothed by the water, giving them a unique, weathered appearance. Driftwood forts can vary from simple, leaning structures against a large piece of driftwood or rock to more complex, multipurpose builds with multiple rooms and features.
Why Build a Driftwood Fort?
Building a driftwood fort offers several benefits. It’s not just about the fun; it’s also a great way to bond with family and friends, get some exercise, and unleash your inner architect while enjoying the great outdoors. Moreover, it encourages creativity, problem-solving, and can even be a soothing and mindful activity, helping you connect with nature.

Gathering Your Materials
Before starting your build, you’ll need to gather materials. Driftwood comes in many sizes and shapes, and part of the fun is in the search.
Types of Driftwood
Small pieces: Useful for intricate parts and securing other pieces together.
Medium-sized pieces: Ideal for walls, roofs, and structures requiring stability without heft.
Large pieces: Great for support beams and the main framework of your fort.
Safety First
The beach can present various challenges and risks, so make sure you’re prepared. Wear gloves to protect your hands from splinters and cuts, and check each piece of driftwood for nails or other sharp objects. Sunscreen, a hat, and water are essential to stay protected and hydrated.
Designing Your Driftwood Fort
When it comes to design, the only limit is your imagination. But to get you started, here are a few design principles and ideas:
Basic Lean-To Fort
A lean-to is the simplest type of driftwood fort. You’ll need a large piece of driftwood or rock to act as a support. Lean smaller pieces of driftwood against it to create the walls. This design provides one-sided shelter, perfect for a quick hideout.
Teepee Fort
A more elaborate option is the teepee fort. This structure requires longer and more uniformly sized driftwood. Arrange them in a circle and bind them together at the top to form a cone shape. This type provides full coverage from wind and sun while being more sturdy.
Multi-Room Fort
For an ambitious project, a multi-room driftwood fort could be your goal. Use solid pieces for primary support and add smaller sections to divide the space into various rooms. Plan it out in stages, focusing on one room at a time to ensure stability.
Tools of the Trade
While driftwood forts can be built without tools, having a simple toolkit can make the process smoother and safer. Here’s a list of helpful tools:
| Tool | Purpose |
|---|---|
| Gloves | Protect your hands from splinters |
| Saw | Cut larger pieces to size |
| Rope | Secure pieces together |
| Hammer | Drive nails for added stability |
| Nails | Secure driftwood pieces |

Building the Foundation
Every great fort needs a solid foundation. Begin by placing the largest, sturdiest pieces of driftwood on the ground. These will act as the floor and base structure. Ensure they are stable and evenly placed to provide a good foundation for the walls.
Alignment and Stability
When laying out your foundation, align the driftwood pieces so they interlock naturally. This will provide additional stability. Overlapping for stability is critical, especially in areas exposed to wind or waves.
Constructing the Walls
With a solid foundation, you can start constructing the walls of your fort. Use medium to large pieces, ensuring they are balanced and secure. Remember, the walls should slope inward slightly to support each other and create a stronger structure.
Overlapping Technique
Overlap the pieces to improve the overall integrity of the walls. It’s essential to maintain balance and ensure each piece is interlocked with the others to withstand weather elements like wind.
Securing the Walls
Using rope or natural fiber cord, bind the pieces together at crucial junctions. This will increase the stability of your fort and help it stand firm despite strong winds.
Adding a Roof
A roof not only adds to the aesthetics of your driftwood fort but also provides protection against sun and rain. Use larger, flatter pieces of driftwood. Secure them well, ensuring they are evenly distributed to prevent any weak spots.
Waterproofing Your Fort
While it’s challenging to completely waterproof a driftwood fort, you can add additional layers of smaller driftwood or even seaweed to minimize water penetration. This extra layer can add a rustic charm and boost the durability of your structure.
Personalizing Your Driftwood Fort
Once the basic structure is complete, you can start personalizing your driftwood fort. Here are some ideas to make your fort unique and functional:
Functional Additions
Seating: Use flat pieces of driftwood for benches or stools.
Storage: Create shelves or small cubbyholes within the fort walls.
Entrance: Frame an entrance with special pieces of driftwood.
Decorative Touches
Shells and Stones: Decorate the walls or pathways leading to your fort.
Natural Cordage: Weave additions like nets or hang decorative elements.
Driftwood Art: Craft shapes, hang wind chimes, or create sand sculptures around your fort.
Enjoying Your Driftwood Fort
Now that your driftwood fort is built, it’s time to enjoy it! Here are wonderful ways to maximize the enjoyment of your new hideaway:
Games and Activities
Create a list of beach games and activities to enjoy inside and around your fort. Whether it’s a simple game of hide and seek or storytelling sessions, the fort can make your beach day even more fun.
Relaxation Spot
Turn your driftwood fort into a relaxation spot. Bring some blankets and cushions, and spend the day reading, dreaming, or simply listening to the waves.
Picnic and Camping
Pack a picnic and enjoy your meal inside your fort. If regulations and safety considerations permit, consider an overnight stay for a beach camping experience.
Maintenance Tips
To ensure your driftwood fort lasts, periodic maintenance is essential. Here are some tips to keep it in good shape:
Regular Inspections
Check your fort regularly for signs of wear and tear. Ensure the ropes or bindings are still secure and that no pieces have shifted or weakened.
Repairing and Reinforcing
If you notice any weak spots or damage, take the time to repair or reinforce them. Adding new pieces or replacing damaged ones can significantly extend the life of your fort.
Seasonal Care
Depending on the climate and season, additional care might be required. During typically stormy seasons, consider dismantling and safely storing valuable parts of your fort.
Environmental Considerations
While building and enjoying your driftwood fort, it’s crucial to be mindful of the environment:
Sustainable Practices
Make sure to only use legally and ethically gathered driftwood. Avoid disturbing habitats or taking driftwood in protected areas.
Litter-Free Commitment
Pack out all trash and materials you bring to the beach. Keep the area clean for future visitors and wildlife.
Respect Local Regulations
Adhere to any local rules or guidelines regarding the use of driftwood and building structures on the beach. Always leave the area as pristine as you found it, if not better.
Frequently Asked Questions
Is it Legal to Build a Driftwood Fort on Any Beach?
Rules vary depending on location. Check local regulations before collecting driftwood or building structures on the beach.
How Long Will a Driftwood Fort Last?
The longevity of a driftwood fort depends on the materials used, its construction, and environmental factors. Regular maintenance can extend its life.
Can I Use Tools or Other Materials to Build My Fort?
While you can use basic tools and natural materials, using foreign objects like plastic or metal might not be allowed. Always check local guidelines.
Conclusion
Building a driftwood fort is a fantastic way to unleash your creativity, bond with loved ones, and enjoy the serenity of the beach. With a bit of planning, effort, and environmental mindfulness, you can create a delightful seaside hideaway. So next time you’re at the beach, gather some driftwood, let your imagination run wild, and construct your very own driftwood fort. Happy building!