Driftwood Giraffe
Discover the enchanting “Driftwood Giraffe!” Learn how to transform beach-found driftwood into a stunning giraffe sculpture with our step-by-step guide. Get inspired by nature’s beauty!
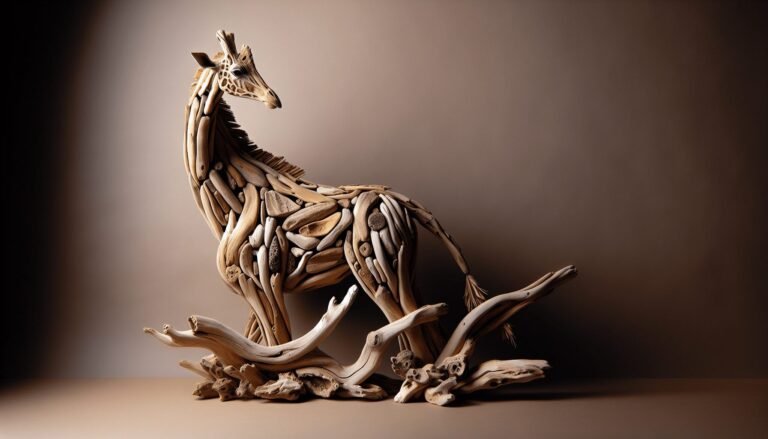
Discover the enchanting “Driftwood Giraffe!” Learn how to transform beach-found driftwood into a stunning giraffe sculpture with our step-by-step guide. Get inspired by nature’s beauty!