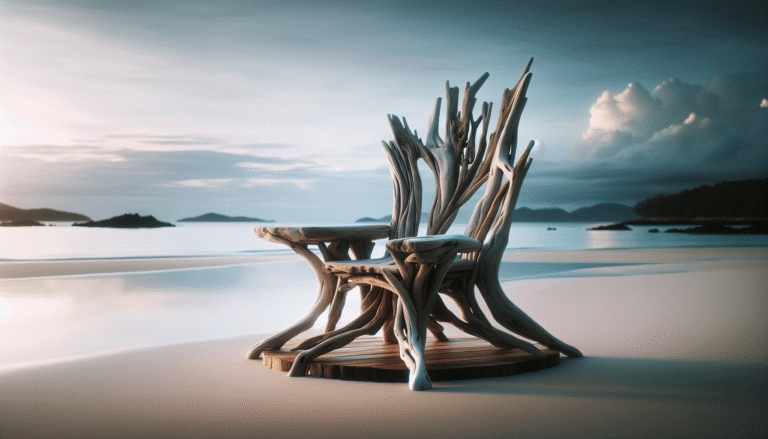
Driftwood Nursery Furniture
Explore driftwood nursery furniture—blend style with sustainability for your baby’s serene space. Discover unique, eco-friendly designs to create a nurturing haven.

Explore driftwood nursery furniture—blend style with sustainability for your baby’s serene space. Discover unique, eco-friendly designs to create a nurturing haven.
Discover the versatility of Noble Driftwood by Valspar: a perfect blend of cool grey and warm beige to elevate any space with style and elegance.
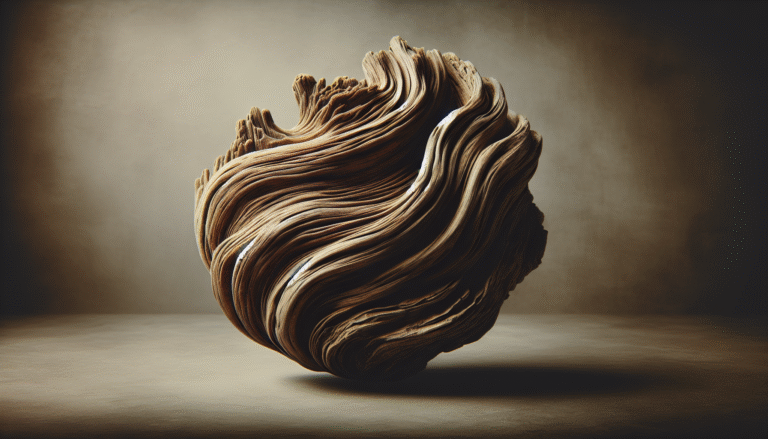
Discover the timeless elegance of Driftwood Muebles! Transform any space into a tranquil coastal haven with unique, eco-friendly decor that tells a story.
Discover how Driftwood Mist by Sherwin Williams can transform your space into a serene sanctuary with its versatile and calming neutral tones.
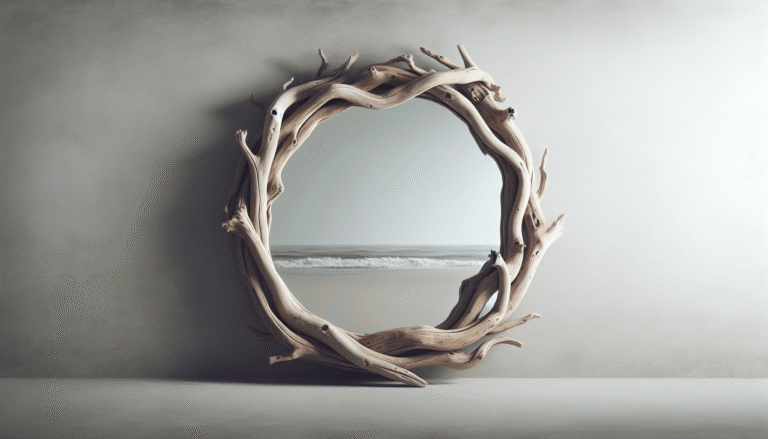
Craft a stunning driftwood mirror frame to bring rustic elegance into your home. Discover tips on collecting, preparing, and designing with nature’s unique charm.
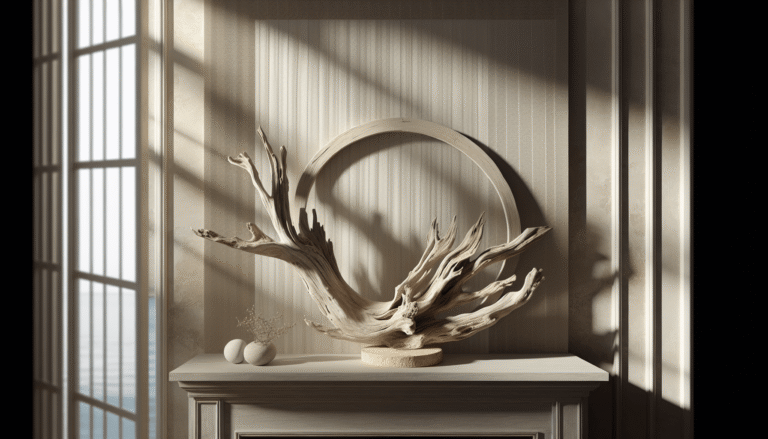
Create a serene coastal retreat with driftwood mantle decor. Discover how this unique, natural element brings warmth, character, and a touch of nature to your home.
Explore why LVP flooring planks in driftwood style are favored for their natural wood look and easy maintenance, perfect for stylish, durable home interiors.

Explore the beauty of Driftwood LVP flooring for a natural wood look with durable, water-resistant vinyl. Discover its charm, cost-effectiveness, and easy maintenance.
Discover the beauty and durability of Driftwood LVP Flooring. Mimicking natural wood, it combines stylish design with practical benefits, perfect for any home.
Discover Shaw Luxury Vinyl Plank Flooring in Driftwood: A blend of style, durability, and affordability. Transform your space with elegance and practical functionality.