• Skip to main content
  • Skip to primary sidebar
  • Terms and Conditions
  • Privacy Policy
  • Contact

Driftwood 4 Us

Just About Driftwood

Outdoor Projects

Driftwood Fence

July 25, 2024 by admin

Picture yourself strolling along a serene beach, the gentle sound of waves crashing in the distance, when your eyes meet the captivating sight of a driftwood fence. This unique creation not only enhances the natural beauty of the coastline but also serves as a charming, eco-friendly barrier that breathes life into any landscape. In this article, you’ll discover the artistry and practical benefits of incorporating a driftwood fence into your own outdoor space, transforming it into a coastal haven that reflects the splendor of nature itself. Have you ever walked along a beach and stumbled across a piece of driftwood that seemed to tell its own story? Driftwood is nature’s way of transforming discarded pieces of wood into something beautiful and timeless. Now, imagine harnessing that naturally weathered charm into a functional and stunning piece for your home—a driftwood fence.

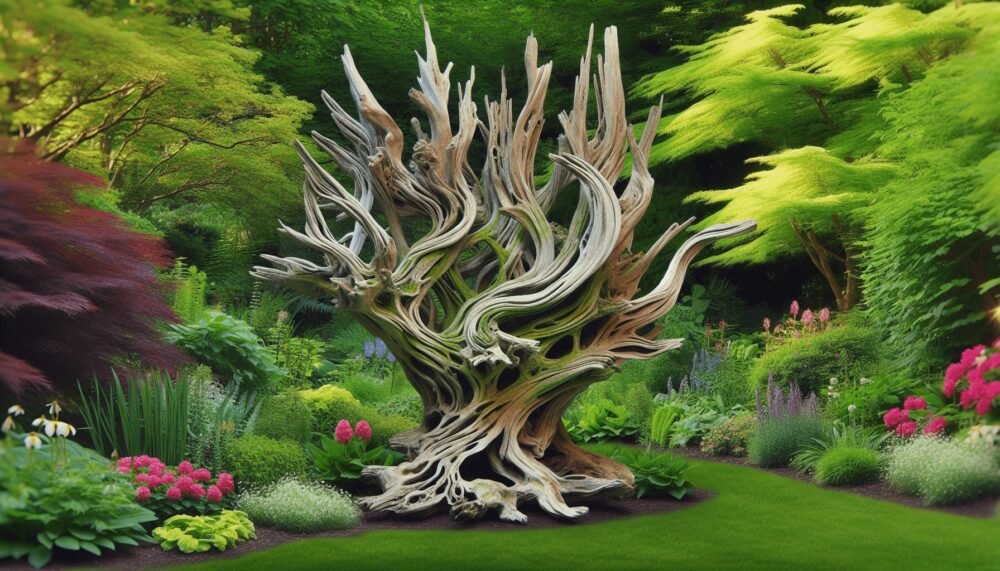
Driftwood Fence

What is Driftwood?

Driftwood refers to wood that has been washed onto a shore or beach by the action of winds, tides, or waves. This wood can originate from various environments and undergoes a unique transformation that gives it its distinctive appearance. The elements strip away the bark and smooth out the rough edges, resulting in wood that is both durable and aesthetically fascinating.

Benefits of a Driftwood Fence

Natural Aesthetic

One of the most compelling features of a driftwood fence is its natural beauty. Each piece of wood is unique, and the weathering process creates textures and hues that no artificial process can replicate.

Eco-Friendly

Using driftwood for your fence is an environmentally friendly option. It makes use of natural resources and reduces the need for new timber harvesting. Moreover, it helps clean up beaches and waterways.

Durability

Driftwood is naturally resistant to decay and pests. This is because it’s been exposed to the elements for an extended period, making it sturdy and long-lasting.

Ease of Maintenance

Once installed, a driftwood fence requires minimal maintenance. Unlike traditional wood fences that may need regular staining or painting, driftwood retains its beauty over time with minimal upkeep.

Sourcing Driftwood

Legality

Before you start collecting driftwood, it’s important to understand the legal regulations in your area. In some locations, removing driftwood from beaches is prohibited to protect the ecosystem. Always check local guidelines and obtain any necessary permits.

Best Locations

Driftwood is commonly found along coastlines, especially in areas with strong tidal actions. Riverbanks and lakeshores can also be good sources. Scout out different locations to find the best pieces for your fence.

Quality Selection

Not all driftwood is suitable for a fence. Look for pieces that are sturdy and free from rot. Ideally, the wood should be thick enough to withstand pressure and have a uniform shape for easier assembly.

Designing Your Driftwood Fence

Styles

There are various styles to choose from depending on your preference and the look of your property. Some popular styles include:

StyleDescription
RusticUses varied sizes and shapes for a more natural, uneven look.
ModernEmphasizes uniformity and sleek lines, often paired with metal elements.
TraditionalResembles typical wooden fences but with the unique texture of driftwood.
Vertical SlatsVertically arranged pieces for a contemporary look.
Horizontal SlatsHorizontally arranged pieces for a streamlined appearance.

Measurements

Before you begin construction, measure the area where the fence will be installed. This will help you determine the amount of driftwood you’ll need. Measure twice to ensure accuracy and to avoid any surprises during the building phase.

Additional Materials

  • Fasteners: Screws, nails, and metal brackets will be needed to secure the driftwood pieces.
  • Tools: Basic tools like a hammer, screwdriver, and saw are essential. A power drill can make the job easier.
  • Posts: Wooden or metal posts serve as the foundation for your fence. Choose materials that complement the driftwood.
  • Finishing Supplies: While driftwood is naturally beautiful, you might want to add a sealant for extra protection.

Driftwood Fence

Building Your Driftwood Fence

Preparation

Start by clearing the area where the fence will be installed. Remove any debris, rocks, or plants to ensure a smooth working surface. Next, mark the spots where the fence posts will go. The distance between posts should be consistent to provide a stable framework.

Setting the Posts

  1. Dig Holes: Use a post hole digger to create holes for the fence posts. The depth should be around 1/3 of the post’s height.
  2. Add Gravel: Pour a few inches of gravel at the bottom of each hole for drainage.
  3. Place the Posts: Position the posts in the holes and fill the remaining space with concrete or more gravel. Make sure the posts are level.
  4. Allow to Set: Let the concrete or gravel settle and harden before attaching any driftwood pieces.

Attaching Driftwood

  1. Sort Driftwood: Organize your driftwood pieces by size and shape. This will make the assembly process smoother.
  2. Pre-drill Holes: Pre-drilling holes in the driftwood can prevent splitting when you attach it to the posts.
  3. Secure Driftwood: Start attaching the driftwood from either the bottom or top, depending on your design. Use screws or nails to secure each piece to the posts.
  4. Check Alignment: Regularly check that each piece is level and aligned with adjacent pieces to ensure a professional finish.

Finishing Touches

  1. Trim Excess: Any excess driftwood sticking out can be trimmed for a clean look.
  2. Sealant: Consider applying a sealant to protect the driftwood from further weathering and pests.
  3. Inspect: Walk around your newly installed fence to inspect for any loose pieces or areas that need additional fastening.

Maintaining Your Driftwood Fence

Regular Inspections

Periodically inspect your fence for any signs of wear or damage. Checking the fastenings and posts ensures that your fence remains sturdy.

Cleaning

Over time, your driftwood fence may accumulate dirt and debris. Use a gentle brush and water to clean the fence. Avoid using harsh chemicals that can damage the wood.

Repairs

Address any damage promptly to prevent it from worsening. Replace any broken driftwood pieces and tighten loose screws or nails.

Cost Considerations

Initial Investment

While the cost of driftwood is generally low or free, other materials like posts, fasteners, and tools will contribute to the overall cost. Additionally, if you need to purchase driftwood, factor that into your budget.

Long-term Savings

The durability and low maintenance of a driftwood fence translate to long-term savings. Unlike other fencing materials that require frequent upkeep, a driftwood fence maintains its beauty and functionality over time.

Comparative Costs

Fence MaterialInitial CostMaintenance CostDurability
DriftwoodLow to ModerateLowHigh
Traditional WoodModerate to HighModerate to HighModerate
VinylHighLowHigh
MetalHighLowHigh

Creative Ideas for Using Driftwood in Your Fence

Driftwood Accents

If a full driftwood fence is not feasible, consider adding driftwood accents to an existing fence. This can include driftwood post caps, horizontal slats, or decorative pieces integrated into the design.

Driftwood Gate

A driftwood gate can serve as a stunning centerpiece for your fence. Use larger, more visually striking pieces for the gate to highlight its uniqueness.

Mixed Material Fence

Combine driftwood with other materials like metal or stone for a mixed-material fence. This can enhance the visual appeal and add structural stability.

Legal and Ethical Considerations

Environmental Impact

While driftwood is a great resource, it’s crucial to consider the environmental impact of removing it from its natural habitat. Always collect driftwood responsibly, ensuring you do not disrupt local wildlife or ecosystems.

Local Regulations

As mentioned earlier, always check local regulations before collecting driftwood. Some areas have strict rules to preserve natural landscapes.

Respect Private Property

Ensure that you are collecting driftwood from public areas or have permission if it’s on private property. Trespassing can lead to legal issues and fines.

Conclusion

Building a driftwood fence is a unique and rewarding project that combines natural beauty with functionality. From sourcing the perfect pieces to crafting a design that complements your property, a driftwood fence offers numerous benefits and creative possibilities. Remember to respect the environment and adhere to local regulations while collecting driftwood. With the right materials, tools, and a bit of creativity, you can create a stunning fence that will be the envy of your neighborhood. So why not start planning your driftwood fence today? It’s a project that promises to be as enjoyable as it is beautiful.
Filed Under: Driftwood Ideas Tagged With: DIY Ideas, Driftwood, fence, home decor, Outdoor Projects

Driftwood Projects For The Garden

May 26, 2024 by admin

In “Driftwood Projects For The Garden,” you’ll discover a world of creativity that turns weathered, fallen wood into enchanting garden decor. This guide is brimming with inspirational ideas and practical tips for repurposing driftwood, transforming it into everything from rustic planters to whimsical garden sculptures. Ideal for both seasoned and novice gardeners, these projects are a perfect way to add a touch of natural beauty and personal flair to your outdoor space. Let your imagination flow and watch your garden come alive with the unique charm of driftwood accents.

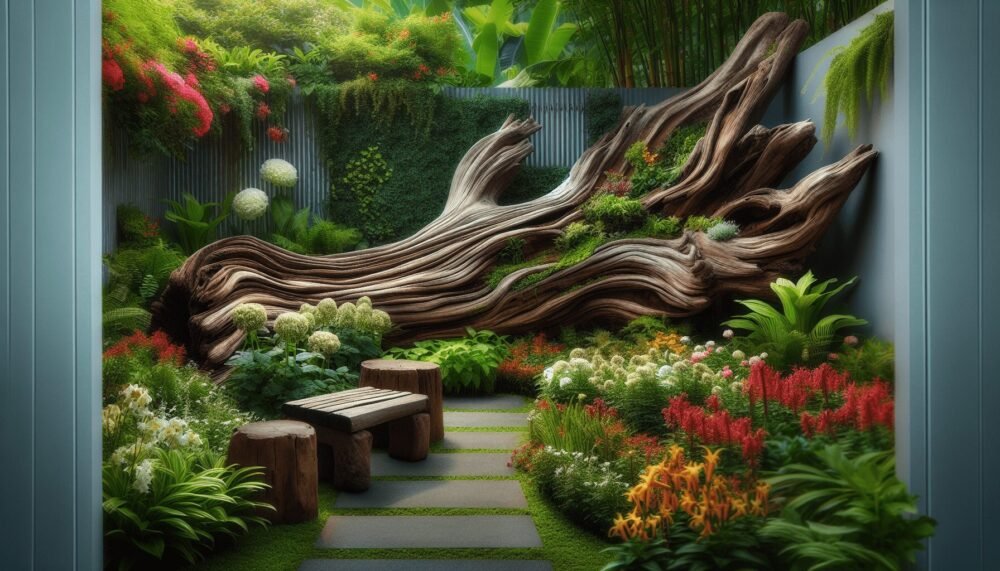
Driftwood Projects For The Garden

Have you ever found yourself wandering along the beach, coming across unique and beautifully weathered pieces of driftwood and wondering how they could be used to enhance your garden? The natural beauty and rustic charm of driftwood can add a quaint and personal touch to your outdoor space. Whether you’re a seasoned DIY enthusiast or new to garden crafts, driftwood offers endless possibilities to get creative.

In this article, we’ll dive into a variety of driftwood projects for the garden that you can easily recreate. From simple decorations to functional garden features, you’ll discover how to turn those beach treasures into something spectacular for your garden.

Why Use Driftwood in Your Garden?

Before diving into specific projects, it’s important to understand why driftwood is such an excellent material for garden crafts. Driftwood is more than just old wood; it has several qualities that make it an ideal choice for outdoor projects.

Unique and Accessible

Driftwood is essentially free material, often found scattered along shorelines. Each piece is unique, shaped by the elements, making every project distinct. If you live near a coast, you’re in for a handy resource.

Environmentally Friendly

Using driftwood is a form of recycling. By repurposing wood that nature has provided, you’re contributing to sustainable living practices. Plus, due to its natural aging process, driftwood is typically quite durable.

Versatile

Driftwood can be used in many different garden projects, ranging from practical objects like planters and garden furniture to decorative elements such as sculptures and wind chimes. The versatility of driftwood can fit into any garden aesthetic, whether it’s modern, rustic, or something in between.

Tools and Supplies You’ll Need

Before you start your driftwood projects, gather some essential tools and supplies. Here’s a table of what you might need:

Tool/SupplyPurpose
Crowbar or HammerTo remove nails or anything stuck in wood
SandpaperTo smooth rough edges
DrillTo make holes for screws or twine
Screws/NailsFor assembly
Twine/WireFor binding pieces together
Wood SealantTo protect the wood from elements
GlovesFor hand protection
Measuring TapeFor accurate measurements
SawFor cutting wood to size
Hot Glue GunFor quick adhesion of pieces

Having these tools on hand will make your driftwood crafting experience much smoother and efficient.

Driftwood Plant Hangers

One of the simplest yet most effective driftwood garden projects is creating plant hangers. Driftwood plant hangers can emphasize both the beauty of the plants and the rustic appeal of the wood.

Steps to Create Driftwood Plant Hangers

  1. Choose Your Piece: Select a piece of driftwood that is long enough to support the plants you want to hang.
  2. Prepare the Wood: Clean the driftwood to remove any dirt or debris, and sand down any rough edges.
  3. Drill Holes: Drill evenly spaced holes into the driftwood. These holes will hold the twine or wire for hanging your pots.
  4. Attach Twine or Wire: Cut lengths of twine or wire to the size you want your plants to hang. Loop the twine or wire through the holes and tie securely.
  5. Secure Your Pots: Attach small pots or other planters to the twine or wire. If needed, add a bit of hot glue to keep the pots from shifting.
  6. Hang Your Creation: Find a suitable place in your garden, patio, or balcony to hang your new driftwood plant hanger.

Tips for Success

  • Use lightweight pots to avoid putting too much strain on the driftwood.
  • Opt for trailing plants like ivy or pothos to create a cascading effect.

Driftwood Projects For The Garden

Driftwood Garden Markers

Garden markers help you keep track of what you’re growing, and driftwood makes for an excellent base material.

Steps to Create Driftwood Garden Markers

  1. Select Smaller Pieces: Choose smaller, flat pieces of driftwood suitable for writing or engraving.
  2. Clean and Sand: Clean the driftwood thoroughly and sand any rough edges.
  3. Write or Engrave Names: Use a paint pen or engraver to write the names of the plants on the driftwood pieces.
  4. Seal the Wood: Apply a wood sealant to protect the markers from the elements.
  5. Place in Garden: Stake the markers into the ground near the corresponding plants.

Tips for Success

  • Use different sizes for different kinds of plants to make it easier to identify them.
  • Customize with colors or patterns to add a whimsical touch to your garden beds.

Driftwood Pathways

Driftwood pathways can add an enchanting element to your garden, guiding visitors through various areas while blending seamlessly with natural surroundings.

Steps to Create Driftwood Pathways

  1. Gather Larger Pieces: Look for larger, flatter pieces of driftwood that can serve as stepping “stones.”
  2. Plan Your Path: Lay out the path in your garden to see how the driftwood pieces will fit together.
  3. Prepare the Ground: Level the ground where each piece of driftwood will be placed.
  4. Place the Driftwood: Arrange the driftwood pieces in the desired pattern, ensuring they are stable and level.
  5. Secure in Place: If necessary, secure the driftwood segments with stakes or by burying parts slightly into the ground.

Tips for Success

  • Combine different shapes and sizes for a more natural look.
  • Consider adding some gravel or small stones between the driftwood pieces for added stability and aesthetic appeal.

Driftwood Garden Sculpture

A driftwood garden sculpture can become a stunning focal point in any garden. With its organic forms and natural beauty, driftwood lends itself well to artistic creations.

Steps to Create Driftwood Garden Sculpture

  1. Design: Start by deciding what type of sculpture you want to create—an abstract piece, an animal figure, or even something more elaborate like a driftwood tree.
  2. Gather Pieces: Collect various sizes and shapes of driftwood that will fit your design.
  3. Clean and Prepare: Clean each piece and sand down rough edges.
  4. Assemble the Base: Construct a stable base or core for your sculpture. This may require some trial and error to find the best fit.
  5. Secure Pieces Together: Use screws, nails, wire, or adhesive to connect the driftwood pieces according to your design.
  6. Finishing Touches: Make sure all connections are secure and add any finishing touches, such as small decorative elements, to complete the sculpture.
  7. Placement: Choose a prominent spot in your garden to display your masterpiece.

Tips for Success

  • Make sure the base is stable enough to withstand wind or garden activity.
  • Use a variety of driftwood pieces to add texture and interest to your sculpture.

Driftwood Projects For The Garden

Driftwood Birdhouses

Birdhouses made from driftwood can provide a charming home for local wildlife while adding character to your garden.

Steps to Create Driftwood Birdhouses

  1. Select the Wood: Choose pieces of driftwood that have a natural hollow or are suitable for creating a birdhouse structure.
  2. Design the Birdhouse: Sketch out your birdhouse design. Decide if you’re making an open birdhouse or one with a roof and walls.
  3. Cut and Shape: Use a saw to cut the wood to the required dimensions.
  4. Assemble: Use nails, screws, or strong adhesive to assemble the birdhouse. Ensure there are no sharp edges or points inside the birdhouse that could harm birds.
  5. Drill Entry Hole: Drill an entry hole suitable for the type of birds you want to attract.
  6. Finish and Mount: Apply a wood sealant to protect the birdhouse and mount it on a tree or pole.

Tips for Success

  • Make sure to research the dimensions needed for the specific bird species you want to attract.
  • Clean the birdhouse occasionally to ensure it’s safe and welcoming for its occupants.

Driftwood Arbors and Trellises

Driftwood can be used to create gorgeous arbors and trellises, offering support for climbing plants and adding vertical interest to your garden.

Steps to Create Driftwood Arbors and Trellises

  1. Collect Long Pieces: Gather long, sturdy pieces of driftwood that can act as the main structure.
  2. Design Your Structure: Plan out the design based on the space in your garden and the type of plants you will be supporting.
  3. Construct Framework: Begin by constructing the vertical posts and horizontal beams. Secure them into the ground or use a cement base if needed for stability.
  4. Add Cross Supports: Attach smaller driftwood pieces as cross supports, spacing them according to the climbing plants’ needs.
  5. Finishing and Installation: Ensure all pieces are securely attached and place the structure in your garden, ready for your climbing plants.

Tips for Success

  • Be sure your structure is strong enough to support the weight of the climbing plants.
  • Use additional ties or fasteners to help young plants start climbing more easily.

Driftwood Wind Chimes

A driftwood wind chime can add a soothing sound and a rustic look to your garden. Here’s how to make one.

Steps to Create Driftwood Wind Chimes

  1. Select Pieces: Choose various sizes and shapes of small driftwood pieces, as well as other materials like sea glass or shells.
  2. Clean and Drill: Clean the pieces and drill small holes near the top for stringing.
  3. Prepare the Base: Select a larger piece of driftwood to act as the base for your chime.
  4. Attach Strings: Cut lengths of twine or fishing line and tie one end through the holes in the smaller driftwood pieces.
  5. Assemble the Chime: Tie the other end of the twine to the larger piece of driftwood, spacing and adjusting for balance.
  6. Finish and Hang: Ensure all pieces are securely fastened and find a spot with a gentle breeze to hang your wind chime.

Tips for Success

  • Experiment with different materials to add color and varied sounds to your wind chime.
  • Make sure your knots are tight and check periodically for any wear and tear.

Driftwood Furniture

For those looking for a more ambitious project, creating furniture such as benches, tables, or even chairs from driftwood can yield impressive results.

Steps to Create Driftwood Furniture

  1. Gather Large Pieces: Look for robust, larger pieces of driftwood that can act as legs, supports, or surfaces.
  2. Design Plan: Sketch out your furniture design, keeping in mind the natural forms of the driftwood pieces.
  3. Clean and Prep: Clean all driftwood pieces thoroughly and sand any rough edges.
  4. Cut and Shape: Use a saw to cut wind pieces to your design specifications.
  5. Assemble: Use screws, nails, or strong wood adhesive to assemble the pieces according to your design.
  6. Finish: Apply wood sealant to protect your new furniture from the elements.

Tips for Success

  • Think about ergonomics to ensure your furniture is comfortable to use.
  • Be prepared to make some adjustments on the fly as you adapt to the natural shapes of the driftwood.

Driftwood Water Features

Incorporating a water feature made from driftwood can add a serene ambiance to your garden. Whether it’s a standalone piece or part of a larger installation, driftwood’s natural textures make it a perfect complement to water.

Steps to Create Driftwood Water Features

  1. Choose a Location: Decide where in your garden you want to place your water feature.
  2. Design Your Feature: Sketch out your design, whether a small fountain or a larger integrated stream or pond.
  3. Gather Driftwood Pieces: Look for large, stable pieces that can direct or contain water flow.
  4. Construct Base: Build a base for your water feature that will hold and channel water. This may include a pump if desired.
  5. Arrange Driftwood: Position your driftwood pieces to guide and enhance the water flow while securing them to your base structure.
  6. Install Pump: If using a pump, ensure it’s properly installed and concealed among the driftwood.
  7. Finish and Test: Fill with water and test the flow, making adjustments as needed.

Tips for Success

  • Use waterproof sealant to ensure no water leakage.
  • Regularly clean your water feature to avoid clogging with debris.

Maintenance Tips for Driftwood Projects

Ensuring the longevity of your driftwood garden projects involves some basic maintenance steps.

Regular Cleaning

Periodically clean your driftwood projects to control mildew and mold. A mild soap solution and soft brush should do the trick.

Check for Stability

Regularly check that all pieces (especially those that are structural, like trellises and furniture) are still secure.

Reapply Sealant

Driftwood retains its beauty best when protected from elements. Reapply wood sealant annually to keep it in good condition.

Inspect for Pests

Keep an eye out for wood-boring insects and address any issues promptly to prevent damage.

Conclusion

Driftwood is a fascinating medium for creating a wide range of interesting and useful garden projects. Its natural beauty and unique character can enhance any outdoor space, providing a rustic charm that’s hard to replicate with other materials. From simple plant hangers to complex sculptures and furniture, there’s a driftwood project for every skill level and garden style.

So next time you’re at the beach, think twice before walking past that next piece of driftwood. With a little creativity and some basic tools, you can transform it into something truly special for your garden. Happy crafting!

Filed Under: Driftwood Ideas Tagged With: crafts, DIY, Driftwood, garden decor, Outdoor Projects

Yard Art From Driftwood

May 18, 2024 by admin

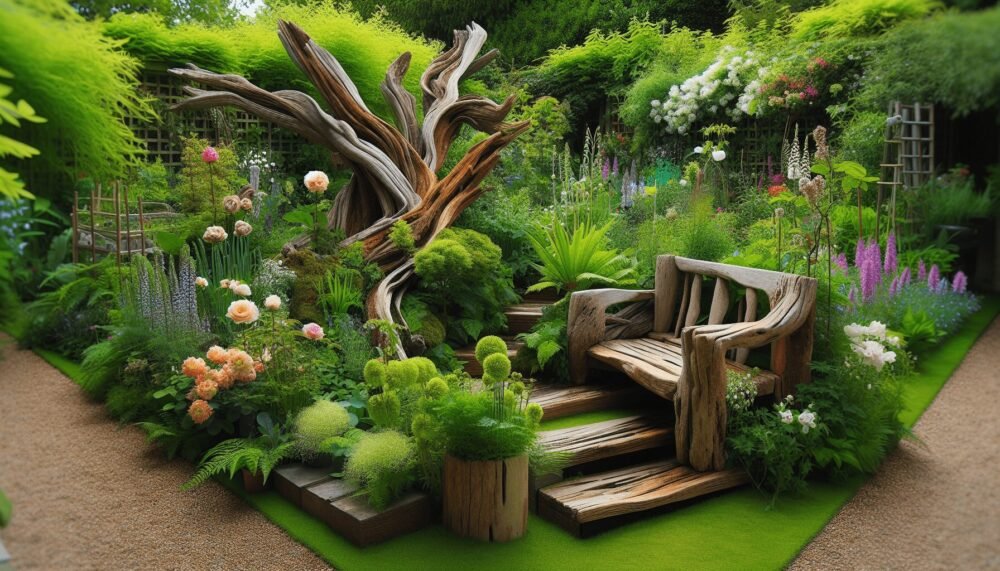
Yard Art From Driftwood

Imagine transforming your garden into a unique, whimsical haven using nothing but nature’s remnants. “Yard Art From Driftwood” guides you through the creative process of turning driftwood into stunning works of yard art. You’ll discover tips on selecting the best pieces, simple techniques to bring your ideas to life, and inspiration from completed projects that exude rustic charm. Your backyard is about to become a true masterpiece with art pieces that are both environmentally friendly and strikingly original!

Yard Art From Driftwood

Have you ever looked at a piece of driftwood and wondered what kind of unique yard art you could create with it? Driftwood, with its naturally weathered charm, offers endless possibilities for adding a touch of rustic beauty to your garden or yard. This guide will offer you insights and inspire your creativity to make the most out of this versatile material.

Why Driftwood?

Natural Aesthetic

Driftwood is nature’s art. Each piece is unique, shaped by water and time, creating intricate designs that echo the natural world’s beauty. Placing driftwood art in your yard seamlessly blends your outdoor space with nature.

Eco-Friendly Choice

Using driftwood for art is environmentally friendly. By repurposing these pieces, you’re not only beautifying your yard but also making a positive impact on the environment by reducing waste.

Versatility

Driftwood can be used for a myriad of designs—from simple garden markers to elaborate sculptures. Its versatile nature allows you to experiment and unleash your creativity.

Collecting Driftwood

Where to Find

Driftwood can often be found near lakes, rivers, and coastal areas. Sandy beaches and riverbanks are prime locations to find beautifully weathered pieces.

LocationDescription
BeachesSaltwater driftwood, often smoother and more worn.
RiverbanksFreshwater driftwood, typically less eroded.

Legal Considerations

Before collecting driftwood, check local regulations and obtain necessary permits. Some areas protect their natural resources, and removing driftwood may be prohibited.

Best Practices for Collecting

  • Respect Nature: Only collect what you need and avoid disrupting wildlife habitats.
  • Safety First: Wear gloves and sturdy shoes; driftwood can sometimes be sharp or house insects.

Yard Art From Driftwood

Preparing Your Driftwood

Cleaning

Before using driftwood, it’s important to clean it properly:

  1. Rinse with Water: Remove any loose dirt and debris.
  2. Soak in Mild Bleach Solution: Mix one part bleach with ten parts water to eliminate any bacteria, fungi, or pests.
  3. Rinse Thoroughly: Remove all traces of bleach.
  4. Dry: Allow your driftwood to air dry completely, ideally in a sunny location for several days.

Tools You May Need

  • Brushes (soft and hard-bristled)
  • Gloves
  • Screwdriver or pliers (for removing any embedded nails or sharp objects)

Designing Your Yard Art

Planning Your Project

Consider the following to get started:

  • Size and Location: Determine where you want to place your art and how big it should be.
  • Inspiration: Look at existing yard art for ideas, or let the unique shapes of your driftwood inspire you.

Simple Projects for Beginners

Garden Markers

Create garden markers by painting or carving the names of your plants onto small pieces of driftwood. These are functional and add a whimsical touch to your garden.

Driftwood Wind Chimes

Simple to make and charming to hear, driftwood wind chimes require only a few pieces of driftwood, some string, and perhaps a few shells or beads for added decoration.

Advanced Projects for the Enthusiast

Driftwood Sculptures

Crafting a sculpture may require a bit more time and skill but is highly rewarding. Let your imagination run wild—think animals, abstract designs, or even large stand-alone pieces that can be the focal point of your yard.

  • Tools Needed: Saw, drill, screws, and wood glue.
  • Tips: Sketch your design first and build a sturdy base to prevent tipping.

Planters and Shelves

Using larger pieces of driftwood, you can create rustic planters or shelves for succulents and other small plants. These pieces can stand alone or be attached to fencing or walls.

Yard Art From Driftwood

Finishing and Preserving Your Art

Weatherproofing

To ensure your driftwood art lasts outdoors, consider applying a protective finish:

  • Clear Sealant: Provides a natural look while protecting from moisture and UV damage.
  • Wood Preservatives: These can offer additional protection against pests and fungi.

Maintenance

Regularly check your driftwood art for signs of wear and tear. Reapply sealant as needed, and clean gently to avoid damaging your piece.

Community and Inspiration

Online Communities

Joining online forums and social media groups dedicated to driftwood art can provide valuable tips, inspiration, and support.

WebsiteDescription
PinterestVisual inspiration and DIY tutorials
InstagramArtists sharing their driftwood creations
RedditDiscussion and advice in DIY and art communities

Workshops and Classes

Consider attending workshops or classes in your local area. These can be excellent opportunities to learn new techniques and connect with fellow enthusiasts.

Conclusion

Creating yard art from driftwood is a fulfilling and eco-friendly way to beautify your outdoor space. With a little imagination, some basic tools, and a bit of time, you can transform simple pieces of driftwood into stunning yard art that reflects your personal style and love for nature. So next time you stroll along a beach or riverbank, don’t just pass by the driftwood—pick it up and start crafting!

What project will you start with? The possibilities are endless!

Filed Under: Driftwood Ideas Tagged With: crafting, Driftwood, garden decor, Outdoor Projects, yard art

Primary Sidebar

Driftwood4us.com, is a participant in the Amazon Services LLC Associates Program, an affiliate advertising program designed to provide a means for sites to earn advertising fees by advertising and linking to amazon.com.